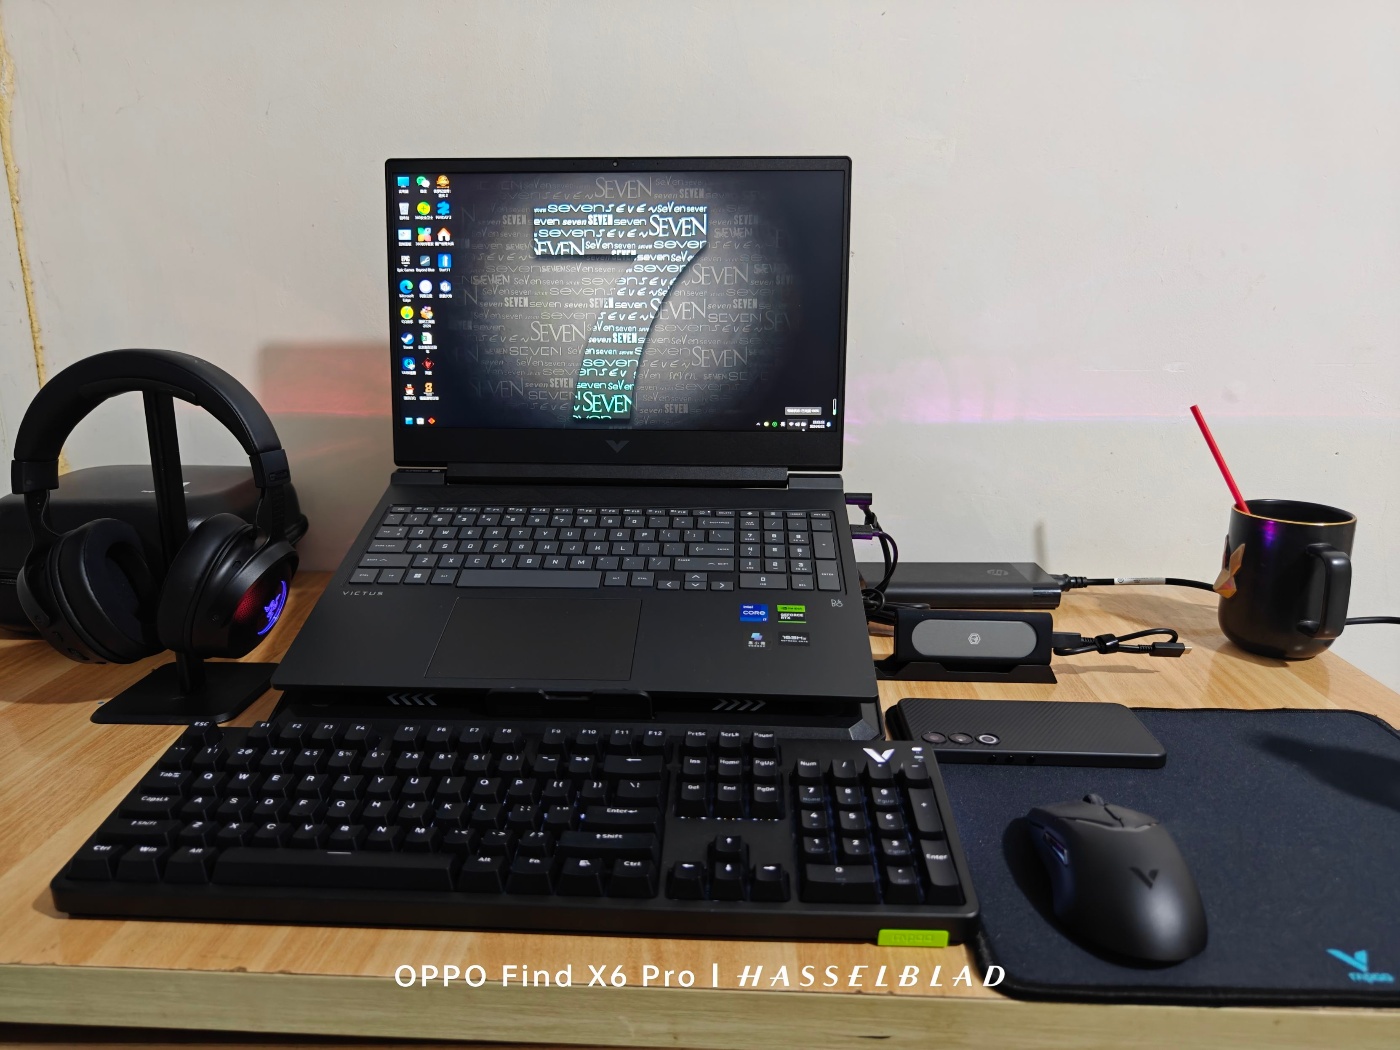
My Keyboard Customization Journey
Keyboard customization—two years ago, this phrase was unfamiliar to me. As an ordinary office worker, my daily work was inseparable from the keyboard. At first, my only requirement for a keyboard was simple: as long as it worked. However, an unexpected encounter introduced me to the world of mechanical keyboards, sparking a journey into the exciting realm of keyboard customization.

Step One: Discovering the Charm of Mechanical Keyboards
The starting point of it all was my colleague’s new mechanical keyboard. It was a model with RGB backlighting, where the letters on the keycaps appeared exceptionally clear under the lights. More importantly, when I first tapped on the keyboard, the tactile sensation was incredible—every keystroke felt so responsive and crisp, entirely different from the membrane keyboards I had used before.
Curious, I began researching mechanical keyboards online. From different switch types to keycap materials, to keyboard layouts and backlight modes, I discovered that the world of mechanical keyboards was far richer and more complex than I had imagined. Thus, I decided to purchase my first mechanical keyboard—a beginner model with red switches.
Step Two: First Attempt—Replacing the Keycaps
After using my mechanical keyboard for a few months, I began to develop new preferences for the feel and appearance of the keycaps. Although the original keycaps were sturdy and durable, their texture felt a bit rough, and their appearance was somewhat dull. So, I decided to try replacing them with a set of keycaps that better suited my aesthetic.
During the keycap selection process, I learned about various keycap materials (ABS, PBT, POM, etc.) and production techniques (such as double-shot molding, dye-sublimation printing, etc.). Eventually, I chose a set of PBT keycaps made with double-shot molding. These keycaps not only offered excellent wear resistance but also had a finer texture. After replacing the keycaps, my keyboard looked brand new, and every keystroke felt like a new experience.
Step Three: Diving Deeper—Customizing the Keyboard Layout
After experiencing the joy of replacing keycaps, my interest in keyboard customization grew even stronger. I started thinking about whether I could further customize the keyboard layout and functions based on my usage habits. After some research, I discovered VIA software, which allows users to customize key mappings, macro settings, and lighting effects in real-time.
Using VIA software, I remapped some keys, such as changing the Caps Lock key to a Ctrl key, which increased my efficiency while programming. I also created a multi-layer layout that allowed me to switch between different work modes quickly—one layer for programming and another for daily office work. Every time I switched layers, the keyboard's lighting effects changed, which not only looked cool but also helped me quickly identify the current work mode.
Step Four: Pursuing Perfection—Building a Custom Keyboard
As I delved deeper into the world of mechanical keyboards, I became interested in building a custom keyboard from scratch. Compared to pre-made keyboards, custom-built ones can be entirely tailored to personal preferences, including choosing the PCB, switches, keycaps, case, and connectivity options.
I found a DIY keyboard kit online and chose a 60% PCB with hot-swappable sockets, allowing me to change switches at will. To achieve the perfect tactile feel, I opted for a set of linear switches that felt light yet responsive. Next, I selected an aluminum case, which is durable and has a premium feel. Finally, I added a heavy steel plate to the keyboard, making it more stable and preventing it from sliding during typing.
Step Five: The Final Product and Reflections
After weeks of effort and adjustments, I finally completed my first custom mechanical keyboard. Although the process was challenging, it taught me a lot about keyboards. From selecting the right components to soldering and assembly, to the final tuning and lighting customization, every step was filled with joy and a sense of accomplishment.
Now, my custom keyboard has become an indispensable part of my work and life. It is not just an input tool but also a form of personal expression. I believe every keyboard enthusiast can find their joy and satisfaction in this process.
Conclusion: Keyboard Customization is an Endless Exploration
My keyboard customization journey is still ongoing. Every new customization attempt helps me better understand my needs and preferences. Keyboard customization is not just about pursuing a better typing experience; it is also about expressing one's personality and creativity. If you're also interested in keyboard customization, why not start your journey and explore your unique style?
Whether you're a beginner or a seasoned pro, there's always something new to discover in the world of keyboard customization. I hope my story inspires you and I look forward to meeting more like-minded friends in this ever-evolving hobby.
Discussion