Vitepressに入門する(Docker環境)
Why
テクニカルドキュメントに適したwebサイトをさくっと作れるという噂のVitepressを試したい。
公式Docs:
参考記事:
Goal
- GitHub PagesでVitepressを使ったサイトを公開できている状態
How
Note
環境
- vitepress v1.2.2
- macOS Sonoma 14.5
- Docker 26.1.1
- Docker compose v2.27.0
docker環境を準備する
Node.js version 18 or higher.
https://vitepress.dev/guide/getting-started によると、vitepressの利用にはNode.js v18以上が必要とのこと。
さらに https://nodejs.org/en によると、2024-06-01時点のNode.jsのLTSはv20とのこと。
これらを参考にDockerfile群を用意していく。
FROM node:20-alpine

WORKDIR /app

# TODO: 後ほどコメントアウト外す
# COPY package.json ./
# RUN npm install

COPY . .
The dev server should be running at http://localhost:5173. Visit the URL in your browser to see your new site in action!
とのことで、portは 5173 を開けておく。
services:
  vitepress:
    container_name: practice-vitepress
    build: .
    volumes:
      - .:/app
      - /app/node_modules
    ports:
      - 5173:5173
    environment:
      - NODE_ENV=development
    command: >
      sh
    tty: true
コンテナ立ち上げ
$ docker compose build
$ docker compose up -d
$ docker exec -it practice-vitepress ash
ちなみに、 version: '3.9' をcompose.yamlに記載していたところ、
WARN[0000] (略) compose.yaml: version is obsolete
というwarningが出た。
どうやら、Docker Composeのv2以降ではversion指定不要らしい。
(おそらくソース↓)
vitepressのインストール〜お試し起動
docker環境整ったので https://vitepress.dev/guide/getting-started に従って進める。
今回はnpm使う。
# vitepressがインストールされる
$ npm add -D vitepress

# 対話形式でvitepressの初期設定が始まる, 練習用なので設定は雑に下記の通り
$ npx vitepress init
┌  Welcome to VitePress!
│
◇  Where should VitePress initialize the config?
│  ./docs
│
◇  Site title:
│  Practice Vitepress
│
◇  Site description:
│  temp site for practicing vitepress
│
◇  Theme:
│  Default Theme
│
◇  Use TypeScript for config and theme files?
│  Yes
│
◇  Add VitePress npm scripts to package.json?
│  Yes
│
└  Done! Now run npm run docs:dev and start writing.

Tips:
- Make sure to add  docs/.vitepress/dist and  docs/.vitepress/cache to your .gitignore file.
docs/.vitepress/config.mts ファイル内に各種設定値が記載された。
By default, VitePress stores its dev server cache in .vitepress/cache, and the production build output in .vitepress/dist. If using Git, you should add them to your .gitignore file.
また、上記アドバイスに従ってgitignoreに追記しておく。
.vitepress/cache
.vitepress/dist
いよいよlocal dev serverの立ち上げ!
$ npm run docs:dev

 docs:dev
> vitepress dev docs

  vitepress v1.2.2

  ➜  Local:   http://localhost:5173/
  ➜  Network: use --host to expose
  ➜  press h to show help
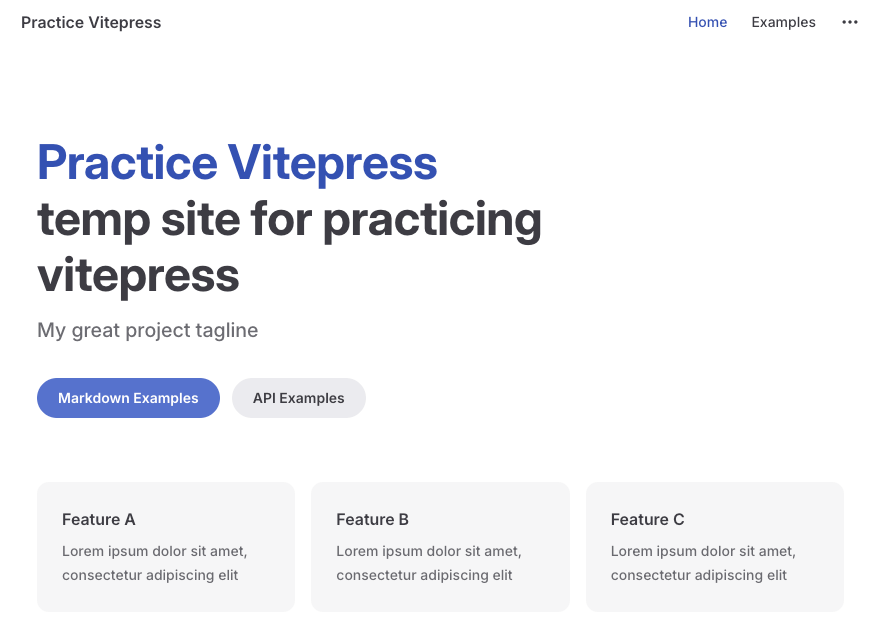
立ち上げ成功した雰囲気を感じたので、 http://localhost:5173/ にアクセスして……

……みたところ悲しいやつ。
↓が正しかった。
$ npm run docs:dev -- --host 0.0.0.0

> docs:dev
> vitepress dev docs --host 0.0.0.0


  vitepress v1.2.2

  ➜  Local:   http://localhost:5173/
  ➜  Network: http://172.21.0.2:5173/
  ➜  press h to show help
いいね 👍
GitHub Pagesで公開する
https://vitepress.dev/guide/deploy に従い、まずはローカルでbuildする。
$ npm run docs:build
docs/.vitepress/dist/ 配下にビルド成果物が作成された。
内容確認のため、
$ npm run docs:preview

> docs:preview
> vitepress preview docs


  vitepress v1.2.2

Built site served at http://localhost:4173/
を実行したけど、 http://localhost:4173/ にアクセスしても何も表示されず。
dockerコンテナ内であれこれしているので、設定変更する必要あり。
 ports:
+  - 4173:4173
   - 5173:5173
上記を設定してコンテナ作り直し、再度previewコマンド実行して http://localhost:4173/ にアクセス。

👍
Example: If you're using Github (or GitLab) Pages and deploying to user.github.io/repo/, then set your base to /repo/.
今回はGitHubの特定リポジトリに紐づけたGitHub Pagesとしたいので、base pathを変更する必要がある。
 export default defineConfig({
   title: "Practice Vitepress",
   description: "temp site for practicing vitepress",
+  base: '/practice-vitepress/',
   themeConfig: {
HTTP Cache Headers
これはスキップ。
いよいよ https://vitepress.dev/guide/deploy#github-pages に従って deploy.yml を作っていく。
(compose.yaml を作ったので、拡張子は yaml に統一する)
以下、ほぼ参考Docsと同じ(一部コメントを削除・追加・修正しているのみ)。
# workflow for building and deploying a VitePress site to GitHub Pages
# ref: https://vitepress.dev/guide/deploy#github-pages
name: Deploy VitePress site to Pages

on:
  # Runs on pushes targeting the `main` branch.
  push:
    branches: [main]

  # Allows you to run this workflow manually from the Actions tab
  workflow_dispatch:

# Sets permissions of the GITHUB_TOKEN to allow deployment to GitHub Pages
permissions:
  contents: read
  pages: write
  id-token: write

# Allow only one concurrent deployment, skipping runs queued between the run in-progress and latest queued.
# However, do NOT cancel in-progress runs as we want to allow these production deployments to complete.
concurrency:
  group: pages
  cancel-in-progress: false

jobs:
  # Build job
  build:
    runs-on: ubuntu-latest
    steps:
      - name: Checkout
        uses: actions/checkout@v4
        with:
          fetch-depth: 0 # Not needed if lastUpdated is not enabled
      - name: Setup Node
        uses: actions/setup-node@v4
        with:
          node-version: 20
          cache: npm
      - name: Setup Pages
        uses: actions/configure-pages@v4
      - name: Install dependencies
        run: npm ci
      - name: Build with VitePress
        run: npm run docs:build
      - name: Upload artifact
        uses: actions/upload-pages-artifact@v3
        with:
          path: docs/.vitepress/dist

  # Deployment job
  deploy:
    environment:
      name: github-pages
      url: ${{ steps.deployment.outputs.page_url }}
    needs: build
    runs-on: ubuntu-latest
    name: Deploy
    steps:
      - name: Deploy to GitHub Pages
        id: deployment
        uses: actions/deploy-pages@v4
以降はGitHub上での作業になる模様。
まず、mainブランチから派生したfeatureブランチ上にここまでの作業内容を反映。
In your repository's settings under "Pages" menu item, select "GitHub Actions" in "Build and deployment > Source".
に従い、設定する。

Push your changes to the main branch and wait for the GitHub Actions workflow to complete. You should see your site deployed to https://<username>.github.io/[repository]/ or https://<custom-domain>/ depending on your settings. Your site will automatically be deployed on every push to the main branch.
とのことで、featureブランチ→mainブランチへのPRをマージしてWorkflowが動くのを待つ。

build(13s)もdeploy(7s)もすぐに完了して嬉しい。
デプロイ先に設定した https://c6tower.github.io/practice-vitepress/ に、(せっかくなので)スマホからアクセスすると↓
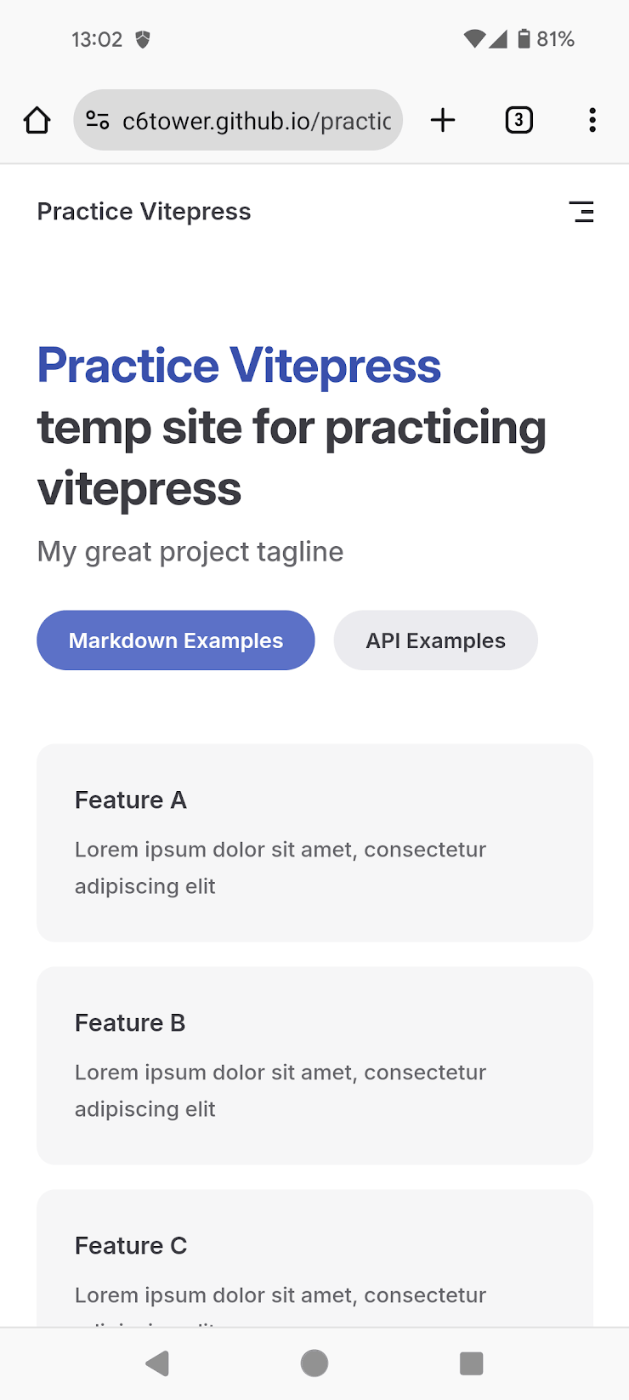
いいね! 👍
今回の作業Repos
(GitHub Pagesは非公開済み)