Flutter の AppBar の中の画像が指定したサイズで表示されない
Flutter Advent Calendar 2024 の 20 日目の記事です。
やりたいこと
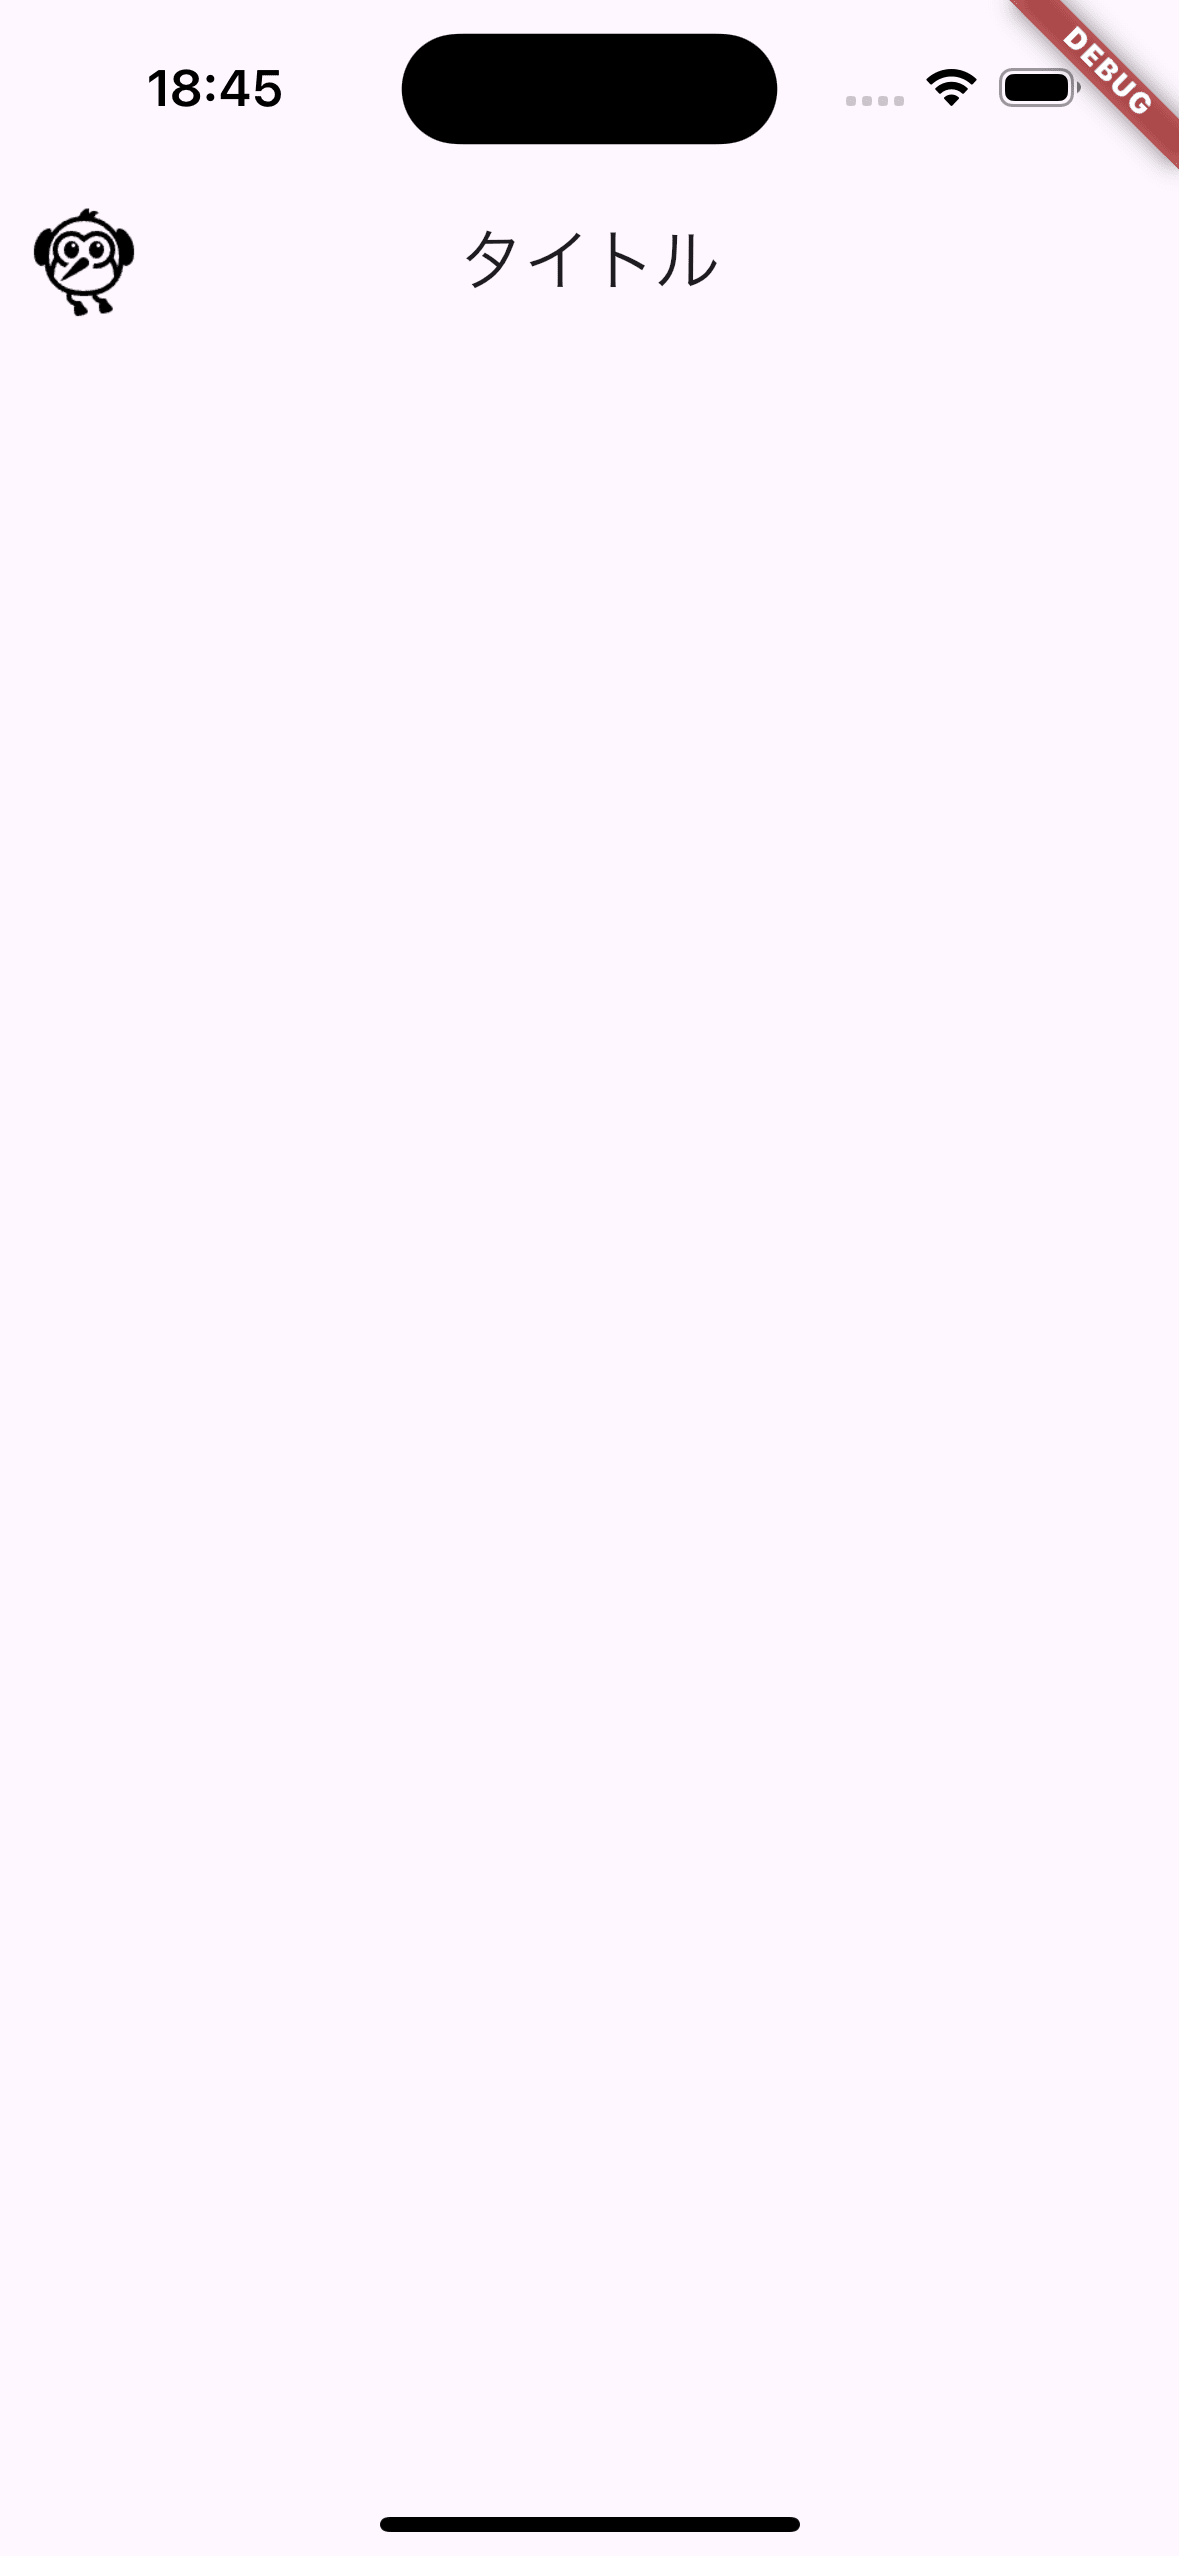
以下のように AppBar の leading に指定したサイズの画像を表示したい!
やってみよう
適当な画像を Google Fonts の Material Symbols などからダウンロードしてきます。
ダウンロードした画像は Flutter のプロジェクトの assets/ ディレクトリに移動して pubspec.yaml を以下のように修正します。
flutter:
  uses-material-design: true
+ assets:
+   - assets/
次にホーム画面を以下のように作成して、アイコンが 40x40 で表示されるようにします。
class HomeScreen extends StatelessWidget {
Widget build(BuildContext context) {
final image = Image.asset(
'assets/dash.png',
color: Colors.black,
width: 40,
height: 40,
);
return Scaffold(
appBar: AppBar(
leading: image,
title: Text('タイトル'),
),
);
}
}
はじめに表示される画面をホーム画面に設定したら、あとはアプリを実行するのみ!
🚀 アプリ実行 🚀
| 期待 | 結果 |
|---|---|
 |
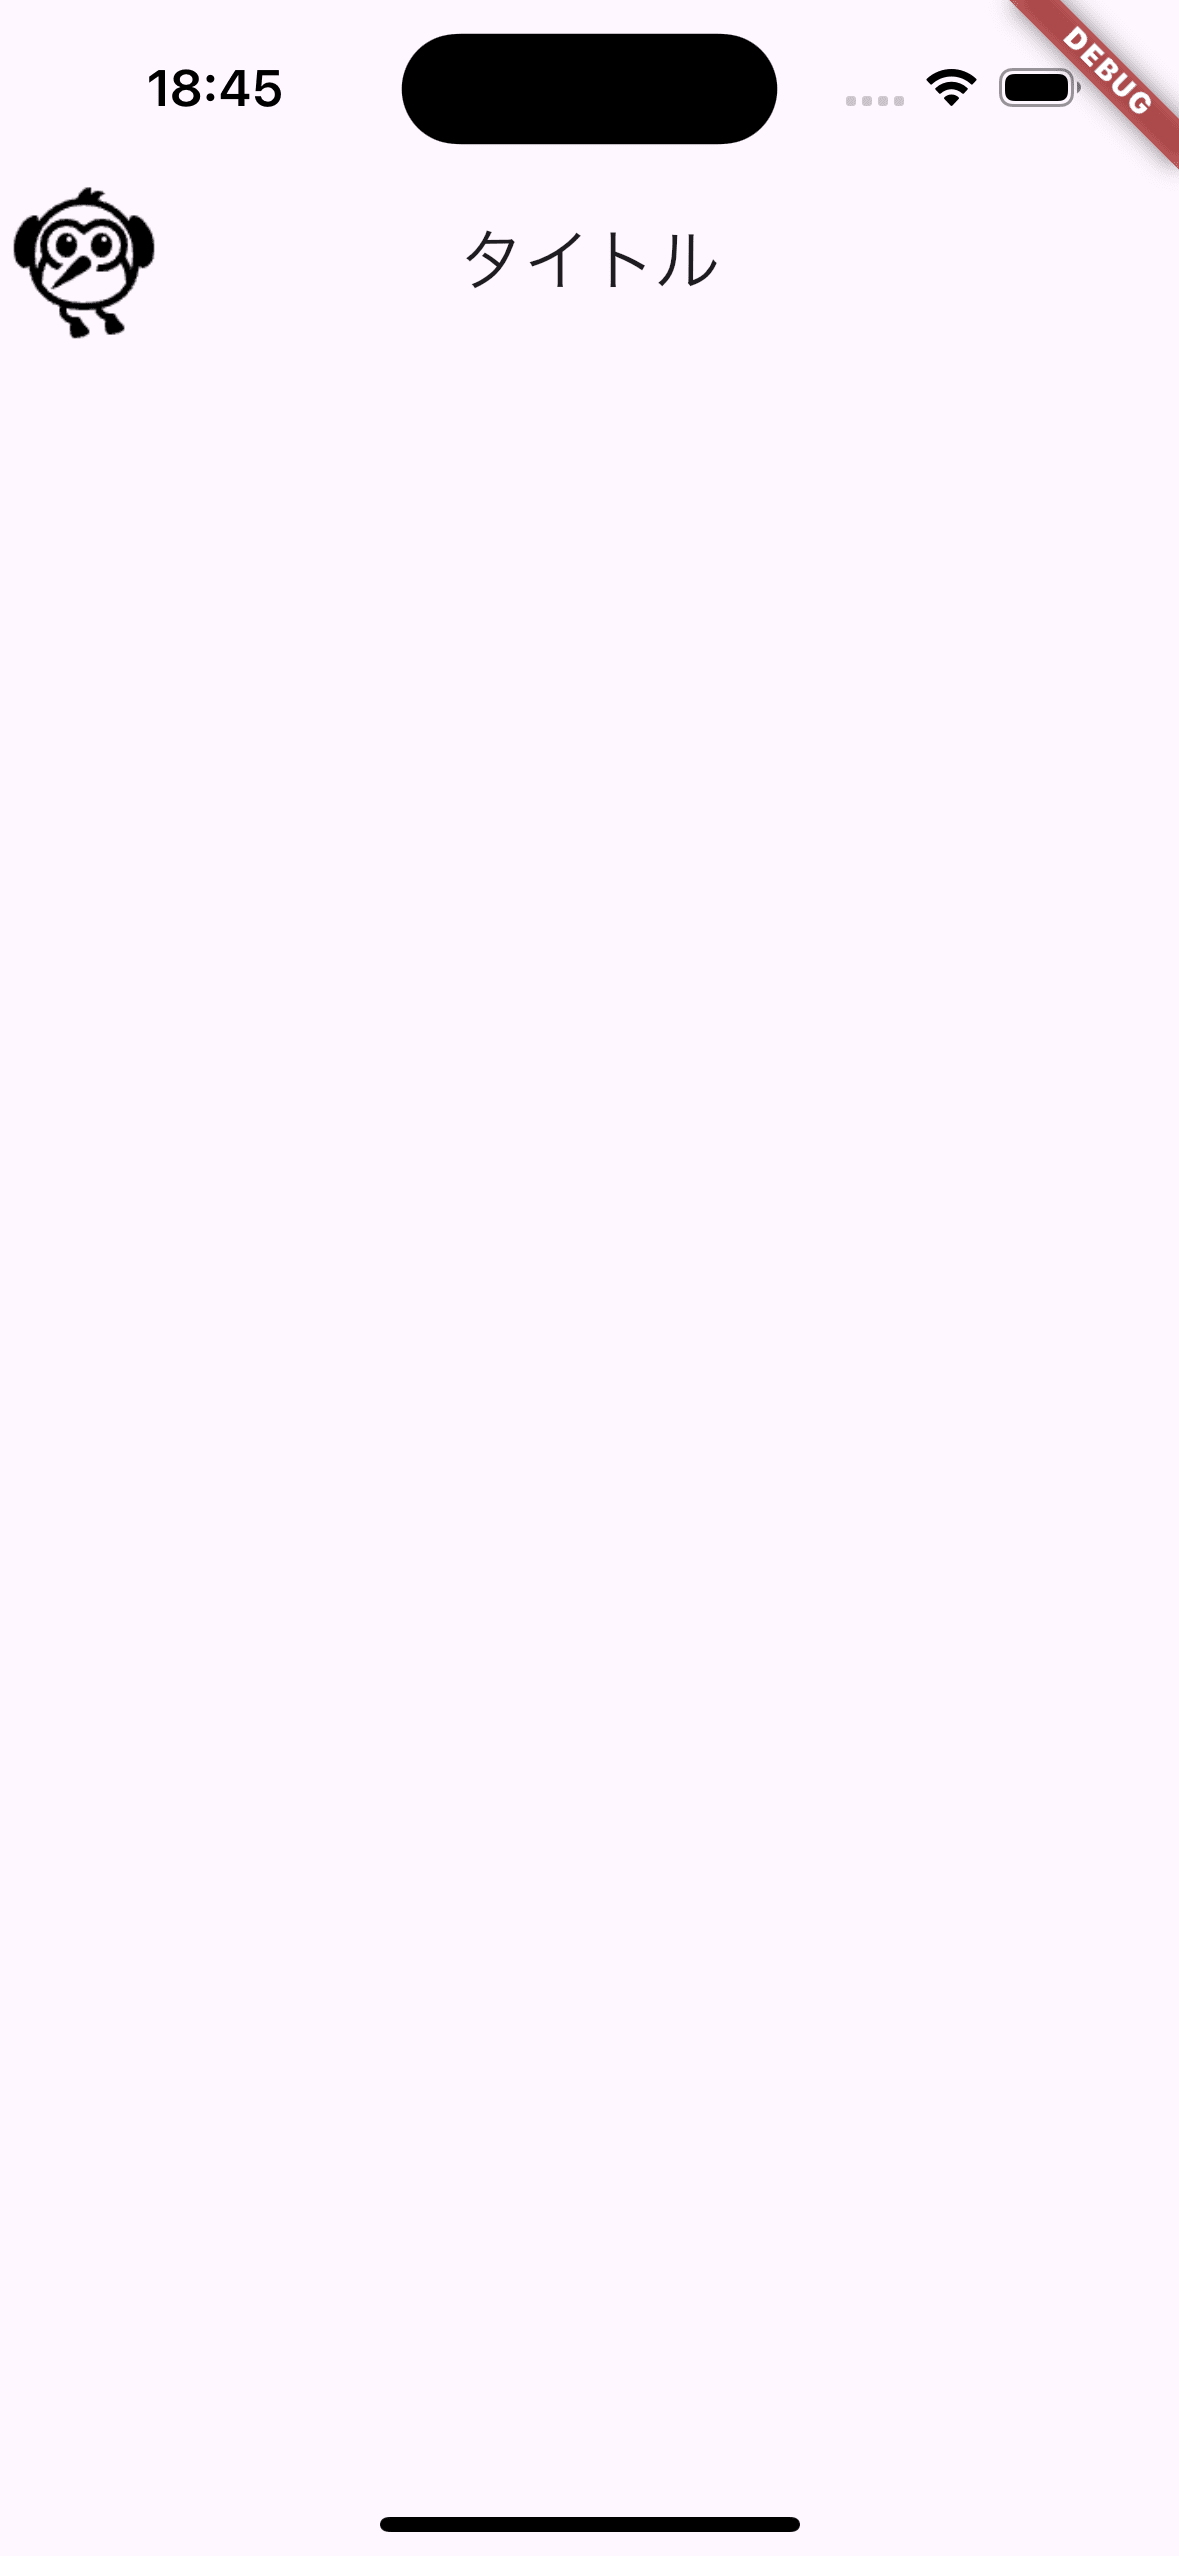 |
あれれー?おかしいぞー?
サイズが期待しているより大きくなってしまっている、、orz
原因調査
どうやら AppBar の leading に画像を指定した場合、その画像のサイズが AppBar のサイズに合わせて拡大されてしまうようです。
なぜ、このような挙動になるのか、ひとまず AppBar の公式ドキュメント を確認してみましょう。
AppBar の構成は以下のようになっていて、今回画像を設定したのは leading です。

AppBar の leading のドキュメント を確認してみると、leading に指定したウィジェットは NavigationToolbar の leading へ渡され、そのサイズは leadingWidth と toolbarHeight によって制限されることが分かりました。
しかし、これだけではなぜ設定した画像のサイズが拡大されてしまうのかは分かりません。
もう少し深いところまで探ってみましょう!
AppBar の実装部分を眺めてみると、 leading にウィジェットを渡すことで以下の処理が呼び出されることが分かりました。
if (leading != null) {
  if (theme.useMaterial3) {
    final IconButtonThemeData effectiveIconButtonTheme;

    // This comparison is to check if there is a custom [overallIconTheme]. If true, it means that no
    // custom [overallIconTheme] is provided, so [iconButtonTheme] is applied. Otherwise, we generate
    // a new [IconButtonThemeData] based on the values from [overallIconTheme]. If [iconButtonTheme] only
    // has null values, the default [overallIconTheme] will be applied below by [IconTheme.merge]
    if (overallIconTheme == defaults.iconTheme) {
      effectiveIconButtonTheme = iconButtonTheme;
    } else {
      // The [IconButton.styleFrom] method is used to generate a correct [overlayColor] based on the [foregroundColor].
      final ButtonStyle leadingIconButtonStyle = IconButton.styleFrom(
        foregroundColor: overallIconTheme.color,
        iconSize: overallIconTheme.size,
      );

      effectiveIconButtonTheme = IconButtonThemeData(
        style: iconButtonTheme.style?.copyWith(
          foregroundColor: leadingIconButtonStyle.foregroundColor,
          overlayColor: leadingIconButtonStyle.overlayColor,
          iconSize: leadingIconButtonStyle.iconSize,
        )
      );
    }

    leading = IconButtonTheme(
        data: effectiveIconButtonTheme,
        child: leading is IconButton ? Center(child: leading) : leading,
    );

    // Based on the Material Design 3 specs, the leading IconButton should have
    // a size of 48x48, and a highlight size of 40x40. Users can also put other
    // type of widgets on leading with the original config.
    leading = ConstrainedBox(
      constraints: BoxConstraints.tightFor(width: widget.leadingWidth ?? _kLeadingWidth),
      child: leading,
    );
  } else {
    leading = ConstrainedBox(
      constraints: BoxConstraints.tightFor(width: widget.leadingWidth ?? _kLeadingWidth),
      child: leading,
    );
  }
}
この中でも特に注目すべきなのは、以下の部分です。
leading = ConstrainedBox(
  constraints: BoxConstraints.tightFor(width: widget.leadingWidth ?? _kLeadingWidth),
  child: leading,
);
leading を ConstrainedBox で囲って BoxConstraints.tightFor() を適用することで横幅の最大・最小値を _kLeadingWidth ( 56 ) に設定していることが分かります。このように設定すると、ConstrainedBox の直下にある画像は _kLeadingWidth のサイズに合わせて拡大されてしまいます。
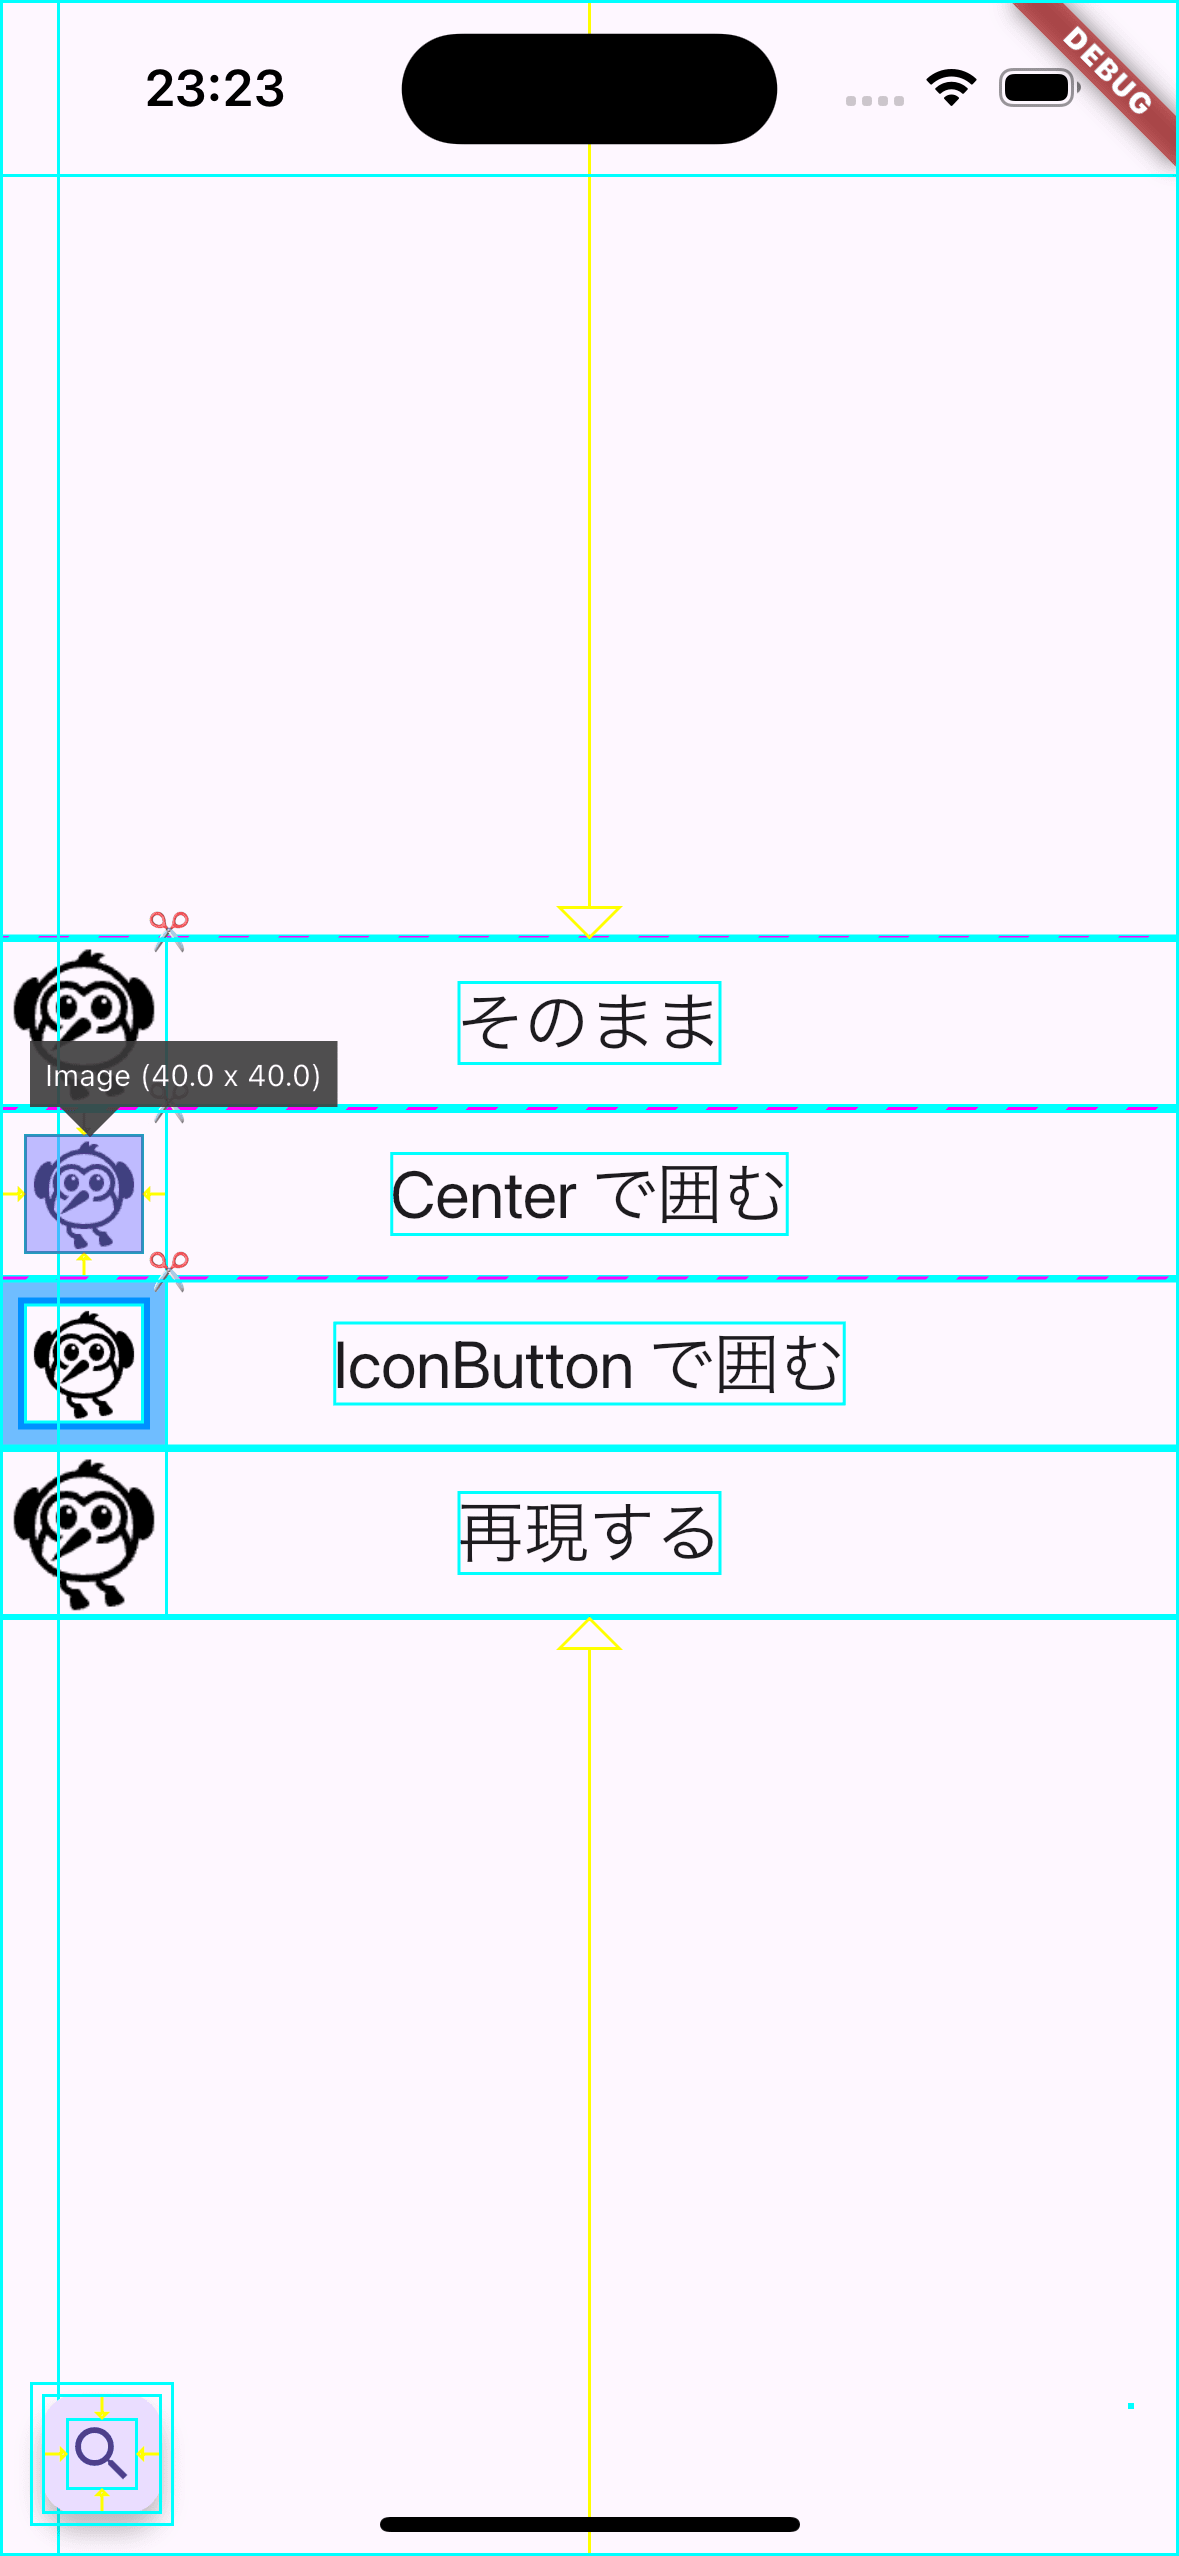
つまり、以下のように画像を ConstrainedBox で囲って BoxConstraints.tightFor() を適用すれば再現することができます。

解決方法
では、どうすれば画像を指定したサイズに固定できるのでしょうか?
先ほどの AppBar の実装部分をよくよく見てみると、とあることに気づきます。
leading = IconButtonTheme(
    data: effectiveIconButtonTheme,
    child: leading is IconButton ? Center(child: leading) : leading,
);
leading が IconButton の場合は Center で囲むようになっているのです。
そうです。実は Center で囲むことで画像のサイズが _kLeadingWidth に合わせて拡大されることを防ぐことができます。
先ほどの再現例を Center で囲んでみましょう。すると以下のように期待通りのサイズで表示されるようになりました 🎉
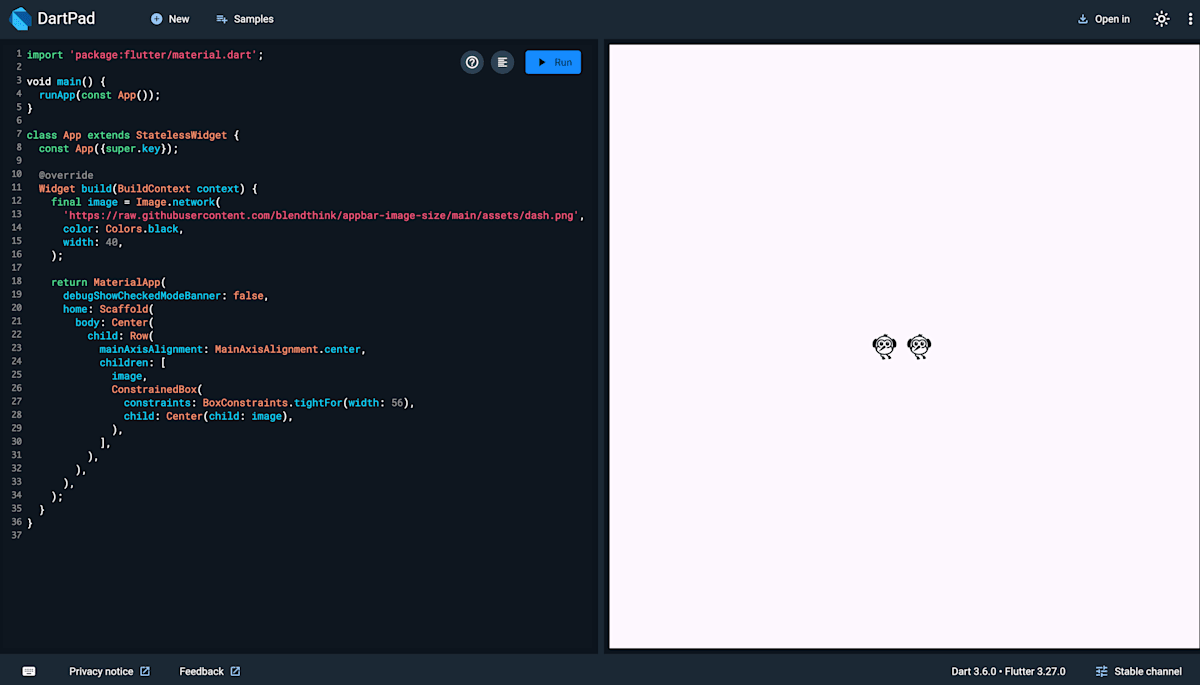
なぜ解決できたかというと ConstrainedBox の BoxConstraints.tightFor() の制約は Center へ適用されているということと、Center は子のウィジェットの位置を変えるだけでサイズには影響を与えないためです。
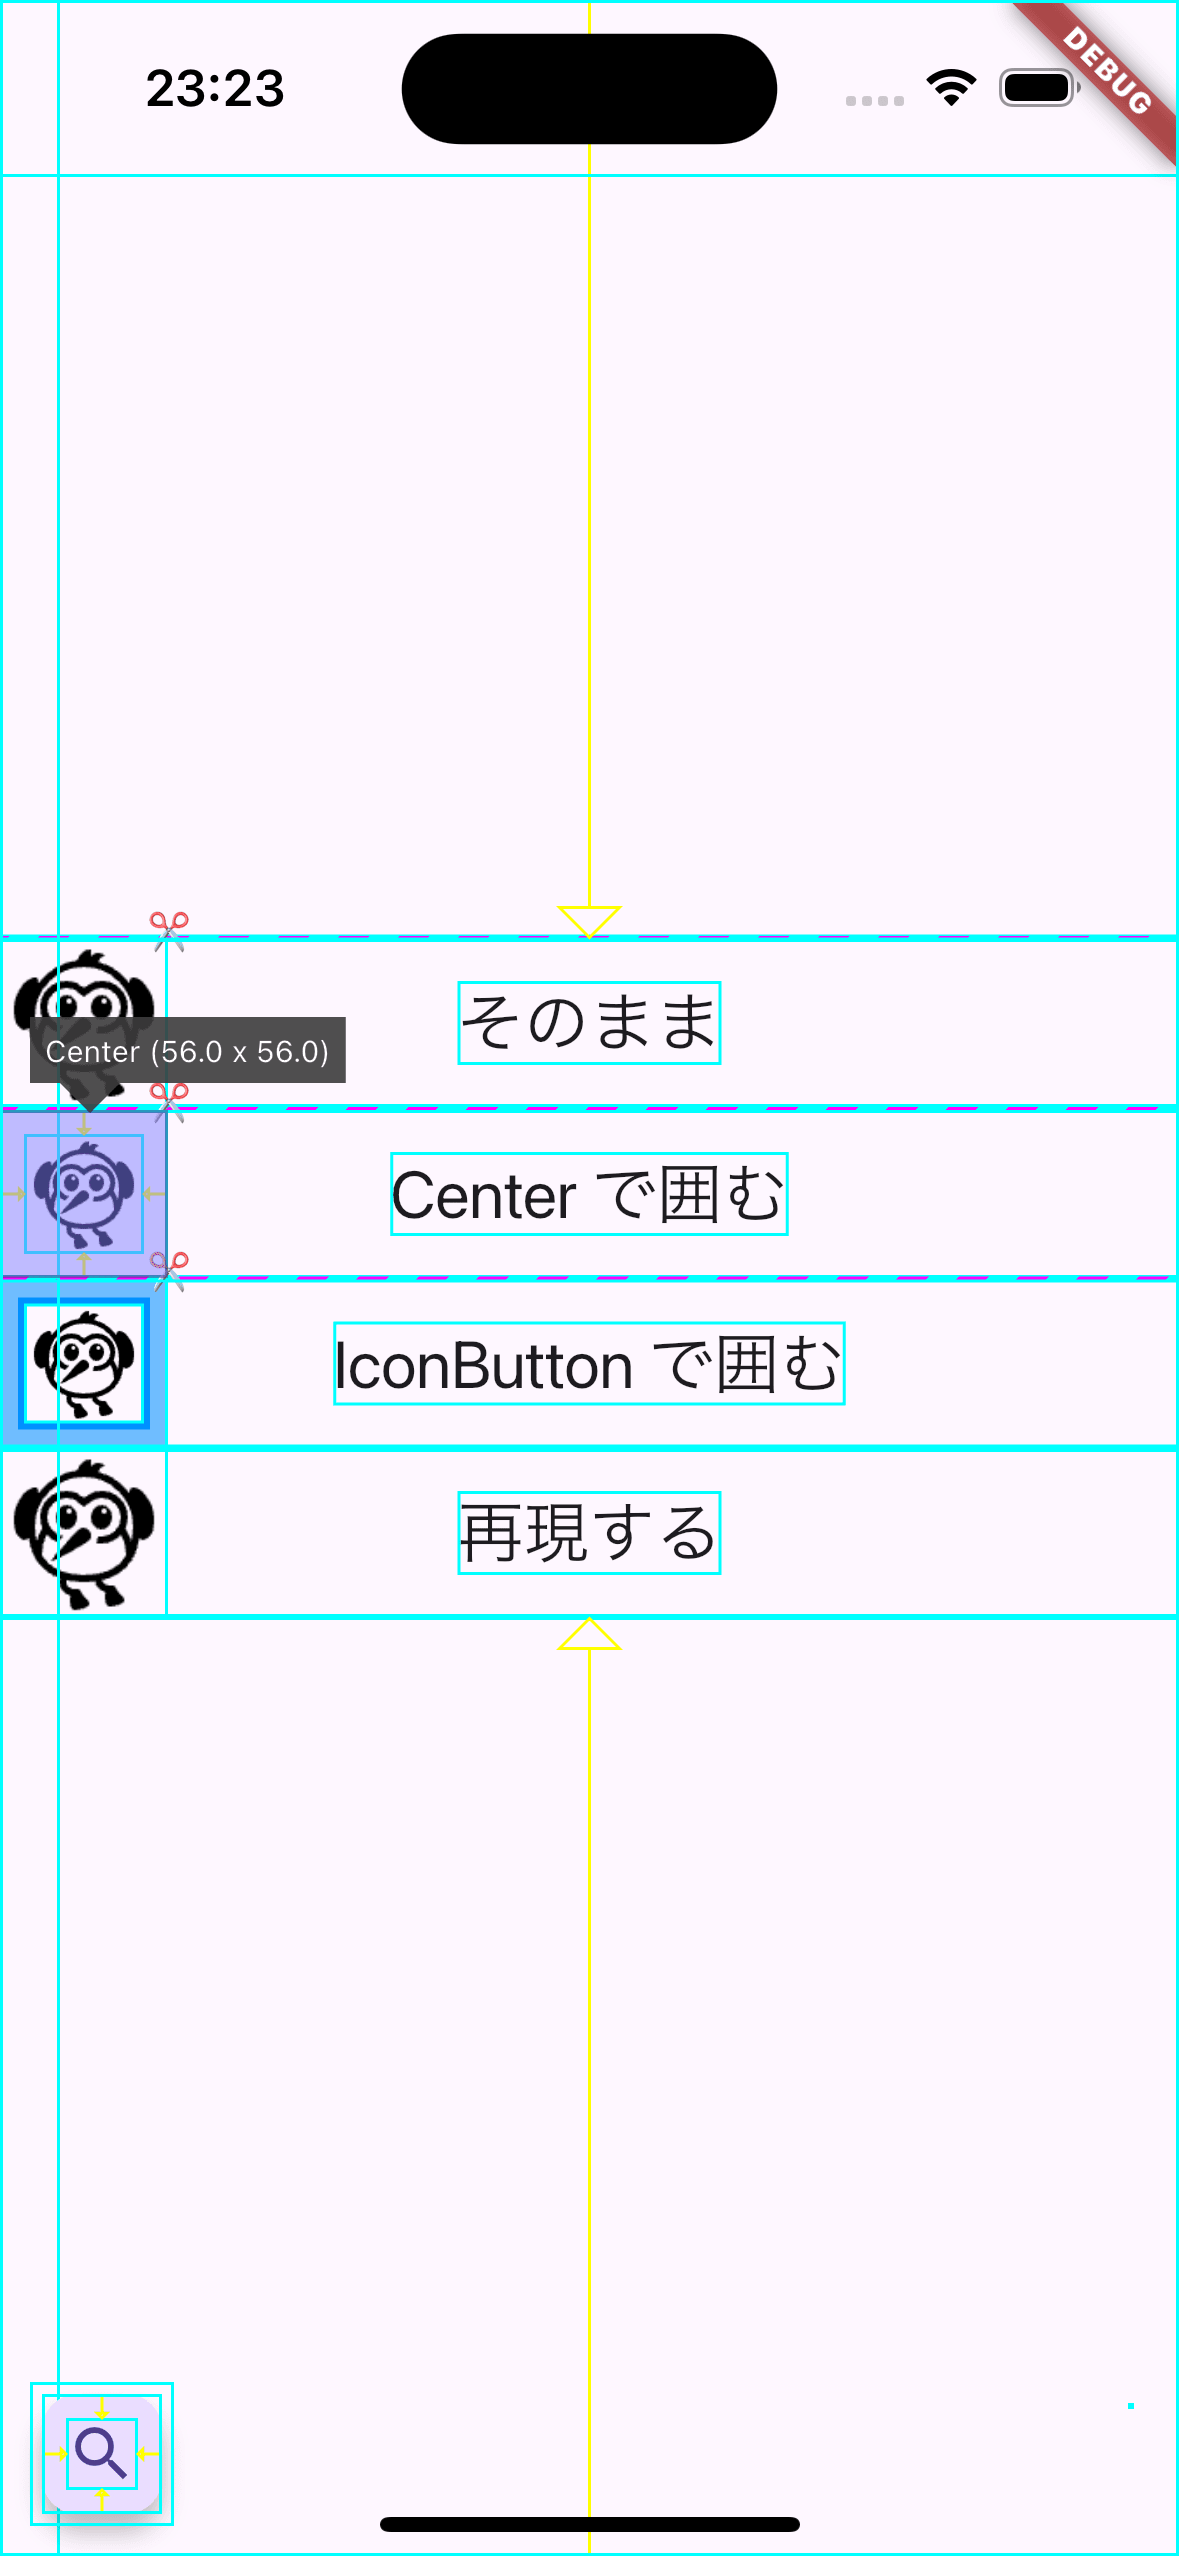
実際に Widget Inspector で確認してみると Center のサイズは _kLeadingWidth に合わせて拡大されていますが、子のウィジェットのサイズは変わっていないことが分かります。
| Center のサイズ | Center の子のサイズ |
|---|---|
 |
 |
サンプルコードは以下にありますので、参考までにどうぞご覧ください。
おわりに
今回は Flutter の AppBar の leading に画像を表示する際に遭遇した問題とその解決方法について紹介しました。
主なポイントは以下の通りです:
-
AppBarのleadingに画像を直接指定すると、_kLeadingWidth(56) のサイズに拡大されます - 画像を
Centerで囲むことによって、指定したサイズのまま表示することができます - これは
ConstrainedBoxとCenterそれぞれの特性によって起こる現象です
この記事が、同じような問題でお困りの方々の参考に少しでもなれば幸いです。
Discussion