llama.cppをiOS上で動かすには?
examples/llama.swiftui に参照実装的なのがある。
discussion: https://github.com/ggml-org/llama.cpp/discussions/4508
調べてもまとまった手順が出てこなかったのでGPTに聞きながら試行錯誤した。
XCode側の設定
- 自分のDeveloper AccountをXCodeに紐付ける
- Bundle Identifierの設定
- 一意な名前に変更する(自分のアカウント名を末尾につけるとか)
iPhone側の設定
- USBでmacに繋ぐ
- ペアリング設定
- 画面ロックされると中断されるので無効化しておくのが良い
正しい手順: デバイスを認識させる方法
iPhone を Xcode に認識させる
- iPhone を USB ケーブルで Mac に接続 します。
- iPhone の画面で「このコンピュータを信頼しますか?」と表示されたら、信頼 を選択し、パスコードを入力 します。
- Xcode の上部メニュー から
- Window > Devices and Simulators を選択
- Devices and Simulators ウィンドウ が開き、Connected タブに 接続した iPhone が表示 されることを確認します。
- iPhone が表示されている場合
- iPhone の名前をクリックして、右側の詳細情報を確認します。
- "Status: Connected" と表示されていれば、Xcode に正しく認識されています。
- iPhone が表示されていない場合
- USB ケーブルを再接続 してみてください。
- iPhone 側で「信頼」ダイアログが表示されていないか 確認してください。
Xcode にデバイスを登録する
- Xcode 上部のデバイス選択メニュー から、接続した iPhone を選択 します。
- Automatically manage signing に チェックを入れる ことで、Xcode が自動的に プロビジョニングプロファイル を生成します。
- Command + R でビルドを試みます。
トラブルシューティング
ビルド後、iPhone側で以下のようなエラーが出て失敗する
このiPhoneでデベロッパ"Apple Develpment xxx@icloud.com(xxx)"のアプリを使用することは現在のデバイス管理設定では許可されていません。これらのアプリの使用は、”設定”で許可することができます。
→デベロッパーを信頼する設定が必要。
デベロッパアカウントの信頼設定
- iPhone の設定を開く
- ホーム画面から 設定 (Settings) をタップします。
- 一般 (General) を選択
- VPNとデバイス管理 (VPN & Device Management) を選択
- デベロッパアカウントを信頼する
- デベロッパApp または Enterprise App のセクションに、"Apple Development xxx@icloud.com" が表示されているはずです。
- これをタップして、信頼 (Trust) を選択してください。
- 確認ダイアログ が表示されたら、信頼 (Trust) をタップします。
A12チップには対応してない?
ggml_metal_init: error: load pipeline error: Error Domain=AGXMetalA12 Code=3 "Encountered unlowered function call to air.simd_max.f32" UserInfo={NSLocalizedDescription=Encountered unlowered function call to air.simd_max.f32}
llama_new_context_with_model: ggml_metal_init() failed
Could not load context!
Error: The operation couldn’t be completed. (llama_swiftui.LlamaError error 0.)
Error: cancelled
Issue
PR
このPRのcommit 1174def5dce7f76d9ae23b192baa7b294478d8b2 をチェックアウトして再ビルドした。
→metal上でサポートされてないオペレーションがある?
ggml_metal_graph_compute_block_invoke: error: unsupported op 'RMS_NORM'
GGML_ASSERT: /Users/bilzard/.go/src/github.com/ggerganov/llama.cpp/ggml-metal.m:909: !"unsupported op"
ggml_metal_graph_compute_block_invoke: error: unsupported op 'SOFT_MAX'
GGML_ASSERT: /Users/bilzard/.go/src/github.com/ggerganov/llama.cpp/ggml-metal.m:909: !"unsupported op"
SIMDがサポートされてないデバイスは公式には対応しない意向とのこと。
CPU-onlyと比べて性能改善が見込めるか確信が持てないとのこと。
The only way is to implement the respective Metal kernels without using simd_ calls. It's not very difficult, but I don't plan on officially supporting it as it will increase the Metal code by a lot and I'm not convinced it will result in significant gains compared to CPU-only for these machines.
If somebody implements the kernels, we can put them in ggml-metal-intel.metal and have them build as a separate backend for Intel machines
CPU-onlyだと動いた。具体的には以下の#if, #endifをコメントアウトしてリビルドする(simulatorモード以外もGPU=0に)。
変更後
//#if targetEnvironment(simulator)
        model_params.n_gpu_layers = 0
        print("Running on simulator, force use n_gpu_layers = 0")
//#endif
チャットテンプレートの適用
OOMを起こさずにロードできたのがtinyllama-1.1b-1t-openorca.Q4_0だったので、OpenOrcaのモデルカードを参考に以下のチャットテンプレートを適用する。
<|im_start|>system
{system_message}<|im_end|>
<|im_start|>user
{prompt}<|im_end|>
<|im_start|>assistant
ref: https://huggingface.co/TheBloke/TinyLlama-1.1B-1T-OpenOrca-GGUF
コンテクスト長の延長
デフォルトだとcontext_len=64なので512に延長する。
変更後:
var n_len: Int32 = 512
該当箇所のファイルを編集してリビルド(Command+R)。
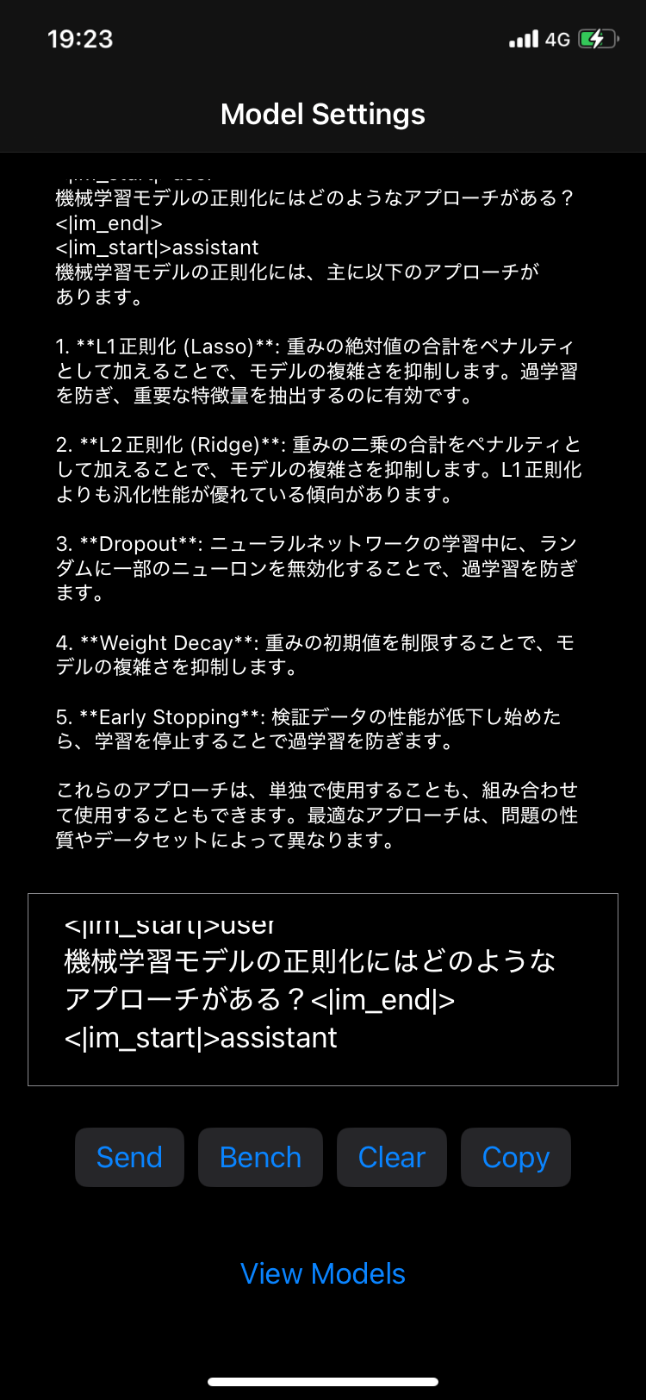
以下のテキストをコピペしてSendを押すと回答が表示される。
<|im_start|>system
You are a helpful assistant.<|im_end|>
<|im_start|>user
What "dog means?<|im_end|>
<|im_start|>assistant

モデルの追加
TinySwallow-1.5B-Instructを追加する。
Modelの定義にTinySwallowを追加する。
        Model(
            name: "TinySwallow-1.5B-Instruct (Q5_K_M, 1.13 GiB)",
            url: "https://huggingface.co/SakanaAI/TinySwallow-1.5B-Instruct-GGUF/resolve/main/tinyswallow-1.5b-instruct-q5_k_m.gguf?download=true",
            filename: "tinyswallow-1.5b-instruct-q5_k_m.gguf", status: "download"
        )
以下のチャットテンプレートを追加する。
[system](あなたは、Sakana AI株式会社が開発したTinySwallowです。小型ながら、誠実で優秀なアシスタントです。)
<|im_start|>user
モデルの知識蒸留とは?<|im_end|>
<|im_start|>assistant
ref: https://github.com/SakanaAI/TinySwallow-ChatUI/blob/main/docs/iphone.md
XCodeを落としてiPhoneから実行
公式手順[1]によると、「XCodeを落としてiPhone単体で実行せよ」とある。
- Xcode 上で実行を停止
- Xcode 上部の 停止ボタン (■) をクリック。
- Xcode を終了
- Command + Q で Xcode を完全に終了します。
- iPhone のホーム画面からアプリを起動
- iPhone のホーム画面 に アプリアイコン が表示されているので、タップして起動します。
これで実行するとかなり生成が早くなった。
- XCodeあり: 5分52秒
- XCodeなし: 1分22秒
Reference
生成結果(1分22秒):

生成結果(1分50秒)
解決策: クリーンビルド
- Xcode のメニュー から
Product > Clean Build Folder を選択- ショートカット: Shift + Command + K
- 再ビルド (Command + R) してください。