Astroチュートリアルざっくり説明〜オフラインイベント資料〜
本スクラップについて
Astro公式チュートリアルの一部を、簡単にまとめてみました。
チュートリアル自体が意外と長くて、途中で力尽きちゃいました!!
レイアウトコンポーネントとか、コードフェンスの話とか入れれてないです!!
ごめんなさい!!笑
公式チュートリアルはこちら。ブログサイトの構築を行います。
出来上がったらこんな感じ!
チュートリアルをやり切ったら、こんな感じのサイトが出来上がります🎉
チュートリアルを進める準備
チュートリアルを進める前に、必要なものを準備しておきます。
必要なもの
- ターミナル
- Node.js(
v16.12.0以上) - エディタ(チュートリアルでは、VS Codeを使用。)
VS Codeの拡張機能があれば、便利です!
拡張機能のところで、Astroと入力したら出てきます。

Astroプロジェクトを作る
必要なものが揃ったので、Astroでプロジェクトを作ります。
以下のコマンドで、プロジェクトを作っていきます。
npmを使っていますが、yarnでもOK👍
npm create astro@latest
ディレクトリについてとか、色々聞かれるので、回答していきます。
全部回答したら、こんな感じになります。

サンプルファイルを入れておくかどうかやTypeScriptを使うかなどについて聞かれます!
サンプルファイルの有無については、最初に起動した時の画面表示に違いがありますが、チュートリアルを進めるのにそこまで大きく影響しないので、どちらを選んでも一応大丈夫です。が、どちらかと言えばサンプルファイル無しの方がおすすめです。
プロジェクトが作成できたら、ディレクトリを移動して、npm run devで起動します。
http://localhost:3000を開いてください。
起動したら、まだ何も手を加えていない状態なので、先ほどのサンプルファイルの有無の選択によって、画面表示が異なります。再度お伝えしておきますが、画面表示に違いはありますが、少し書き換えが必要なくらいで、問題なくチュートリアルを進められます。
【サンプルファイル無しを選択した場合】
背景色が白なので、わかりにくいですね〜笑
【サンプルファイル有りを選択した場合】
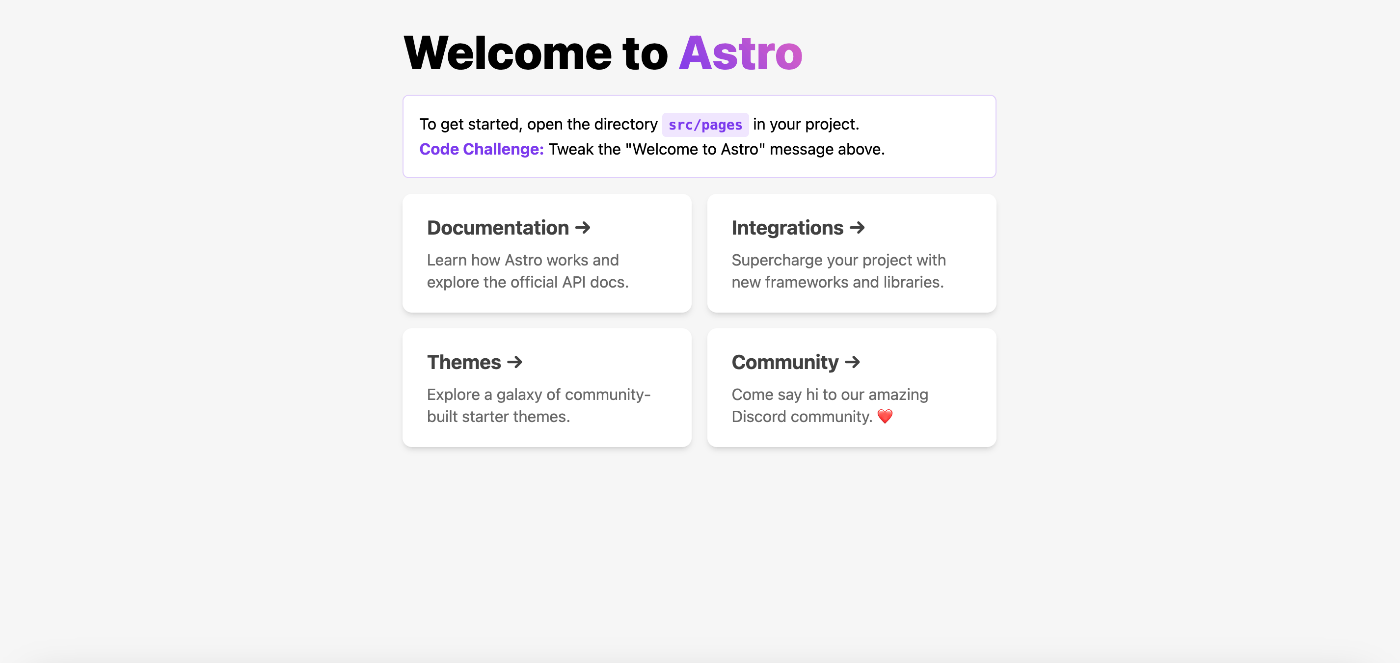
起動して画面表示を確認できたら、開発をスタートできます🎉
タイトルを変えてみる
ここからは、実際にAstroファイルを触っていきます。
単純にタイトル文字列を書き換えてみる
まずは、index.astroでタイトルを変えてみます。
Astroになっているところを、My Astro Siteに変えてみます。
 <body>
-   <h1>Astro</h1>
+   <h1>My Astro Site</h1>
 </body>
画面ではこんな感じになります!

My Astro Siteになっています🎉
変数を使ってタイトルを指定することもできる
変数を使って、ページのタイトルを指定することもできます。
index.astroのコードフェンスにpageTitleを定義して、HTMLの中で変数展開して使います。
ここでは、タイトルをHome Pageにしています。
---
const pageTitle = 'Home Page';
---

<html lang='en'>
  <head>
    <meta charset='utf-8' />
    <link rel='icon' type='image/svg+xml' href='/favicon.svg' />
    <meta name='viewport' content='width=device-width' />
    <meta name='generator' content={Astro.generator} />
    <title>{pageTitle}</title>
  </head>
  <body>
    <h1>{pageTitle}</h1>
  </body>
</html>
HTML部分を見てみると、title要素とh1要素で変数展開を行なっています🎉
ページを作ってみる
Astroは、ファイルベースルーティングを採用しているので、src/pages/以下にファイルを作成することで、ルーティングできるようになります。
AboutページとBlogページを作るのであれば、about.astroとblog.astroをsrc/pages/に作ります。
これにより、/aboutと/blogにアクセスできるようになります。
Aboutページ
about.astroはこんな感じです。
---
---

<html lang='en'>
  <head>
    <meta charset='utf-8' />
    <meta name='viewport' content='width=device-width' />
    <title>Astro</title>
  </head>
  <body>
    <a href='/'>Home</a>
    <a href='/about/'>About</a>
    <a href='/blog/'>Blog</a>

    <h1>My Astro Site</h1>
    <h1>About Me</h1>
    <h2>... and my new Astro site!</h2>

    <p>
      I am working through Astro's introductory tutorial. This is the second
      page on my website, and it's the first one I built myself!
    </p>

    <p>
      This site will update as I complete more of the tutorial, so keep checking
      back and see how my journey is going!
    </p>
  </body>
</html>
http://localhost:3000/about/にアクセスすると...
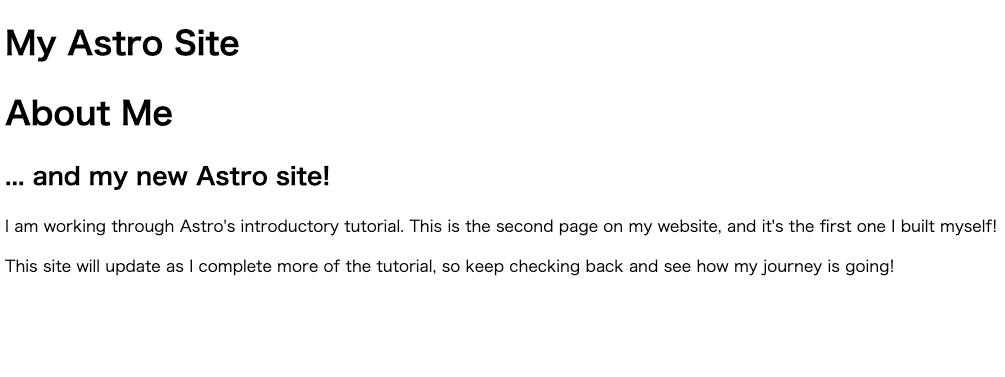
Aboutページが見れました🎉
Blogページ
blog.astroはこんな感じです。
---
---

<html lang='en'>
  <head>
    <meta charset='utf-8' />
    <meta name='viewport' content='width=device-width' />
    <title>Astro</title>
  </head>
  <body>
    <a href='/'>Home</a>
    <a href='/about/'>About</a>
    <a href='/blog/'>Blog</a>

    <h1>My Astro Learning Blog</h1>
    <p>This is where I will post about my journey learning Astro.</p>
  </body>
</html>
http://localhost:3000/blog/にアクセスすると...

Blogページが見れました🎉
ブログ記事を用意する
Blogページにアクセスできるようになったところで、ブログ記事と記事へのリンクを準備していきます。
記事をマークダウンで作成する
ブログ記事は、マークダウンで作成します。
src/pages/posts/ディレクトリを作ってその中に、post-1.mdというファイルを作ります。
マークダウンファイル(.md)を使います。
---
title: 'My First Blog Post'
pubDate: 2022-07-01
description: 'This is the first post of my new Astro blog.'
author: 'Astro Learner'
image:
    url: 'https://docs.astro.build/assets/full-logo-light.png'
    alt: 'The full Astro logo.'
tags: ["astro", "blogging", "learning in public"]
---
# My First Blog Post

Published on: 2022-07-01

Welcome to my _new blog_ about learning Astro! Here, I will share my learning journey as I build a new website.

## What I've accomplished

1. **Installing Astro**: First, I created a new Astro project and set up my online accounts.

2. **Making Pages**: I then learned how to make pages by creating new `.astro` files and placing them in the `src/pages/` folder.

3. **Making Blog Posts**: This is my first blog post! I now have Astro pages and Markdown posts!

## What's next

I will finish the Astro tutorial, and then keep adding more posts. Watch this space for more to come.
http://localhost:3000/posts/post-1にアクセスしてみると...

ブログ記事が見れました🎉
ブログ記事のリンクを作る
blog.astroに、先ほど作ったブログ記事のリンクを配置します。
ulタグを使って、記事をリスト表示できるようにしています。
<h1>My Astro Learning Blog</h1>
<p>This is where I will post about my journey learning Astro.</p>
<ul>
    <li><a href="/posts/post-1/">Post 1</a></li>
</ul>
http://localhost:3000/blog/にアクセスすると...
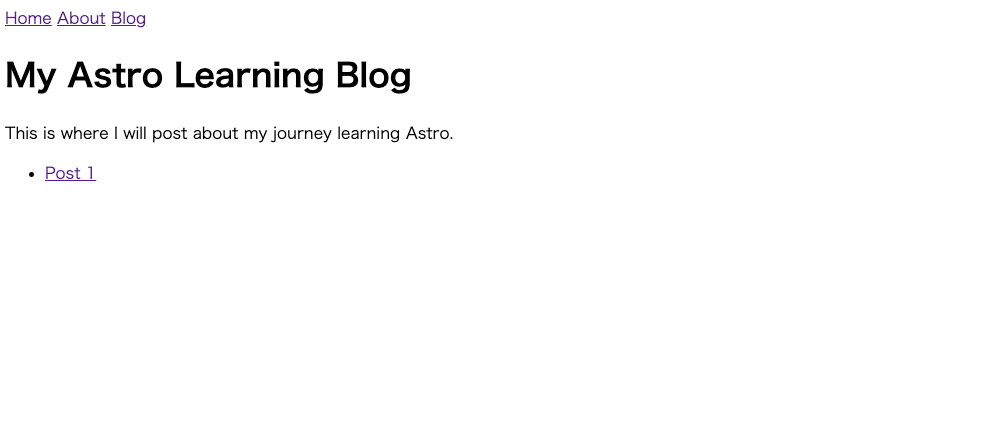
記事へのリンクができています🎉
もう少し記事を用意する & リンク配置
こんな感じで、post-2.mdとpost-3.mdを作成します。
---
title: My Second Blog Post
author: Astro Learner
description: "After learning some Astro, I couldn't stop!"
image:
    url: "https://docs.astro.build/assets/arc.webp"
    alt: "Thumbnail of Astro arcs,"
pubDate: 2022-07-08
tags: ["astro", "blogging", "learning in public", "successes"]
---
After a successful first week learning Astro, I decided to try some more. I wrote and imported a small component from memory!
---
title: My Third Blog Post
author: Astro Learner
description: "I had some challenges, but asking in the community really helped!"
image:
    url: "https://docs.astro.build/assets/rays.webp"
    alt: "Thumbnail of Astro rays."
pubDate: 2022-07-15
tags: ["astro", "learning in public", "setbacks", "community"]
---
It wasn't always smooth sailing, but I'm enjoying building with Astro. And, the [Discord community](https://astro.build/chat) is really friendly and helpful!
blog.astroに、リンクを追加します。
 <head>
  <meta charset="utf-8"/>
  <meta name="viewport" content="width=device-width" />
  <title>Astro</title>
 </head>
 <body>
  <a href="/">Home</a>
  <a href="/about/">About</a>
  <a href="/blog/">Blog</a>

  <h1>My Astro Learning Blog</h1>
  <p>This is where I will post about my journey learning Astro.</p>
  <ul>
    <li><a href="/posts/post-1/">Post 1</a></li>
+   <li><a href="/posts/post-2/">Post 2</a></li>
+   <li><a href="/posts/post-3/">Post 3</a></li>
  </ul>
 </body>
スタイルの定義と適用
各ページのスタイル定義と適用
スタイルの定義は、styleタグを使うことができます。
about.astroで、以下のように、スタイルを定義します。
<style>
  h1 {
    color: purple;
    font-size: 4rem;
  }
</style>

<html lang='en'>
〜略〜
</html>
また、変数を利用することもできます。
about.astroのコードフェンスにて、次のように変数宣言します。
---
〜略〜
const skillColor = 'navy';
---
styleタグで変数を扱う場合、define:varsディレクティブを渡します。
 <style define:vars={{ skillColor }}>
  h1 {
    color: purple;
    font-size: 4rem;
  }
+ .skill {
+  color: var(--skillColor);
+   font-weight: bold;
+ }
 </style>
スタイルを適用したい要素にclassを渡すことで、適用することができます。
グローバルスタイルの定義と適用
グローバルスタイルを定義して適用することも可能です。
src/styles/ディレクトリを作成し、global.cssというCSSファイルを作成します。
html {
  background-color: #f1f5f9;
  font-family: sans-serif;
}

body {
  margin: 0 auto;
  width: 100%;
  max-width: 80ch;
  padding: 1rem;
  line-height: 1.5;
}

* {
  box-sizing: border-box;
}

h1 {
  margin: 1rem 0;
  font-size: 2.5rem;
}
このグローバルスタイルを、Aboutページに適用してみます。
about.astroのコードフェンスの中でimportします。
---
import '../styles/global.css';

〜略〜
---
個別のスタイルとグローバルスタイルを適用したAboutページはこんな感じです。
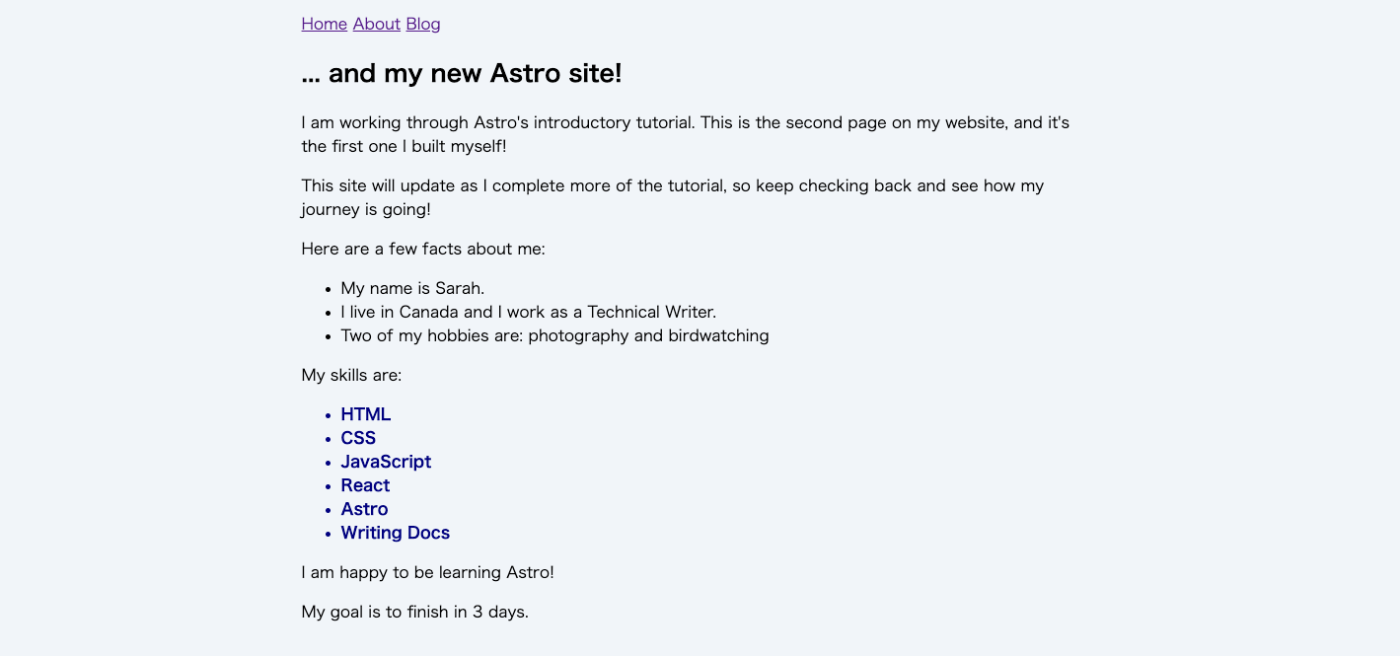
無事、スタイルが適用されています🎉
また、index.astroやblog.astroにも、グローバルスタイルをimportしておいて下さい。
コンポーネントを作る
続いて、コンポーネントを作っていきます。
Astroは、コンポーネントベースで開発を進めていきます。
src/components/ディレクトリを作ります。この中にコンポーネントを作っていきます。
ナビゲーション部分をコンポーネントにします。
componentsディレクトリに、Navigation.astroというファイルを作ります。
---
---

<a href='/'>Home</a>
<a href='/about/'>About</a>
<a href='/blog/'>Blog</a>
これで、Navigationコンポーネントができました🎉
index.astroにimportします。
---
import '../styles/global.css';
+ import Navigation from '../components/Navigation.astro';
---
そして、index.astroにて、importしたNavigationコンポーネントを使います。
- <a href="/">Home</a>
- <a href="/about/">About</a>
- <a href="/blog/">Blog</a>
+ <Navigation />

 <h1>My Astro Site</h1>
このNavigationコンポーネントを、about.astroとblog.astroにも同じようにimportして使います。
コンポーネントでpropsを受け取りたい!
コンポーネントでpropsを受け取る方法を見ていきます。
Footerコンポーネントを用意する
とりあえず、Footerコンポーネントを用意します。
src/components/ディレクトリに、Footer.astroを作ります。
---
const platform = "github";
const username = "withastro";
---

<footer>
  <p>Learn more about my projects on <a href={`https://www.${platform}.com/${username}`}>{platform}</a>!</p>
</footer>
Footerコンポーネントができました。
index.astro、about.astro、blog.astroにimportして使います。
例えば、index.astroだと以下のようになります。
---
import '../styles/global.css';
import Navigation from '../components/Navigation.astro';
+import Footer from '../components/Footer.astro';
---
 <html lang='en'>
〜略〜
  <body>
    <Navigation />
    <h1>My Astro Site</h1>
+   <Footer />
  </body>
 </html>
Socialコンポーネントを作る
次に、Social.astroファイルをcomponents/ディレクトリに作ります。
ソーシャルメディアのリンクのコンポーネントです。上のFooterコンポーネントで実装されているようなリンクを、Socialコンポーネントに切り出します。
---
const { platform, username } = Astro.props;
---
<a href={`https://www.${platform}.com/${username}`}>{platform}</a>
Socialコンポーネントができました。
このコンポーネントでは、propsを受け取っています。
Astro.propsで、componentに渡された値をpropsとして受け取っています。ここでは、platformとusernameを受け取っています。
---
const { platform, username } = Astro.props;
---
このSocialコンポーネントをFooterコンポーネントで使います。
---
-const platform = "github";
-const username = "withastro";
+import Social from './Social.astro';
---

 <footer>
-   <p>
-     Learn more about my projects on <a href={`https://www.${platform}.com/${username}`}>{platform}
-     </a>!
-   </p>
+  <Social platform="twitter" username="astrodotbuild" />
+  <Social platform="github" username="withastro" />
+  <Social platform="youtube" username="astrodotbuild" />
 </footer>
Socialコンポーネントに、platformとusernameをそれぞれ渡しています。
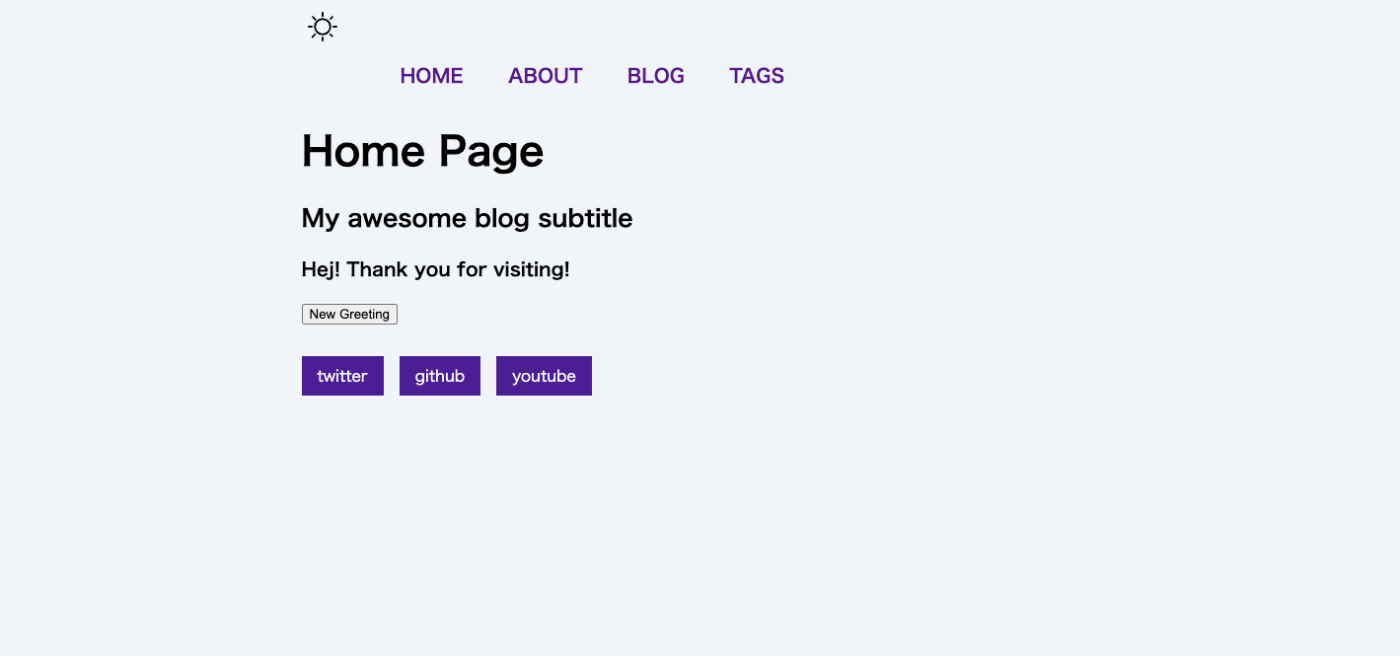
Socialコンポーネントでスタイルをあてたら、こんな感じになります。
http://localhost:3000/aboutで見てみると...
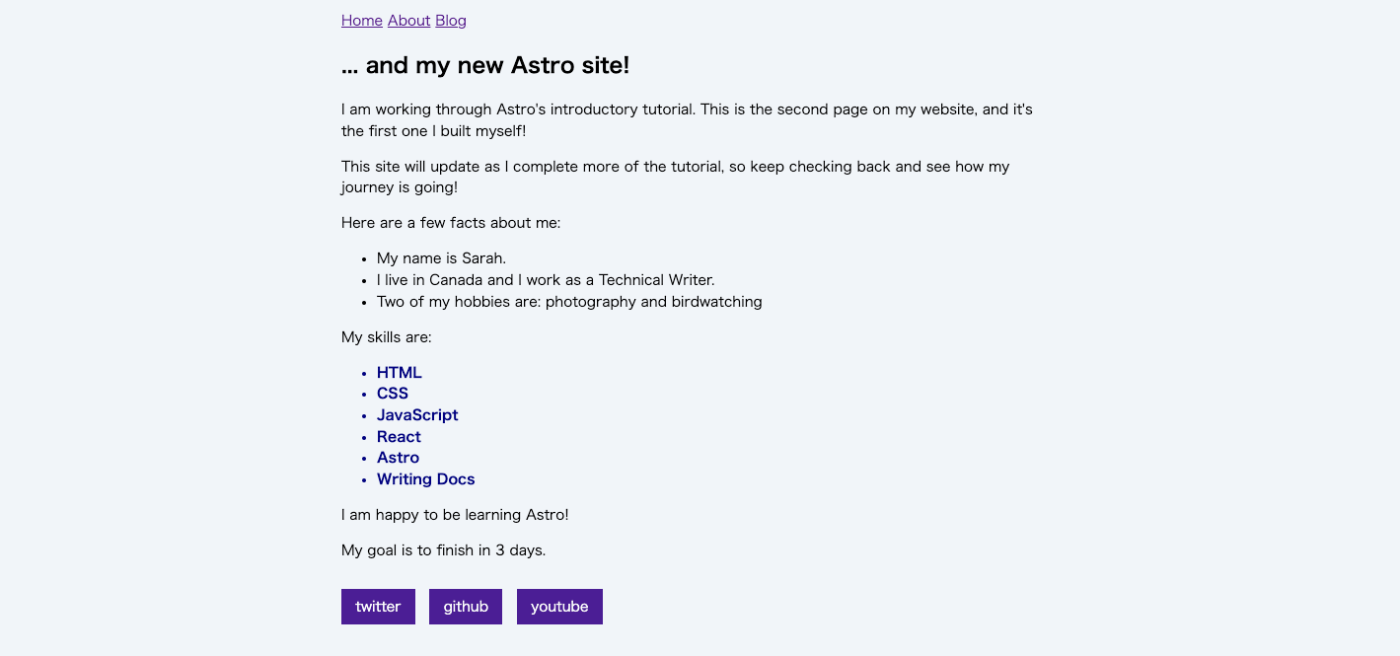
ソーシャルメディアのリンクが出来上がっています🎉
ほかのページでもFooterコンポーネントを使っているので、同じ見た目のリンクが配置されているかと思います。
おわりに
Astro公式チュートリアルの内容が割と濃くて、力尽きてしまいました...😭
レイアウトコンポーネントなどなど、説明することはもっとあるのですが、間に合わなかったです。ごめんなさい🙏
興味がある方は、公式チュートリアルにも是非、挑戦してみて下さい🔥