React NativeにNativeWind(Tailwind CSS)を導入する方法
はじめに
今回は、React NativeにNativeWind(Tailwind CSS)を導入する方法をまとめます
環境
- MacBook Pro M3
- react-native 0.76.5
- nativewind 4.1.23
1. 新規Expoプロジェクトを作成
アプリを格納するディレクトリを作成します
mkdir react_native_sample
作成したディレクトリに移動します
cd react_native_sample
新しいExpoプロジェクトを作成します
npx create-expo-app@latest ./
2. アプリの起動
アプリを起動します
npx expo start
iを押すとiOSのシミュレーターを起動できます
aを押すとAndroidのシミュレーターが起動できます
› Press s │ switch to development build

› Press a │ open Android
› Press i │ open iOS simulator
› Press w │ open web

› Press j │ open debugger
› Press r │ reload app
› Press m │ toggle menu
› shift+m │ more tools
› Press o │ open project code in your editor

› Press ? │ show all commands
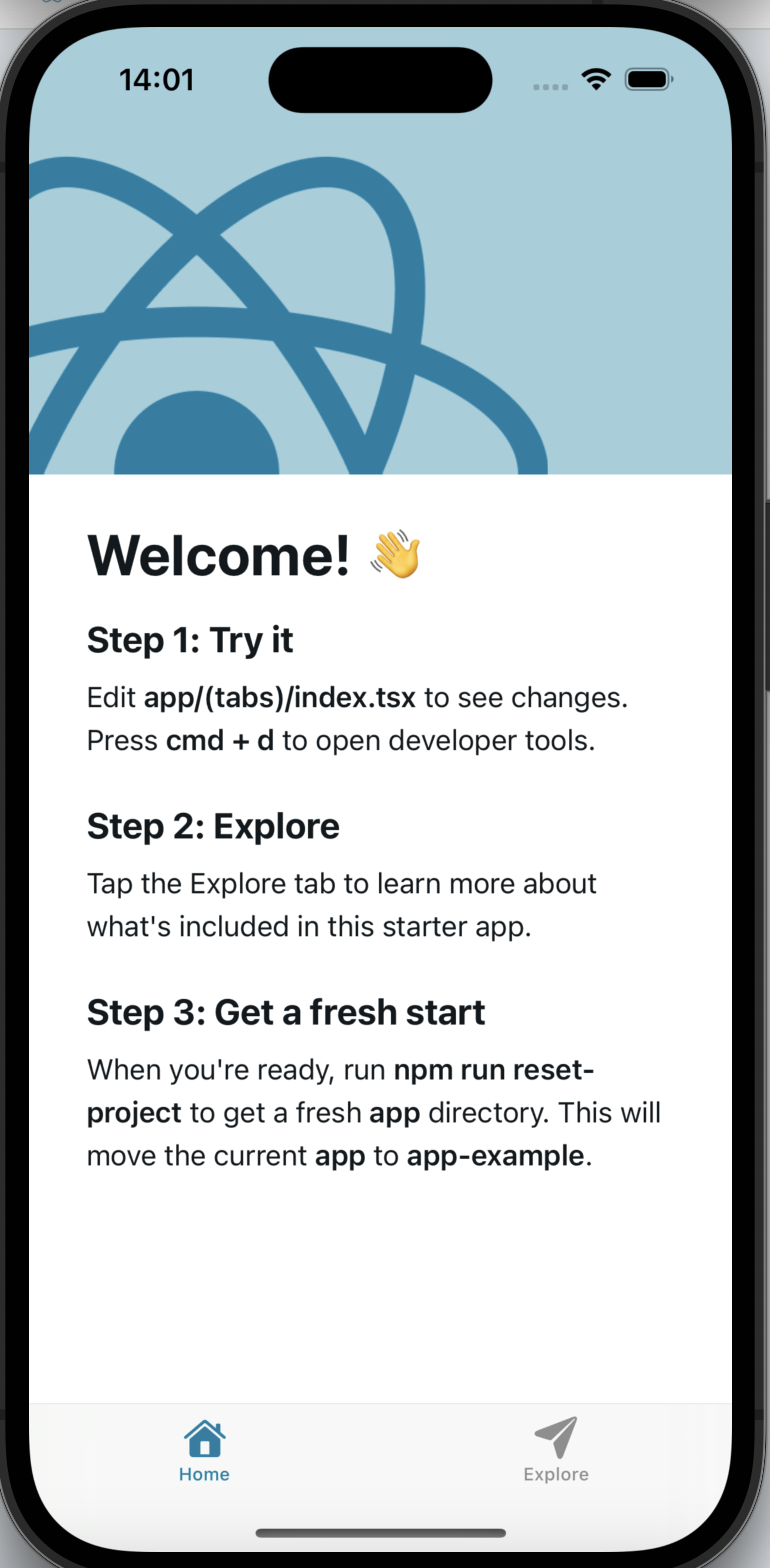
以下の画面が立ち上がることを確認します

3. アプリのリセット(任意)
ターミナルで以下を実行します
npm run reset-project
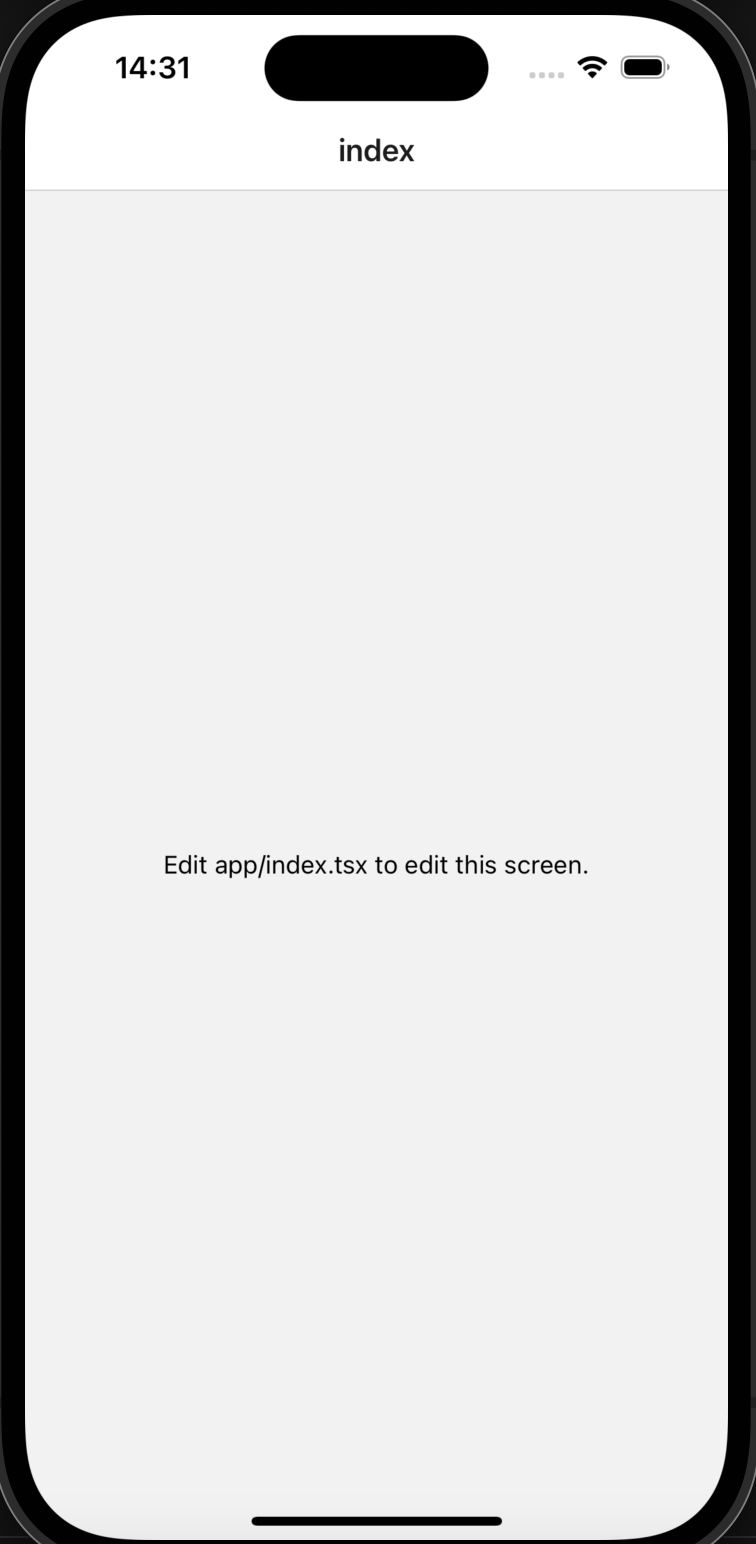
以下の画面が立ち上がることを確認します

4. NativeWind(Tailwind CSS)をインストール
React NativeのプロジェクトでTailwind CSSを使用可能にするNativeWindというライブラリをインストールします
npx expo install nativewind tailwindcss react-native-reanimated react-native-safe-area-context
react-native-reanimated のインストールをします
npx pod-install
5. NativeWind(Tailwind CSS)のセットアップ
1. カレントディレクトリの確認
ターミナルで作成したプロジェクトがカレントディレクトリであることを確認します
pwd
出力結果
〇〇/react_native_sample
2. tailwind.config.jsの設定
ファイルを作成します
touch tailwind.config.js
ファイルに以下を記載します
/** @type {import('tailwindcss').Config} */
module.exports = {
  // NOTE: Update this to include the paths to all of your component files.
  content: ["./app/**/*.{js,jsx,ts,tsx}", "./components/**/*.{js,jsx,ts,tsx}"],
  presets: [require("nativewind/preset")],
  theme: {
    extend: {},
  },
  plugins: [],
}
3. CSSファイルを設定
global.cssファイルを作成します
touch app/global.css
ファイルに以下を記載します
@tailwind base;
@tailwind components;
@tailwind utilities;
4. babel.config.jsの設定
ファイルを作成します
touch babel.config.js
ファイルに以下を記載します
module.exports = function (api) {
  api.cache(true);
  return {
    presets: [
      ["babel-preset-expo", { jsxImportSource: "nativewind" }],
      "nativewind/babel",
    ],
  };
};
5.metro.config.jsの設定
metro.config.jsファイルが存在しない場合は、ターミナルで以下のコマンドを実行します
npx expo customize metro.config.js
ファイルに以下を記載します
const { getDefaultConfig } = require("expo/metro-config");
const { withNativeWind } = require("nativewind/metro");

const config = getDefaultConfig(__dirname);

module.exports = withNativeWind(config, { input: "./app/global.css" });
6. layoutファイルにCSSファイルをimportする
以下を記載します
import { Stack } from "expo-router";
import "./global.css";

export default function RootLayout() {
  return <Stack />;
}
7. nativewind-env.d.tsの設定
ファイルを作成します
touch nativewind-env.d.ts
以下を記載します
/// <reference types="nativewind/types" />
8. 再起動します
ctrl + cでアプリを停止します
その後再度起動します
npx expo start
6. CSSが適用されることの確認
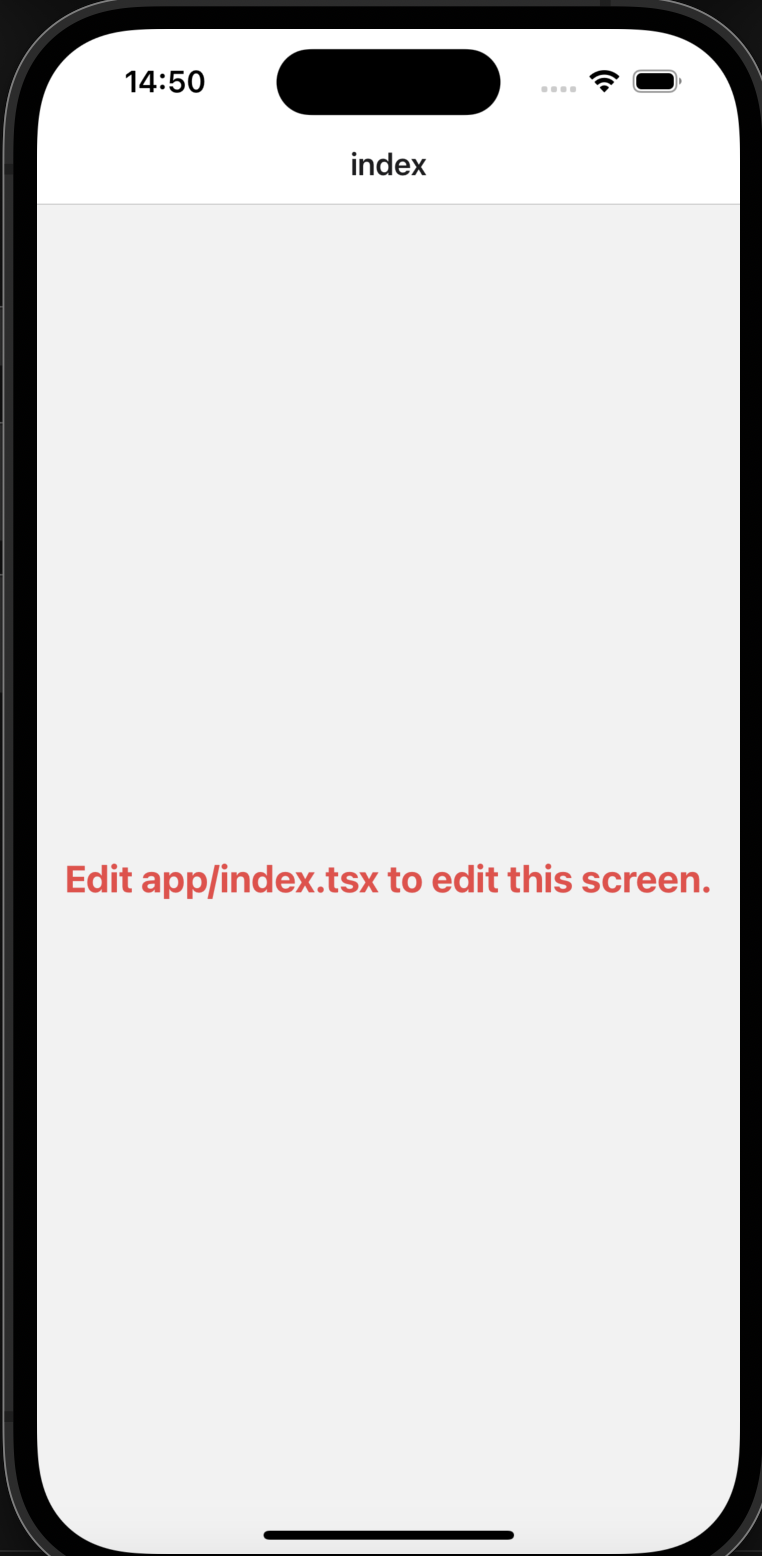
TextタグにTailwind CSSのクラスを適当に設定します
import { Text, View } from "react-native";

export default function Index() {
  return (
    <View
      style={{
        flex: 1,
        justifyContent: "center",
        alignItems: "center",
      }}
    >
      <Text className="text-red-500 font-bold text-2xl">Edit app/index.tsx to edit this screen.</Text>
    </View>
  );
}
CSSが適用されていることが確認できたら完了です

まとめ
React NativeプロジェクトへのTailwind CSS(NativeWind)の導入手順を解説しました
これらの手順を踏むことで、React NativeアプリケーションでもTailwind CSSのスタイリングが可能になります
手順通りに導入してサクッと導入できるのはいいですね
Discussion