Memorystore for Redis Clusterを試してみる
はじめに
Google Cloud NextでMemorystore for Redis Clusterがアナウンスされたので、早速試してみました!
Announcing Memorystore for Redis Cluster: Up to 60x more throughput, with microseconds latencies
今回はCloud Runから先日PreviewとなったDirect VPC egressを使用して、Memorystore for Redis Clusterにアクセスしてみます。
Memorystore for Redis Clusterの作成
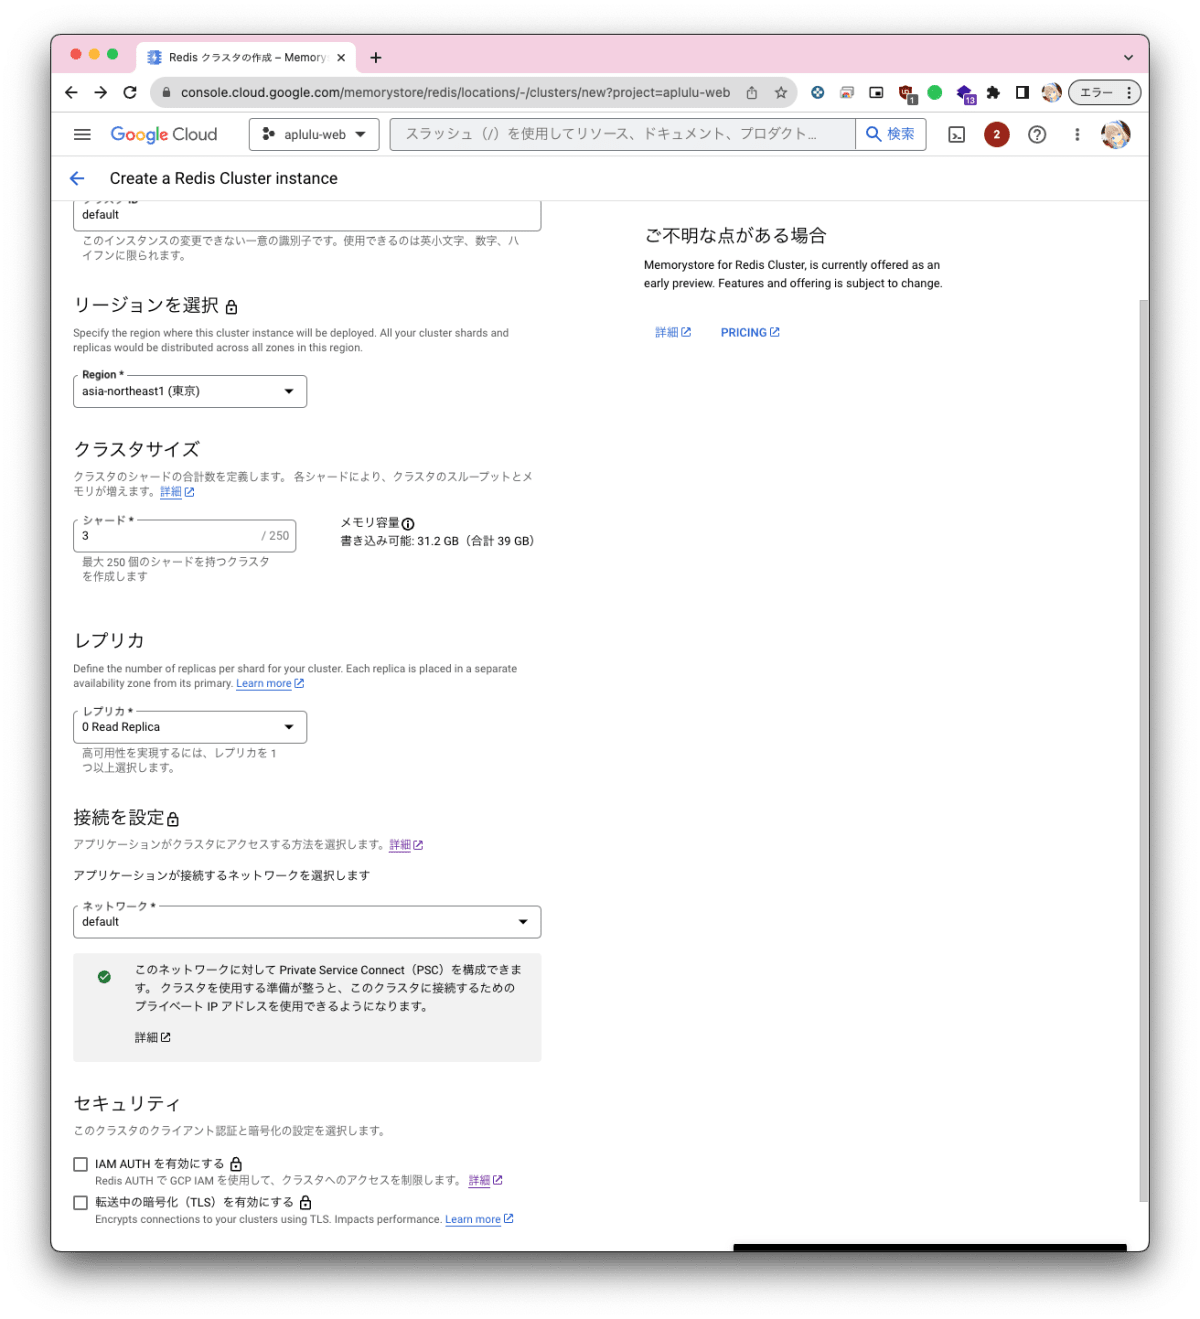
最初にClusterを作成します。
Cloud Consoleまたはgcloudコマンドで作成できます。
$ GCP_PROJECT_ID=example
$ GCP_REGION=asia-northeast1
$ GCP_NETWORK=default
$ gcloud alpha redis clusters create default \
  --replica-count=0 \
  --region=${GCP_REGION} \
  --project=${GCP_PROJECT_ID} \
  --network=projects/${GCP_PROJECT_ID}/global/networks/${GCP_NETWORK} \
  --shard-count=3
5-6分ほど待つとClusterの作成が完了し、Cloud Console上で接続先となる検出エンドポイントが確認できるようになります。
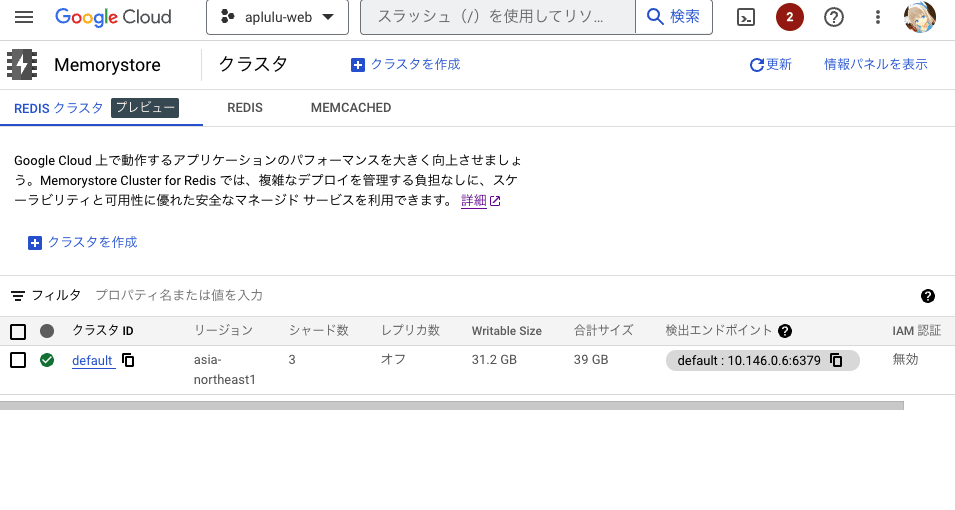
gcloudコマンドの場合は下記のコマンドで接続先の検出エンドポイントを確認できます。
$gcloud alpha redis clusters describe default --region=${GCP_REGION} --format=json | jq -r '.discoveryEndpoints[0].address + ":" + (.discoveryEndpoints[0].port | tostring)'
後ほどで使用しますので環境変数に設定しておきます。Cloud Consoleから確認した場合は検出エンドポイントをメモしておきます。
$ GCP_REDIS_ADDR=$(gcloud alpha redis clusters describe default --region=${GCP_REGION} --format=json | jq -r '.discoveryEndpoints[0].address + ":" + (.discoveryEndpoints[0].port | tostring)')
Cloud Runサービスの作成
次にCloud Runサービスを作成します。今回はサンプルとしてGoで簡単なアクセスカウンターを作成します。
任意のディレクトリで go mod init を実行してから、下記のコードを main.go として保存してください。
$ go mod init
package main

import (
	"context"
	"fmt"
	"log/slog"
	"net/http"
	"os"

	"github.com/redis/go-redis/v9"
)

var redisClient *redis.ClusterClient

func main() {
	ctx := context.Background()

	logger := slog.New(slog.NewTextHandler(os.Stdout, nil))

	redisClient = redis.NewClusterClient(&redis.ClusterOptions{
		Addrs: []string{os.Getenv("REDIS_ADDR")},
	})
	if err := redisClient.Ping(ctx).Err(); err != nil {
		logger.Error(fmt.Sprintf("Failed to connect redis: %v", err), nil)
		os.Exit(1)
	}

	mux := http.NewServeMux()
	mux.HandleFunc("/counter", handler)
	mux.HandleFunc("/", func(w http.ResponseWriter, req *http.Request) {
		fmt.Fprintf(w, `
			<html>
				<head>
					<title>Counter</title>
				</head>
				<body>
					<a href="/counter">Count</a>
				</body>
			</html>
		`)
	})

	port := os.Getenv("PORT")
	if port == "" {
		port = "8080"
	}

	logger.Info("Starting server...", nil)
	if err := http.ListenAndServe(":"+port, mux); err != nil {
		logger.Error(fmt.Sprintf("Failed to start server: %v", err), nil)
		os.Exit(1)
	}
}

func handler(w http.ResponseWriter, req *http.Request) {
	ctx := req.Context()

	count, err := redisClient.Incr(ctx, "count").Result()
	if err != nil {
		http.Error(w, err.Error(), http.StatusInternalServerError)
		return
	}

	fmt.Fprintf(w, "Counter: %d", count)
}
そして go mod tidy を実行して依存関係を解決します。
$ go mod tidy
Cloud Runサービスのデプロイ
次にCloud Runサービスをデプロイします。
$ GCP_RUN_SERVICE_NAME=redis-cluster-test
$ GCP_REDIS_ADDR=10.146.0.6:6379 # 先ほどメモした検出エンドポイント 既に環境変数に設定している場合は不要
$ gcloud alpha run deploy ${GCP_RUN_SERVICE_NAME} \
  --project=${GCP_PROJECT_ID} \
  --region=${GCP_REGION} \
  --platform=managed \
  --source=. \
  --allow-unauthenticated \
  --network=${GCP_NETWORK} \
  --subnet=default \
  --vpc-egress=private-ranges-only \
  --set-env-vars=REDIS_ADDR=${GCP_REDIS_ADDR}
デプロイが完了するとService URLが表示されますので、ブラウザでアクセスしてみます。
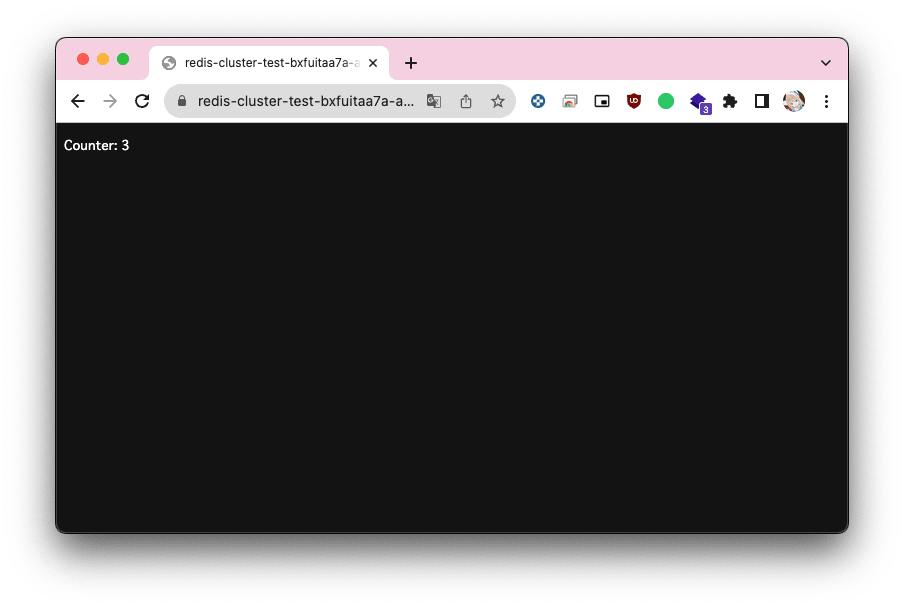
問題なくアクセスできました!
リロードするとカウンターが増加することが確認できます。
あとかたづけ
最後に作成したリソースを削除します。
$ gcloud alpha run services delete ${GCP_RUN_SERVICE_NAME} \
    --project=${GCP_PROJECT_ID} \
    --region=${GCP_REGION}
$ gcloud alpha redis clusters delete default \
    --region=${GCP_REGION} \
    --project=${GCP_PROJECT_ID}
まとめ
今回はCloud RunからMemorystore for Redis Clusterにアクセスしてみました。
ManagedなRedis Clusterを簡単に作成できるMemorystore for Redis Clusterが登場したことで、単体のMemorystore for Redisよりも様々なワークロードに対応できるようになりました。
また、Direct VPC egressを使用することで今までのようにServerless VPC Access Connectorを使用する必要がなくなり、Cloud Runとの相性も良さそうです。
Discussion