Remixで認証機能を実装
フルスタックWebアプリケーションフレームワークのRemixに関する内容です。
今回は、メールアドレスとパスワードでサインアップ、ログインするというよくある仕組みを実装してみます。
認証はこのようなイメージです。
ログインの際、クライアントから送られた情報を元にユーザーの存在チェックを行います。
本来ならデータベースを参照しますが、今回は簡略化のためJSONファイルを参照します。
ユーザーが存在していればセッションを生成し、レスポンスのヘッダーにクッキーとして付与します。
認可はこのようなイメージです。
付与されたクッキーセッションがある状態でサーバーにリクエストを送ります。
サーバー側ではクッキーのセッション情報を検証してOKならレスポンスを返す、NGならログイン画面にリダイレクトさせるような仕様です。
最終的なコードをGitHubにて公開しています。
Remixで実装
プロジェクト作成とルーティング設定
Quick Startのコマンドを実行します。
npx create-remix@latest
log
npx create-remix@latest

 remix   v2.5.1 💿 Let's build a better website...

   dir   Where should we create your new project?
         remix-auth-sample

      ◼  Using basic template See https://remix.run/guides/templates for more
      ✔  Template copied

   git   Initialize a new git repository?
         Yes

  deps   Install dependencies with npm?
         Yes

      ✔  Dependencies installed

      ✔  Git initialized

  done   That's it!

         Enter your project directory using cd ./remix-auth-sample
         Check out README.md for development and deploy instructions.

         Join the community at https://rmx.as/discord
ホーム画面とサインアップ、ログイン画面のページを作ります。
app/routes/_index.tsx
export default function Index() {
  return (
    <div style={{ fontFamily: "system-ui, sans-serif", lineHeight: "1.8" }}>
      <h1>Home</h1>
      <p>home page</p>
    </div>
  );
}
app/routes/auth.tsx
export default function AuthPage() {
  return <AuthForm />;
}
components/auth/AuthForm.tsx
export default function AuthForm() {
  const [searchParams] = useSearchParams();
  const validationErrors = useActionData<string[]>();

  const authMode = searchParams.get("mode") || "login";
  const submitBtnCaption = authMode === "login" ? "Login" : "Create User";
  const toggleBtnCaption =
    authMode === "login" ? "Create a new user" : "Log in with existing user";

  return (
    <Form method="post" id="auth-form">
      <p>
        <label htmlFor="email">Email Address</label>
        <input type="email" id="email" name="email" required />
      </p>
      <p>
        <label htmlFor="password">Password</label>
        <input type="password" id="password" name="password" minLength={7} />
      </p>
      {validationErrors && (
        <ul>
          {Object.values(validationErrors).map((error) => (
            <li key={error}>{error}</li>
          ))}
        </ul>
      )}
      <div>
        <button> {submitBtnCaption} </button>
      </div>
      <p>
        <Link to={authMode === "login" ? "?mode=signup" : "?mode=login"}>
          {toggleBtnCaption}
        </Link>
      </p>
    </Form>
  );
}
authページでは以下ような動作になります。
/auth?mode=signup にアクセス:サインアップ画面を表示。
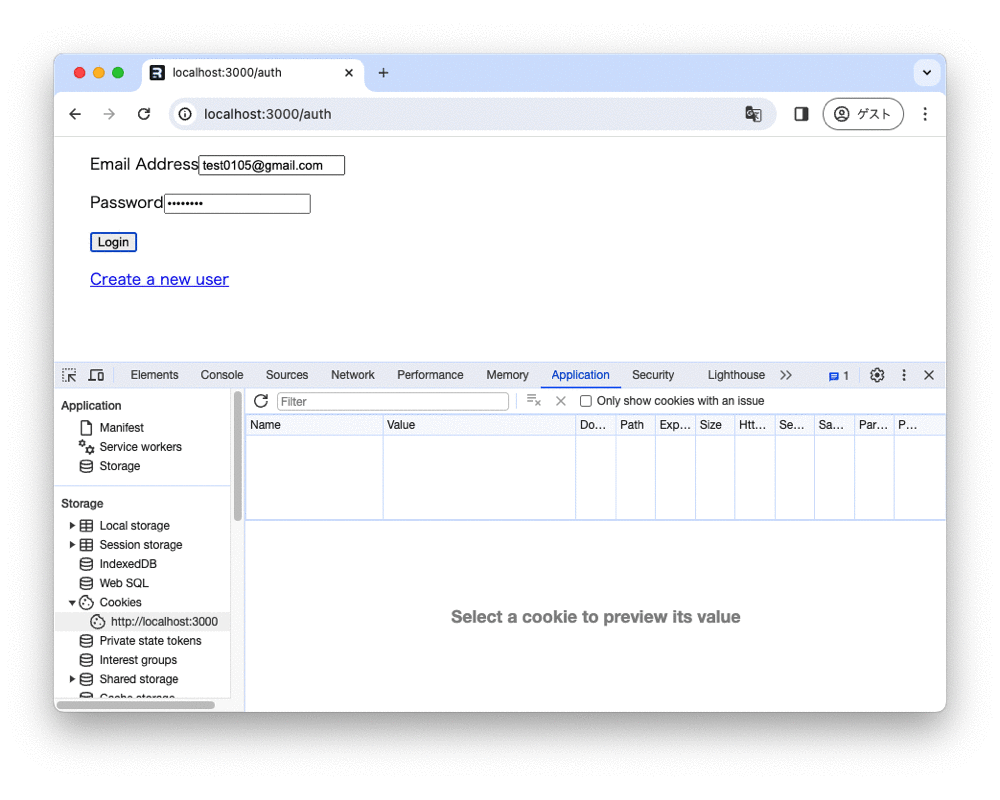
/auth?mode=login にアクセス:ログイン画面を表示。
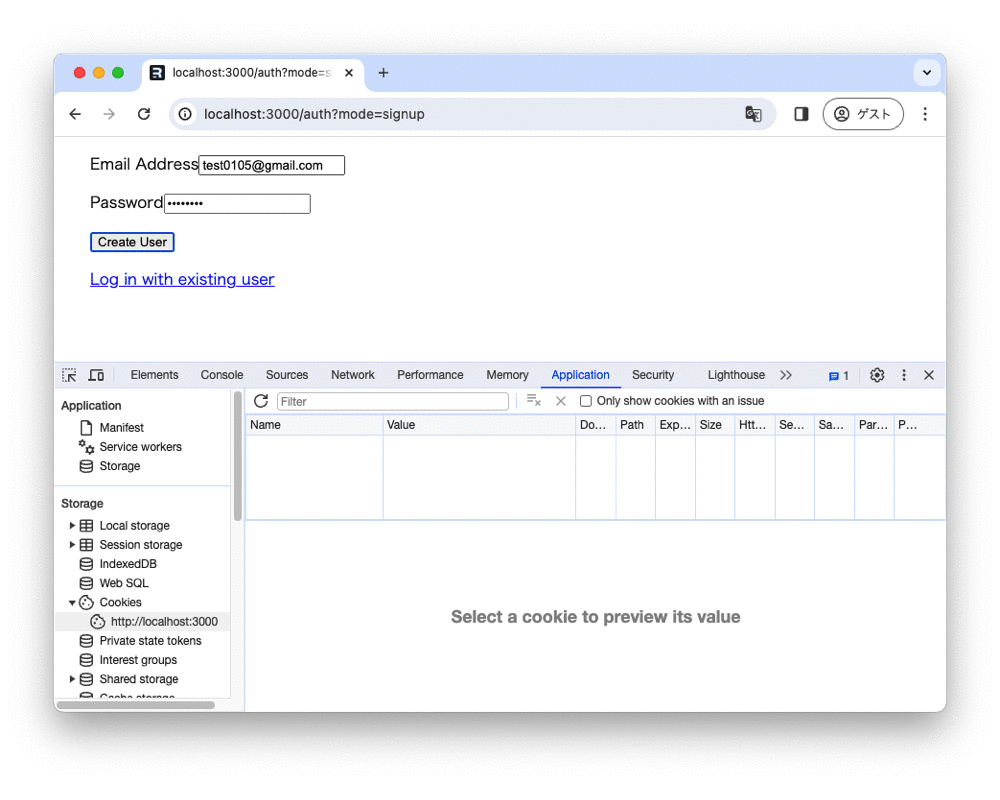
サインアップ
入力されたパスワードはハッシュ化したいので、それ用のライブラリを入れおきます。
npm i bcryptjs
npm i -D @types/bcryptjs
バックエンドの処理は、data/auth.server.tsを用意してsignup関数とcreateSession関数を書いておきます。
signup関数ではログイン情報をもとにユーザー作成します。今回はユーザー情報をJSONファイルで管理しています。
signup
export async function signup({
  email,
  password,
}: {
  email: string;
  password: string;
}) {
  const users: User[] = JSON.parse(fs.readFileSync("user.json").toString());
  const existingUser = users.find((user) => user.email === email);

  if (existingUser) {
    const error: any = new Error(
      "A user with the provided email address exists already."
    );
    error.status = 422;
    throw error;
  }

  const passwordHash = await hash(password, 12);

  fs.writeFileSync(
    "user.json",
    JSON.stringify([...users, { email: email, password: passwordHash }])
  );

  return await createUserSession(users.length + 1, "/");
}
createUserSession関数では、ユーザーIDを受け取りセッション生成をしてレスポンスヘッダーにクッキーセッションを付与しています。
補足ですが、SESSION_SECRETの値は環境変数で管理するのが一般的です。
createUserSession
const sessionStorage = createCookieSessionStorage({
  cookie: {
    secure: process.env.NODE_ENV === "production",
    secrets: [SESSION_SECRET],
    sameSite: "lax",
    maxAge: 30 * 24 * 60 * 60,
    httpOnly: true,
  },
});

async function createUserSession(userId: number, redirectPath: string) {
  const session = await sessionStorage.getSession();
  session.set("userId", userId);
  return redirect(redirectPath, {
    headers: {
      "Set-Cookie": await sessionStorage.commitSession(session),
    },
  });
}
ユーザー情報をsubmitした際のハンドラーとしてapp/routes/auth.tsxにaction関数を追加します。
action関数ではフォームの値を取得してバックエンドのsignupに渡してます。
action
export async function action({ request }: ActionFunctionArgs) {
  const searchParams = new URL(request.url).searchParams;
  const authMode = searchParams.get("mode") || "login";

  const formData = await request.formData();
  const credentials = Object.fromEntries(formData) as {
    email: string;
    password: string;
  };

  try {
    if (authMode === "login") {
      // return await login(credentials);
    } else {
      return await signup(credentials);
    }
  } catch (error: any) {
    if (error.status === 422) {
      return { credentials: error.message };
    }
  }
}
ログイン認証
同様にdata/auth.server.tsにlogin関数を定義します。
login関数ではユーザーの存在チェック、パスワードが正しいか判定をして、OKならcreateSession関数を使いレスポンスヘッダーにクッキーセッションを付与しています。
login
export async function login({
  email,
  password,
}: {
  email: string;
  password: string;
}) {
    const users: User[] = JSON.parse(fs.readFileSync("user.json").toString());
  const userIndex = users.findIndex((user) => user.email === email);
  const existingUser = users[userIndex];

  if (!existingUser) {
    const error: any = new Error(
      "Could not log you in, please check the provided email."
    );
    error.status = 401;
    throw error;
  }

  const passwordCorrect = await compare(password, existingUser.password);

  if (!passwordCorrect) {
    const error: any = new Error(
      "Could not log you in, please check the provided password."
    );
    error.status = 401;
    throw error;
  }

  return createUserSession(userIndex + 1, "/");
}
login関数をapp/routes/auth.tsxのaction関数の中で呼び出します。
ユーザーが存在しない、またはパスワードが一致しない場合はステータスコード401が返ってくるので、app/routes/auth.tsxのaction関数にも条件分岐を追加しておきます。
action
try {
  if (authMode === "login") {
    return await login(credentials);
  } else {
    return await signup(credentials);
  }
} catch (error: any) {
  if (error.status === 401) {
    return { credentials: error.message };
  }
  if (error.status === 422) {
    return { credentials: error.message };
  }
}
認証の動作確認
サインアップ画面からユーザー作成がうまくいけば、ホームにリダイレクトされます。
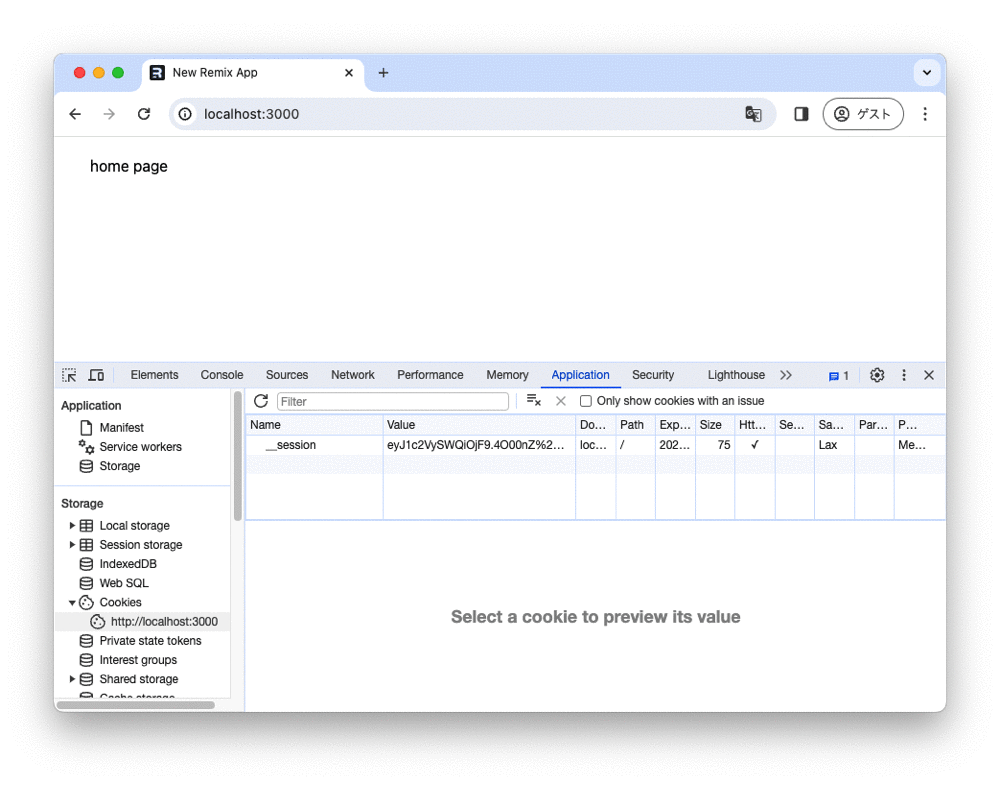
devloper toolのApplicationを見るとCookiesに生成されたセッションの値が保存されていればOKです。
ログイン画面でも認証がうまくいけば、ホームにリダイレクトされCookiesにセッションの値が保存されます。認証に失敗するとメッセージが表示されこのページに留まります。
マイページと認可
Cookieにユーザーのセッション情報がセットされているかをサーバー側で判定する必要があるので、data/auth.server.tsにrequireUserSession関数とgetUserFromSession関数を作成します。
セッション情報が正しくセットされていればユーザーIDを返し、ダメな場合はログインページにリダイレクトします。
requireUserSession
export async function requireUserSession(request: Request) {
  const userId = await getUserFromSession(request);

  if (!userId) {
    throw redirect("/auth?mode=login");
  }

  return userId;
}
getUserFromSession
export async function getUserFromSession(request: Request) {
  const session = await sessionStorage.getSession(
    request.headers.get("Cookie")
  );

  const userId: string = session.get("userId");

  if (!userId) {
    return null;
  }

  return userId;
}
ログインユーザーのみが見れるマイページという画面を作成します。loader関数にてユーザーセッションの判定を行います。
app/routes/mypage.tsx
export async function loader({ request }: LoaderFunctionArgs) {
  await requireUserSession(request);
  return null;
}

export default function MyPage() {
  return (
    <div style={{ fontFamily: "system-ui, sans-serif", lineHeight: "1.8" }}>
      <p>my page</p>
    </div>
  );
}
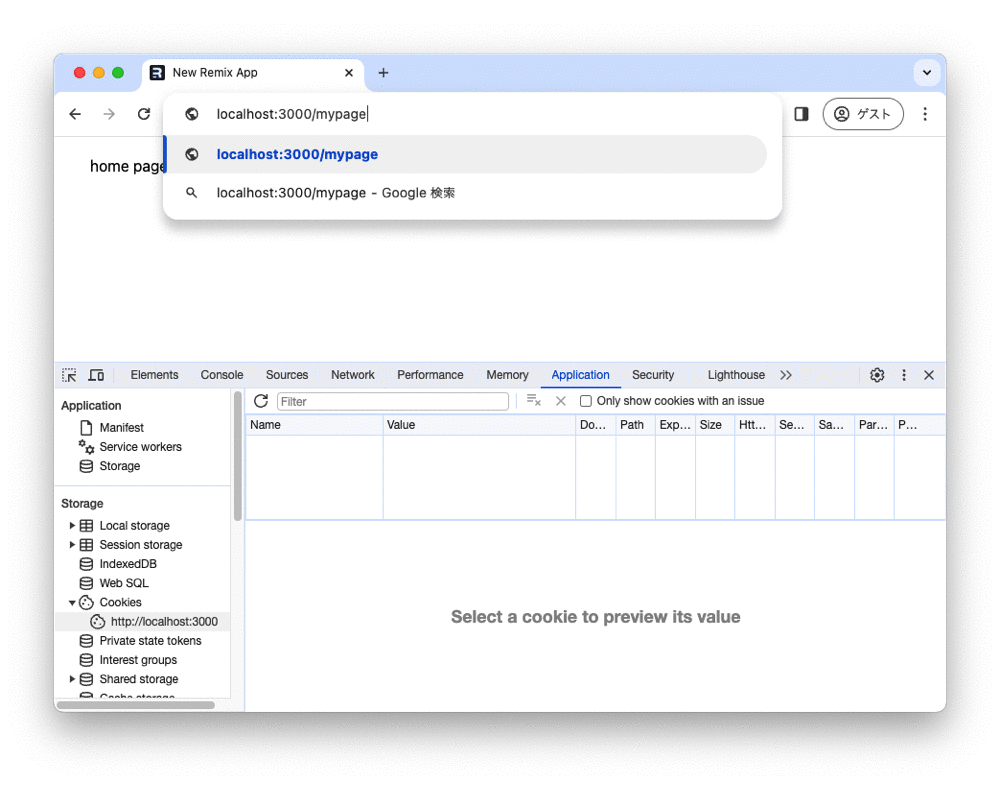
未ログイン状態で /mypage を開くと弾かれるようになりました。
ログイン後に /mypage を開くと表示できます。
まとめ
今回はRemixを使った認証機能の実装についてまとめてみました。
RemixはNext.jsに比べると知名度が高くないですが、個人的には覚える事が少なくシンプルで使いやすいフレームワークだと思います。バックエンドでの処理を手軽に書ける点も良いです。
今後もRemix使ってWebアプリの開発をやってみようと思います。
参考
Remix > Quick Start
公式ドキュメントです。
Remix.js - The Practical Guide
Udemyの動画教材です。Remixの基礎が学べます。
Discussion