Splunk AppDynamics On-Premises Virtual Applianceをインストールしてみた(後編)
はじめに
本記事では、Splunk AppDynamics On-Premises Virtual Appliance(以下AppD VA)を筆者の環境へ実際に新規インストールしてみた際の記録を共有します。前編に続く後編です。
本記事では、前編でデプロイ済みの VM1〜3 を前提に、AppDynamics 基本サービスの起動と簡単な動作確認について記載します。
AppDynamics 基本サービスの起動準備と起動
AppDynamics 基本サービスの起動準備と起動については次のリンク先に記載があります。
本記事ではこの記載に従って、AppDynamics 基本サービスの起動準備(設定ファイルのレビューとライセンスの配置、ノードの追加)と起動を進めていきます。この記載のうち、appdcli start appd [Profile] コマンドにて起動できるサービスを本記事では「AppDynamics 基本サービス」と呼びます。
設定ファイルのレビューとライセンスの配置
AppDynamics 基本サービスの起動準備として、まずは SSH で VM1 へログインします。そして /var/appd/config ディレクトリ以下の globals.yaml.gotmpl ファイルの内容をレビューします。
$ cd /var/appd/config
$ less globals.yaml.gotmpl
この設定ファイルでは、AppD VA における全体的な設定を定義します。詳しくは Edit the globals.yaml.gotmplfile に説明があります(本記事では基本的に既定値のまま)。
もし AppD VA の商用ライセンスを使う場合、ライセンスファイルが VM の MAC アドレスに関連付けられます。その場合、globals.yaml.gotmplfile ファイルにおける appdController -> nodeLocked および nodeName の値を変更すべきです。しかしながら本記事ではトライアルライセンスを使うため、MAC アドレスには通常関連付けられません。そのため globals.yaml.gotmplfile ファイルはデフォルトのままにします。
続いてsecrets.yamlファイルの内容をレビューします。
$ less secrets.yaml
この設定ファイルでは、AppD VA 内の各コンポーネントにおけるユーザー名やパスワードなどの認証情報を定義します。これらのユーザー名やパスワードは必要に応じて変更可能ですが、本記事ではデフォルトのままにします。このファイルのうち、appdController -> adminUsername および adminPassword の値は後で参照しますので、どこかに控えておいてください。
このファイルは後のステップで自動的に暗号化され、secrets.yaml.encrypted という名前にリネームされます。しかしながらその状態でも Edit the secrets.yaml File に記載のように、ファイル内容を参照または変更できます。
次に、事前に用意したトライアルライセンスファイルlicense.licを、同じVMの/var/appd/configディレクトリへ配置します。配置手段は何でも良いですが、筆者はscpを使いました。ファイルの配置後、それを確認します。
$ ls -l license.lic
-rw-r--r-- 1 appduser appduser 3277 Oct 21 06:34 license.lic
ノードの追加
続いて VM2 と VM3 のプライベート IP アドレスを確認した後、それらの値を使い、両 VM を AppD VA のクラスターへ追加します。
$ cd /home/appduser
$ appdctl cluster init 10.0.128.100 10.0.135.186
Copying ID:  /home/appduser/.ssh/id_rsa.pub  to:  appduser@10.0.128.100
The authenticity of host '10.0.128.100 (10.0.128.100)' can't be established.
ED25519 key fingerprint is SHA256:■■■■■■■■■■■■■■■■■■■■■■■■■■■■■■■■■■■■■■■■■■■.
This key is not known by any other names
Are you sure you want to continue connecting (yes/no/[fingerprint])? yes
appduser@10.0.128.100's password:
Copied ID:  /home/appduser/.ssh/id_rsa.pub  to:  appduser@10.0.128.100
Fetching host info:  appduser@10.0.128.100:/var/appd-os/host-info.yaml
Copied host info from:  appduser@10.0.128.100:/var/appd-os/host-info.yaml  to:  10.0.128.100.yaml
Copying ID:  /home/appduser/.ssh/id_rsa.pub  to:  appduser@10.0.135.186
The authenticity of host '10.0.135.186 (10.0.135.186)' can't be established.
ED25519 key fingerprint is SHA256:■■■■■■■■■■■■■■■■■■■■■■■■■■■■■■■■■■■■■■■■■■■.
This key is not known by any other names
Are you sure you want to continue connecting (yes/no/[fingerprint])? yes
appduser@10.0.135.186's password:
Copied ID:  /home/appduser/.ssh/id_rsa.pub  to:  appduser@10.0.135.186
Fetching host info:  appduser@10.0.135.186:/var/appd-os/host-info.yaml
Copied host info from:  appduser@10.0.135.186:/var/appd-os/host-info.yaml  to:  10.0.135.186.yaml
Copied auth keys:  /home/appduser/10.0.129.63-auth-keys  to:  /home/appduser/.ssh/authorized_keys
Copying auth keys:  /home/appduser/10.0.128.100-auth-keys  to:  appduser@10.0.128.100:/home/appduser/.ssh/authorized_keys
Copied auth keys:  /home/appduser/10.0.128.100-auth-keys  to:  appduser@10.0.128.100:/home/appduser/.ssh/authorized_keys
Copying auth keys:  /home/appduser/10.0.135.186-auth-keys  to:  appduser@10.0.135.186:/home/appduser/.ssh/authorized_keys
Copied auth keys:  /home/appduser/10.0.135.186-auth-keys  to:  appduser@10.0.135.186:/home/appduser/.ssh/authorized_keys
Updating hosts file on:  10.0.129.63
{
    "status": "ok"
}
Updating hosts file on:  10.0.128.100
Copying cluster file to: appduser@10.0.128.100:/home/appduser/cluster.yaml
Copied cluster file to: appduser@10.0.128.100:/home/appduser/cluster.yaml
Updated hosts file on:  10.0.128.100
{
    "status": "ok"
}

Updating hosts file on:  10.0.135.186
Copying cluster file to: appduser@10.0.135.186:/home/appduser/cluster.yaml
Copied cluster file to: appduser@10.0.135.186:/home/appduser/cluster.yaml
Updated hosts file on:  10.0.135.186
{
    "status": "ok"
}

Fetching remote encryption config:  appduser@10.0.128.100:/var/snap/microk8s/current/args/encryption-config.yaml
[sudo] password for appduser:
Copied encryption config from:  appduser@10.0.128.100:/var/snap/microk8s/current/args/encryption-config.yaml  to:  encryption-config-10.0.128.100.yaml
Fetching remote encryption config:  appduser@10.0.135.186:/var/snap/microk8s/current/args/encryption-config.yaml
Copied encryption config from:  appduser@10.0.135.186:/var/snap/microk8s/current/args/encryption-config.yaml  to:  encryption-config-10.0.135.186.yaml
Copying local encryption config
Copied local encryption config to:  encryption-config-10.0.129.63.yaml
Combined YAML file has been created: encryption-config-merged.yaml
Copying merged encryption config file to: appduser@10.0.128.100:/var/snap/microk8s/current/args/encryption-config.yaml
Copied merged encryption config file to:  appduser@10.0.128.100:/var/snap/microk8s/current/args/encryption-config.yaml
Copying merged encryption config file to: appduser@10.0.135.186:/var/snap/microk8s/current/args/encryption-config.yaml
Copied merged encryption config file to:  appduser@10.0.135.186:/var/snap/microk8s/current/args/encryption-config.yaml
Updating local encryption config
Copied merged local encryption config to:  /var/snap/microk8s/current/args/encryption-config.yaml
Host Name :  ip-10-0-129-63 Host IP :  10.0.129.63
Host Name :  ip-10-0-128-100 Host IP :  10.0.128.100
Executing join cluster on host:  10.0.128.100
Using Token:  ■■■■■■■■■■■■■■■■■■■■■■■■■■■■■■■■■■■■■
Using URL:  10.0.129.63:25000/■■■■■■■■■■■■■■■■■■■■■■■■■■■■■■■
this may take a while, be patient, wait for the good news...
Joined cluster on:  10.0.128.100
{
    "status": "WARNING: Hostpath storage is enabled and is not suitable for multi node clusters.\n\nContacting cluster at 10.0.129.63\nWaiting for this node to finish joining the cluster. .. .. .. ..  \nSuccessfully joined the cluster.\n"
}

Host Name :  ip-10-0-135-186 Host IP :  10.0.135.186
Executing join cluster on host:  10.0.135.186
Using Token:  ■■■■■■■■■■■■■■■■■■■■■■■■■■■■■■■■■■■■■
Using URL:  10.0.129.63:25000/■■■■■■■■■■■■■■■■■■■■■■■■■■■■■■■
this may take a while, be patient, wait for the good news...
Joined cluster on:  10.0.135.186
{
    "status": "WARNING: Hostpath storage is enabled and is not suitable for multi node clusters.\n\nContacting cluster at 10.0.129.63\nWaiting for this node to finish joining the cluster. .. .. .. ..  \nSuccessfully joined the cluster.\n"
}

Cluster is ready
Run the following command to see the cluster status: appdctl show cluster
Executing update microk8s config into local config for  appduser@10.0.128.100
Microk8s config updated on:  appduser@10.0.128.100
Executing update microk8s config into local config for  appduser@10.0.135.186
Microk8s config updated on:  appduser@10.0.135.186
label_nodes.sh output:
Only 2 nodes are Ready. Waiting for remaining nodes...
Only 2 nodes are Ready. Waiting for remaining nodes...
All 3 nodes are Ready!
All 3 nodes are now Ready. Proceeding...
node/ip-10-0-128-100 labeled
node/ip-10-0-129-63 labeled
node/ip-10-0-135-186 labeled
NAME              STATUS   ROLES    AGE   VERSION    LABELS
ip-10-0-128-100   Ready    master   26s   v1.30.14   beta.kubernetes.io/arch=amd64,beta.kubernetes.io/os=linux,kubernetes.io/arch=amd64,kubernetes.io/hostname=ip-10-0-128-100,kubernetes.io/os=linux,microk8s.io/cluster=true,node-role.kubernetes.io/master=,node.kubernetes.io/microk8s-controlplane=microk8s-controlplane
ip-10-0-129-63    Ready    master   22h   v1.30.14   beta.kubernetes.io/arch=amd64,beta.kubernetes.io/os=linux,kubernetes.io/arch=amd64,kubernetes.io/hostname=ip-10-0-129-63,kubernetes.io/os=linux,microk8s.io/cluster=true,node-role.kubernetes.io/master=,node.kubernetes.io/microk8s-controlplane=microk8s-controlplane
ip-10-0-135-186   Ready    master   4s    v1.30.14   beta.kubernetes.io/arch=amd64,beta.kubernetes.io/os=linux,kubernetes.io/arch=amd64,kubernetes.io/hostname=ip-10-0-135-186,kubernetes.io/os=linux,microk8s.io/cluster=true,node-role.kubernetes.io/master=,node.kubernetes.io/microk8s-controlplane=microk8s-controlplane
エラーが何も出力されなければ OK です。
そしてノードの状態を確認します。
$ appdctl show cluster
 NODE               | ROLE  | RUNNING
--------------------+-------+---------
 10.0.129.63:19001  | voter | true
 10.0.128.100:19001 | voter | true
 10.0.135.186:19001 | voter | true
RUNNING の値が 3 ノードすべてで true であれば OK です。
また AppD VA が使用している MicroK8s の状態も確認します。
$ microk8s status
microk8s is running
high-availability: yes
  datastore master nodes: 10.0.129.63:19001 10.0.128.100:19001 10.0.135.186:19001
  datastore standby nodes: none
addons:
  enabled:
    appd-registry        # (appd) AppD docker registry
    community            # (core) The community addons repository
    dns                  # (core) CoreDNS
    ha-cluster           # (core) Configure high availability on the current node
    helm                 # (core) Helm - the package manager for Kubernetes
    helm3                # (core) Helm 3 - the package manager for Kubernetes
    hostpath-storage     # (core) Storage class; allocates storage from host directory
    storage              # (core) Alias to hostpath-storage add-on, deprecated
  disabled:
    amd                  # (community) AMD hardware support
    (中略)
    rook-ceph            # (core) Distributed Ceph storage using Rook
microk8s is running と出力されれば OK です。これにより、AppDynamics 基本サービスの起動のための準備ができました。
AppDynamics 基本サービスの起動
準備ができましたので、AppDynamics 基本サービスの起動を試みます。
$ appdcli start appd small

hook[prepare] logs | Checking if GPG key 'appd-gpg-key' exists...
hook[prepare] logs | GPG key 'appd-gpg-key' does not exist. Generating...
hook[prepare] logs | Encrypting secrets.yaml...
hook[prepare] logs | secrets.yaml is encrypted
hook[prepare] logs | GPG key synced to 10.0.128.100 successfully.
hook[prepare] logs | GPG key synced to 10.0.135.186 successfully.
hook[prepare] logs |

hook[prepare] logs | ************ Performing prepare steps **********
hook[prepare] logs | Writing run specs
hook[prepare] logs | Updating node ip address
hook[prepare] logs | Updating domain name
hook[prepare] logs | ************ prepare steps completed  **********
hook[prepare] logs |
Building dependency release=cert-manager, chart=charts/cert-manager
(中略)
UPDATED RELEASES:
NAME                   NAMESPACE             CHART                          VERSION       DURATION
cert-manager-ext       cert-manager          charts/cert-manager-ext        0.0.1               1s
mysql-certs            mysql                 charts/mysql-certs             0.0.1               9s
cluster                                      charts/cluster                 0.0.1               1s
ingress                ingress-master        charts/ingress                 0.0.1               1s
replicator             replicator            charts/kubernetes-replicator   2.10.2              1s
redis-ext              redis                 charts/redis-ext               0.0.1               2s
postgres               postgres              charts/postgres                0.0.1               3s
authz-service          authz                 charts/authz-service           25.7.0-510          3s
elasticsearch          es                    charts/elasticsearch           0.0.1               3s
synthetic              cisco-synthetic       charts/synthetic               0.0.1               3s
eum                    cisco-eum             charts/eum                     0.0.1               4s
fluent-bit             fluent                charts/fluent-bit              0.47.10             4s
events                 cisco-events          charts/events                  0.0.1               5s
redis                  redis                 charts/redis                   19.5.2              5s
controller             cisco-controller      charts/controller              0.0.1               5s
ingress-nginx          ingress               charts/ingress-nginx           4.11.3              6s
cluster-agent          cisco-cluster-agent   charts/cluster-agent           1.32.1279           7s
kafka                  kafka                 charts/kafka                   0.0.1              13s
bootstrap              cisco-controller      charts/bootstrap               0.0.1               3s
schema-registry        schema-registry       charts/schema-registry         0.0.1               4s
mysql                  mysql                 charts/mysql                   0.0.1            1m40s
auth-service-ingress   authn                 charts/onprem-auth             0.1.0            1m10s
auth-service           authn                 charts/auth-service            25.7.0-1473         2s
bootstrap-authn        authn                 charts/bootstrap-authn         0.0.1               1s

Install successful
Install successful と出力されれば、ひとまず OK です。ただし、この段階では内部的には AppD VA の起動中であるため、起動完了するまでは 10〜20 分程度かかる可能性があります。そのため、ここでは次のコマンドを実行します。
$ watch -n 30 "appdcli ping"
このコマンドの実行結果には、最初は Failed というステータスのサービスエンドポイントが含まれているはずですが、しばらく(例: 10〜20 分程度)待ち、最終的に次の表示になれば OK です。
+---------------------+---------------+
|  Service Endpoint   |    Status     |
+=====================+===============+
| Controller          | Success       |
+---------------------+---------------+
| Events              | Success       |
+---------------------+---------------+
| EUM Collector       | Success       |
+---------------------+---------------+
| EUM Aggregator      | Success       |
+---------------------+---------------+
| EUM Screenshot      | Success       |
+---------------------+---------------+
| Synthetic Shepherd  | Success       |
+---------------------+---------------+
| Synthetic Scheduler | Success       |
+---------------------+---------------+
| Synthetic Feeder    | Success       |
+---------------------+---------------+
| AD/RCA Services     | Not Installed |
+---------------------+---------------+
| SecureApp           | Not Installed |
+---------------------+---------------+
| OTIS                | Not Installed |
+---------------------+---------------+
| ATD                 | Not Installed |
+---------------------+---------------+
| UIL                 | Not Installed |
+---------------------+---------------+
これで AppDynamics 基本サービスの起動が完了しました。次のサービスエンドポイントについては、本記事ではインストール対象外ですので、ステータスが Not Installed となっていても問題ありません。
AD/RCA ServicesSecureAppOTISATDUIL
この後、筆者の環境では次のような構成とするため、TLS 証明書・ターゲットグループ・ALB の設定をしますが、この点は環境依存となりますので、詳細な記載は省略します。ALB からはラウンドロビンで VM1〜3 の 80 番(HTTP)ポートへトラフィックを振り分ければ良いです。
簡単な動作確認
最後に簡単な動作確認をしましょう。あなたのブラウザーから AppD VA の URL へアクセスします。筆者の環境では https://[ALBのホスト名]:[ALBのポート番号]/ へアクセスします(DNS 解決とセキュリティグループの許可は事前に必要)。
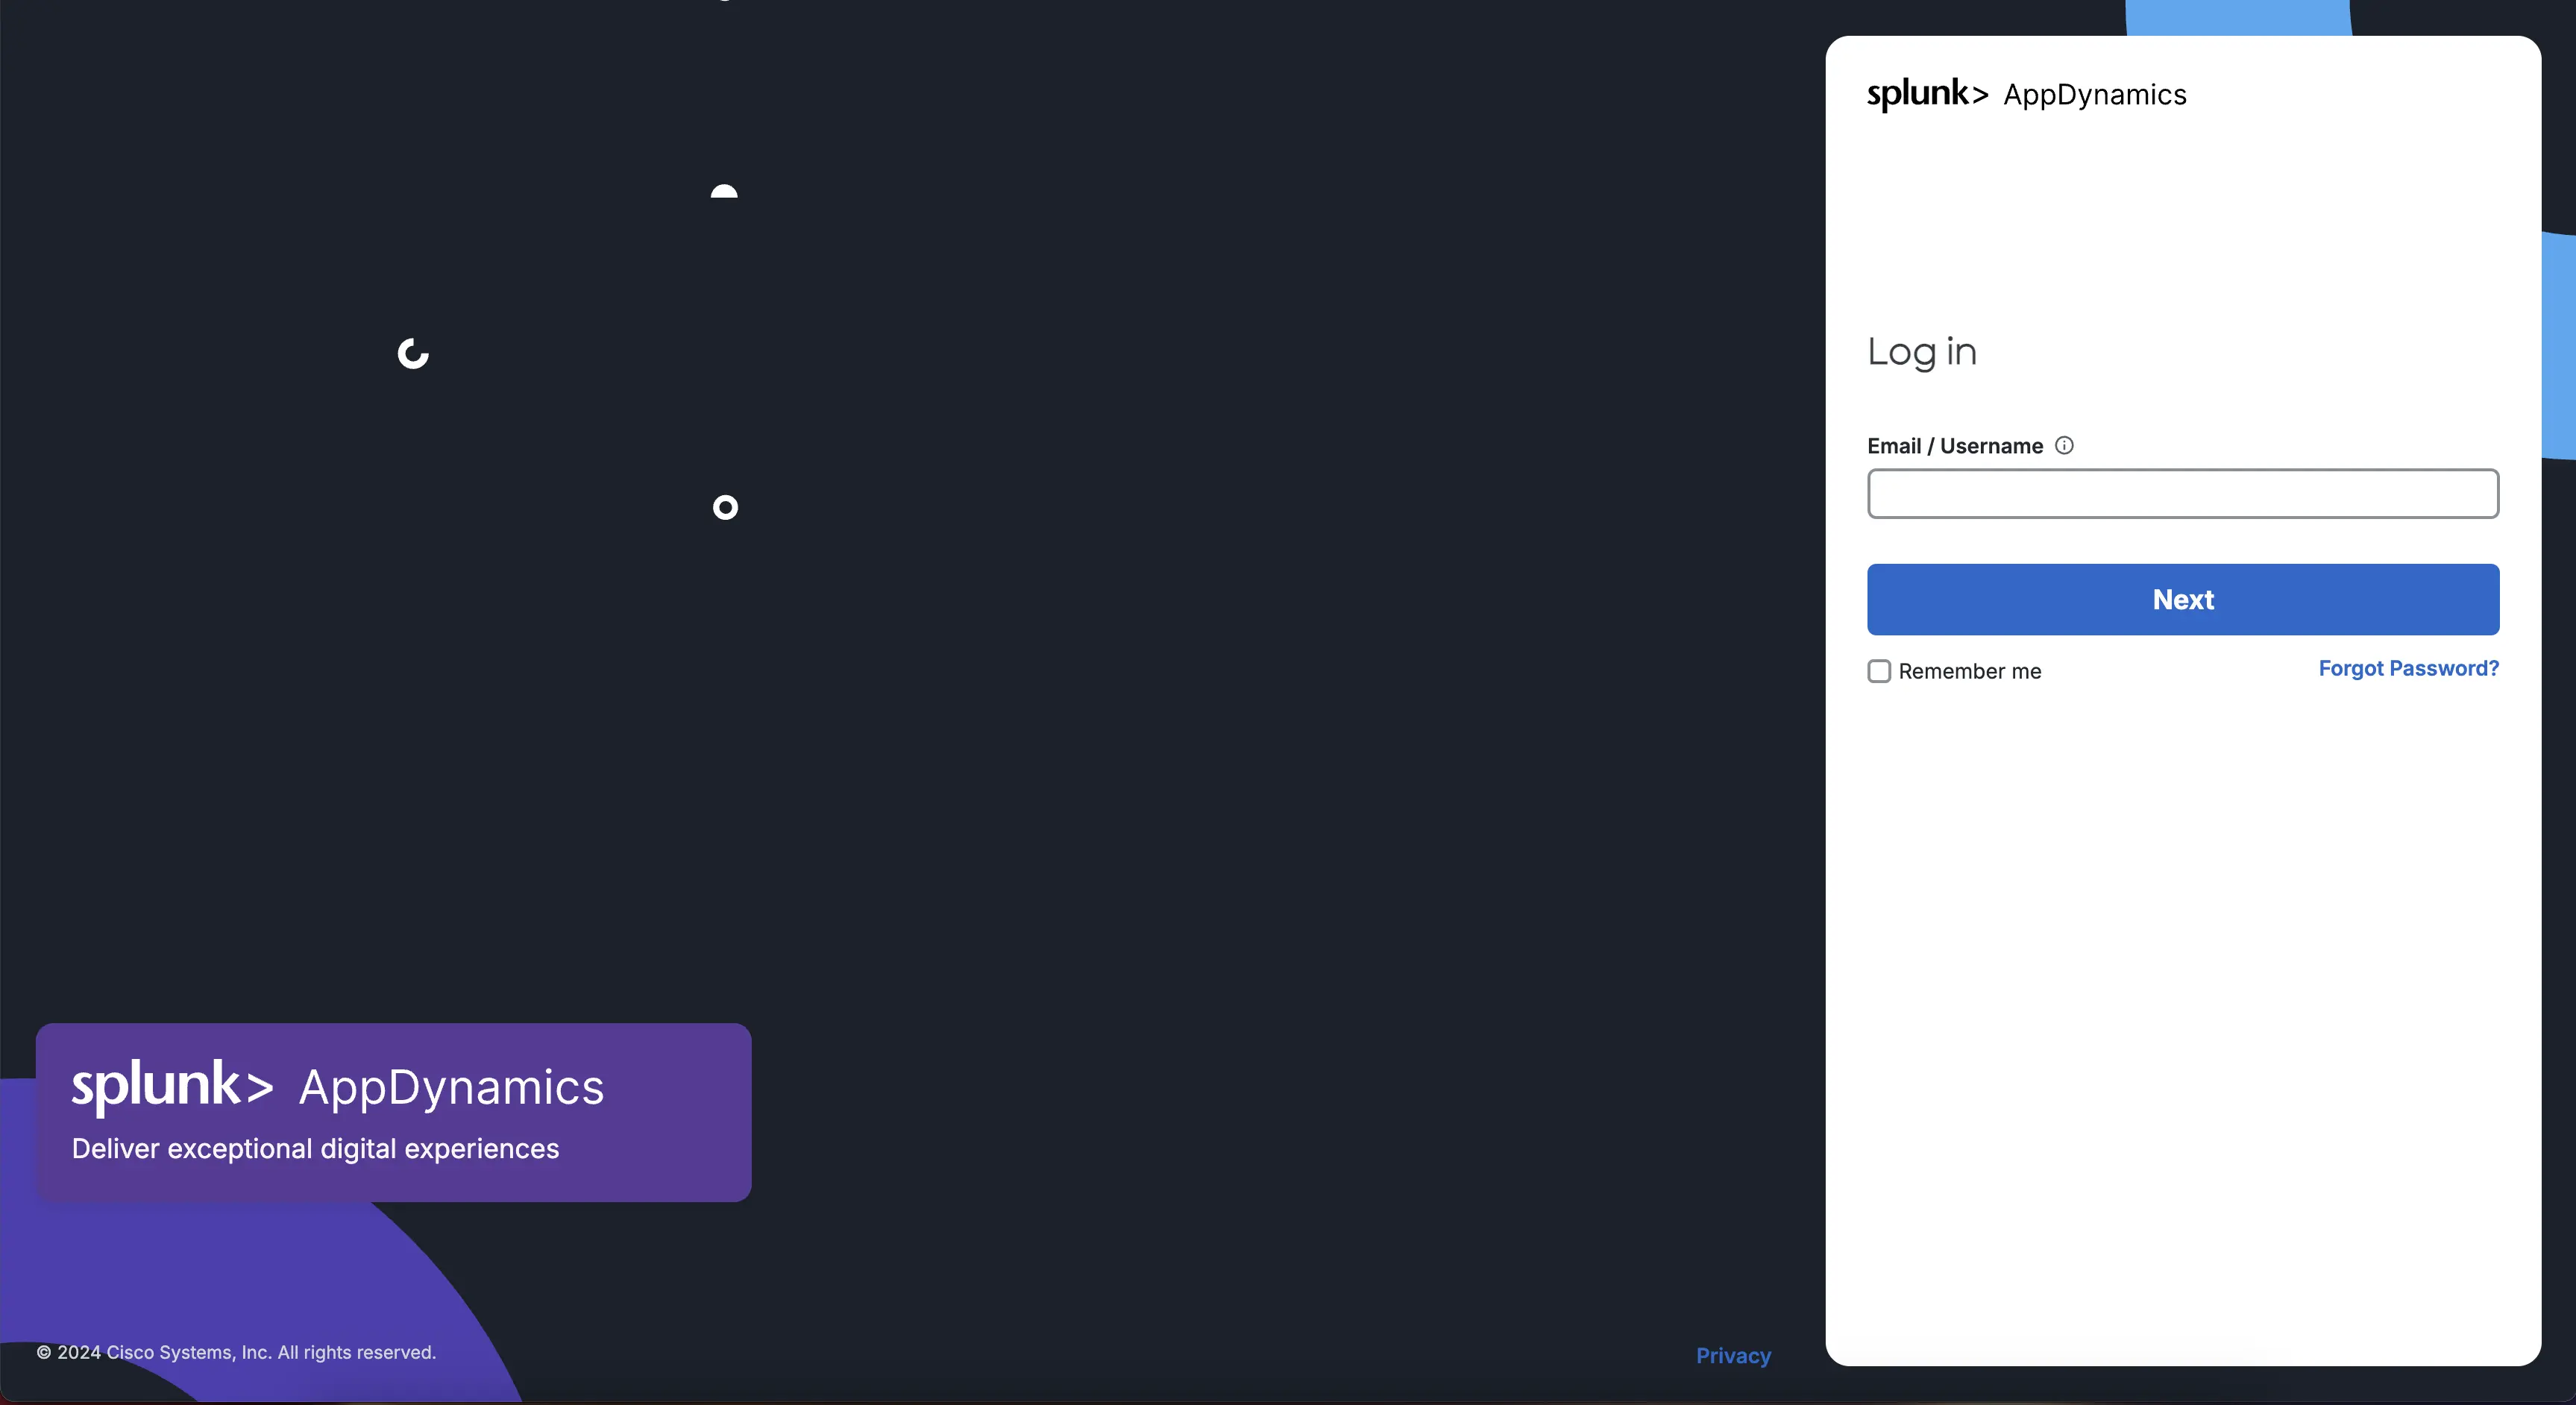
AppDynamics ログイン画面へアクセスできました。事前に控えておいた appdController -> adminUsername の値を「Email / Username」テキストフィールドへ入力し、Next ボタンを押します。
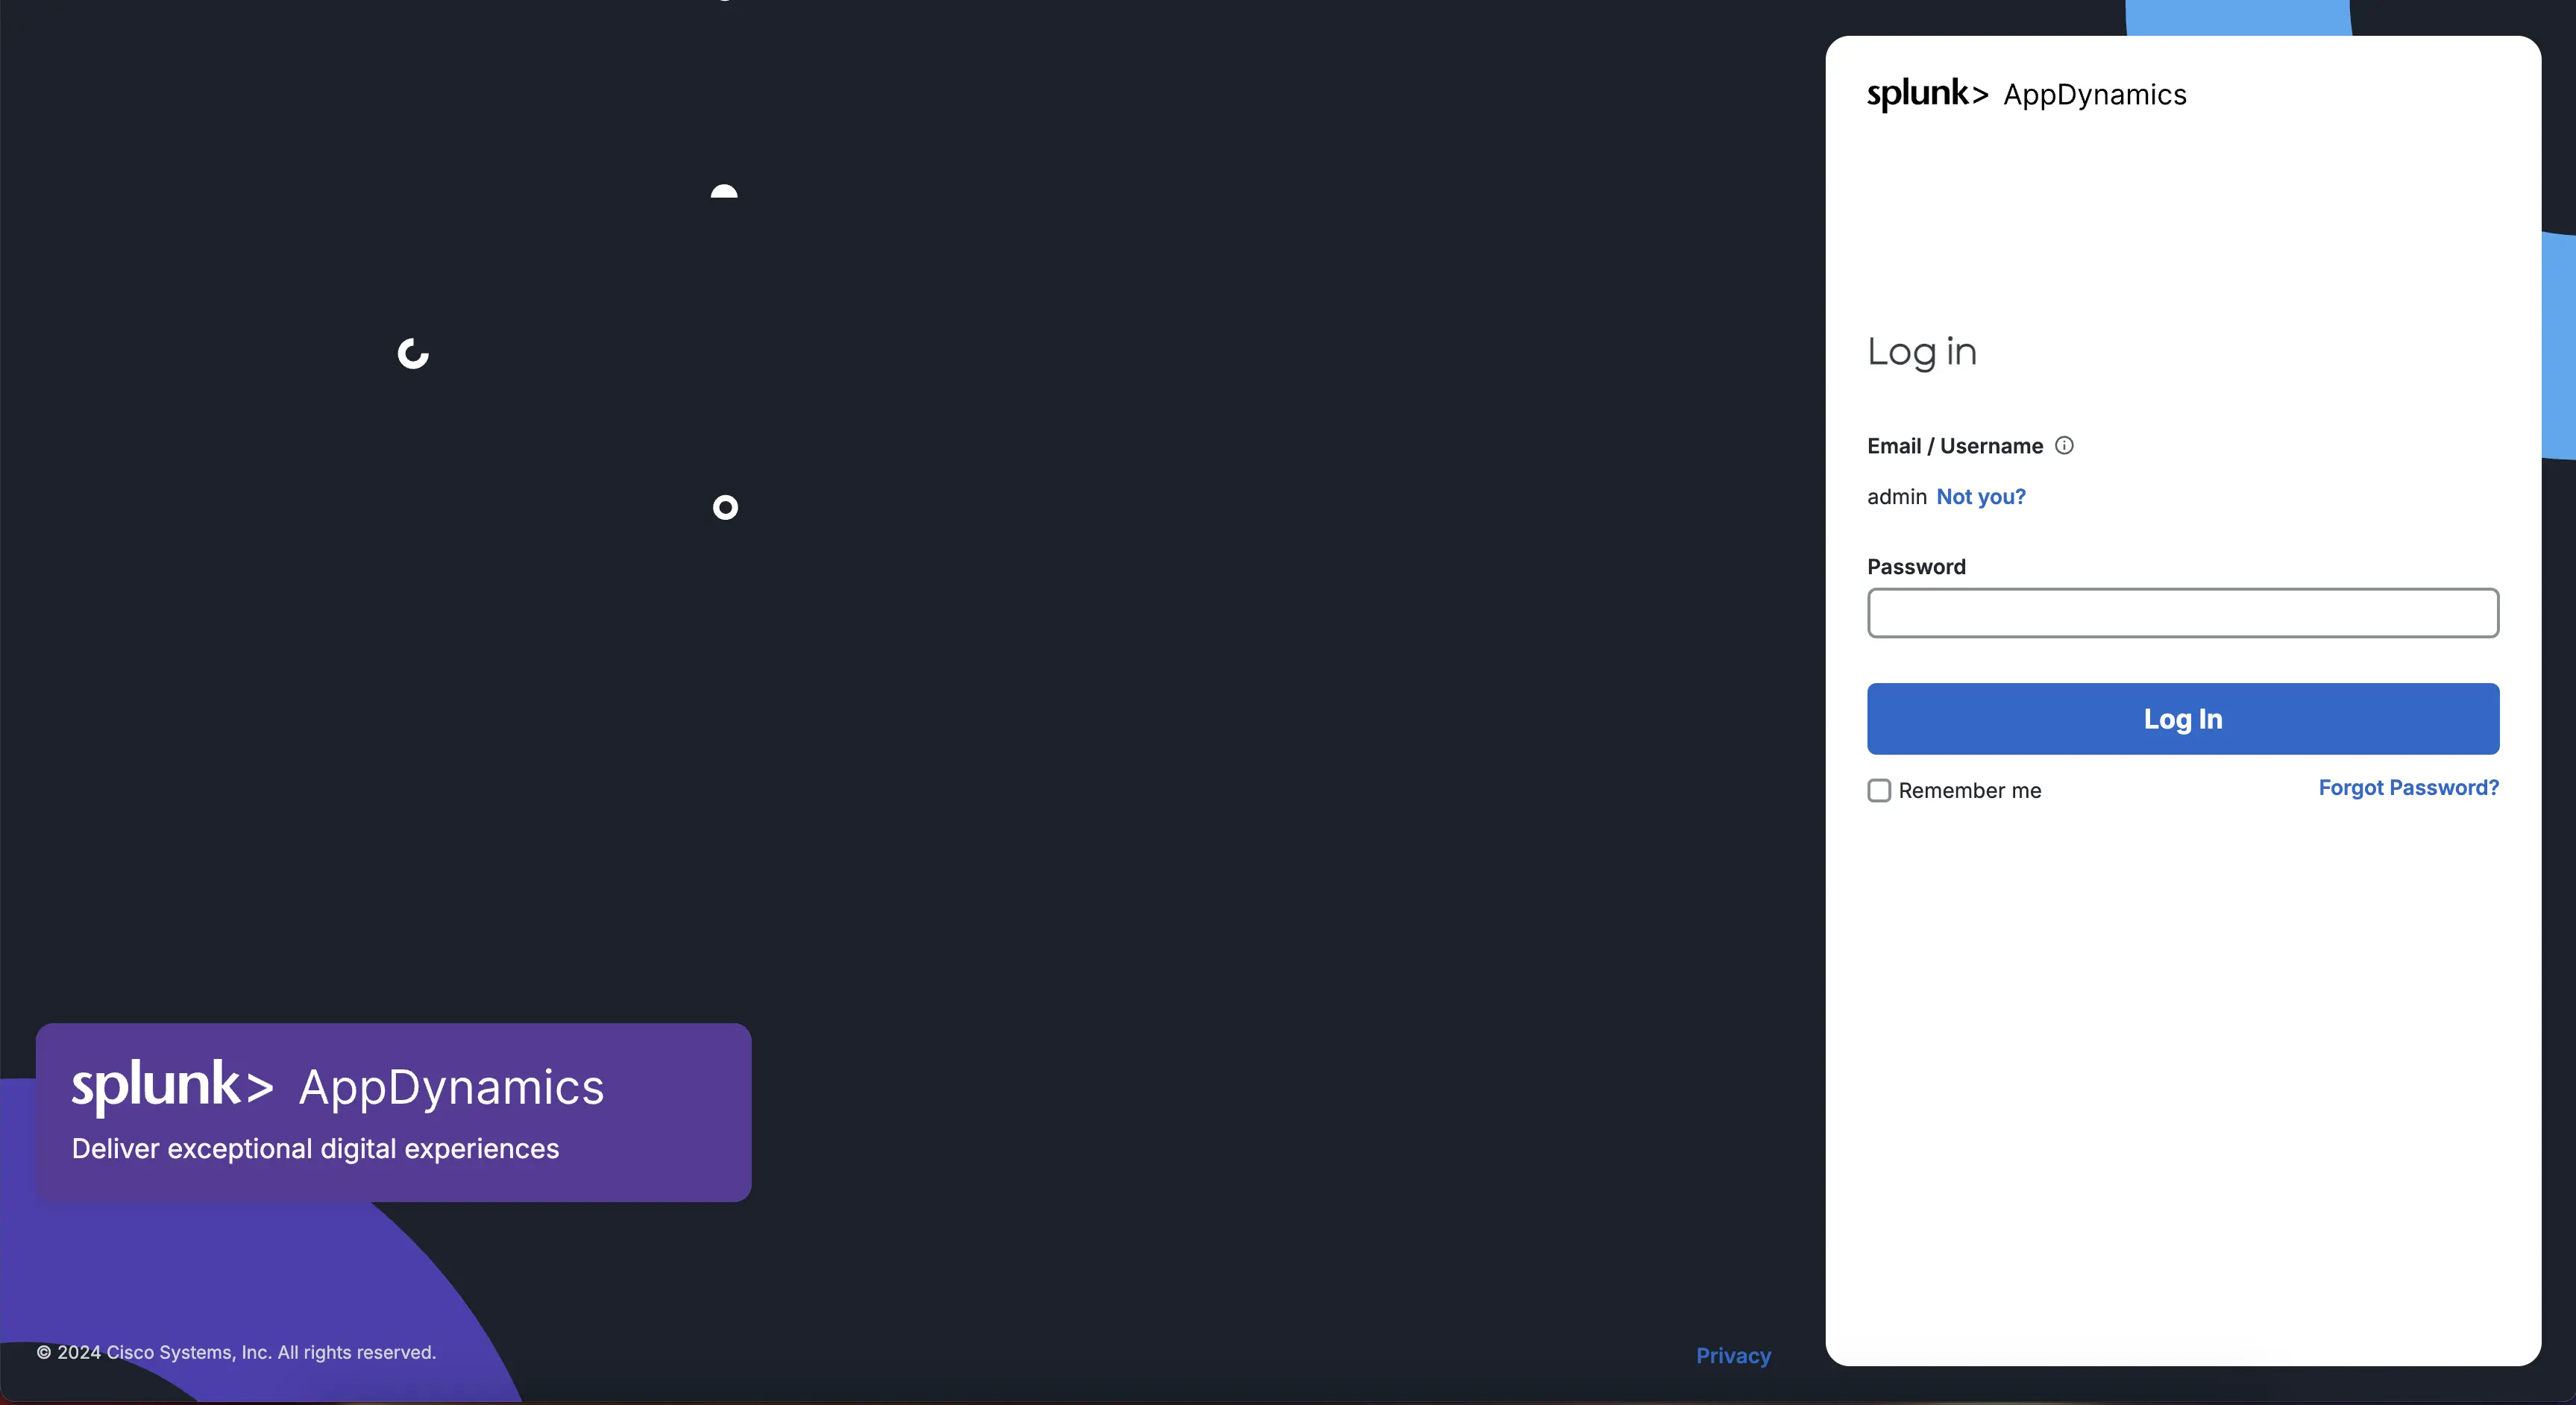
続いて、同じく事前に控えておいた appdController -> adminPasswordの値を「Password」テキストフィールドへ入力し、Log Inボタンを押します。
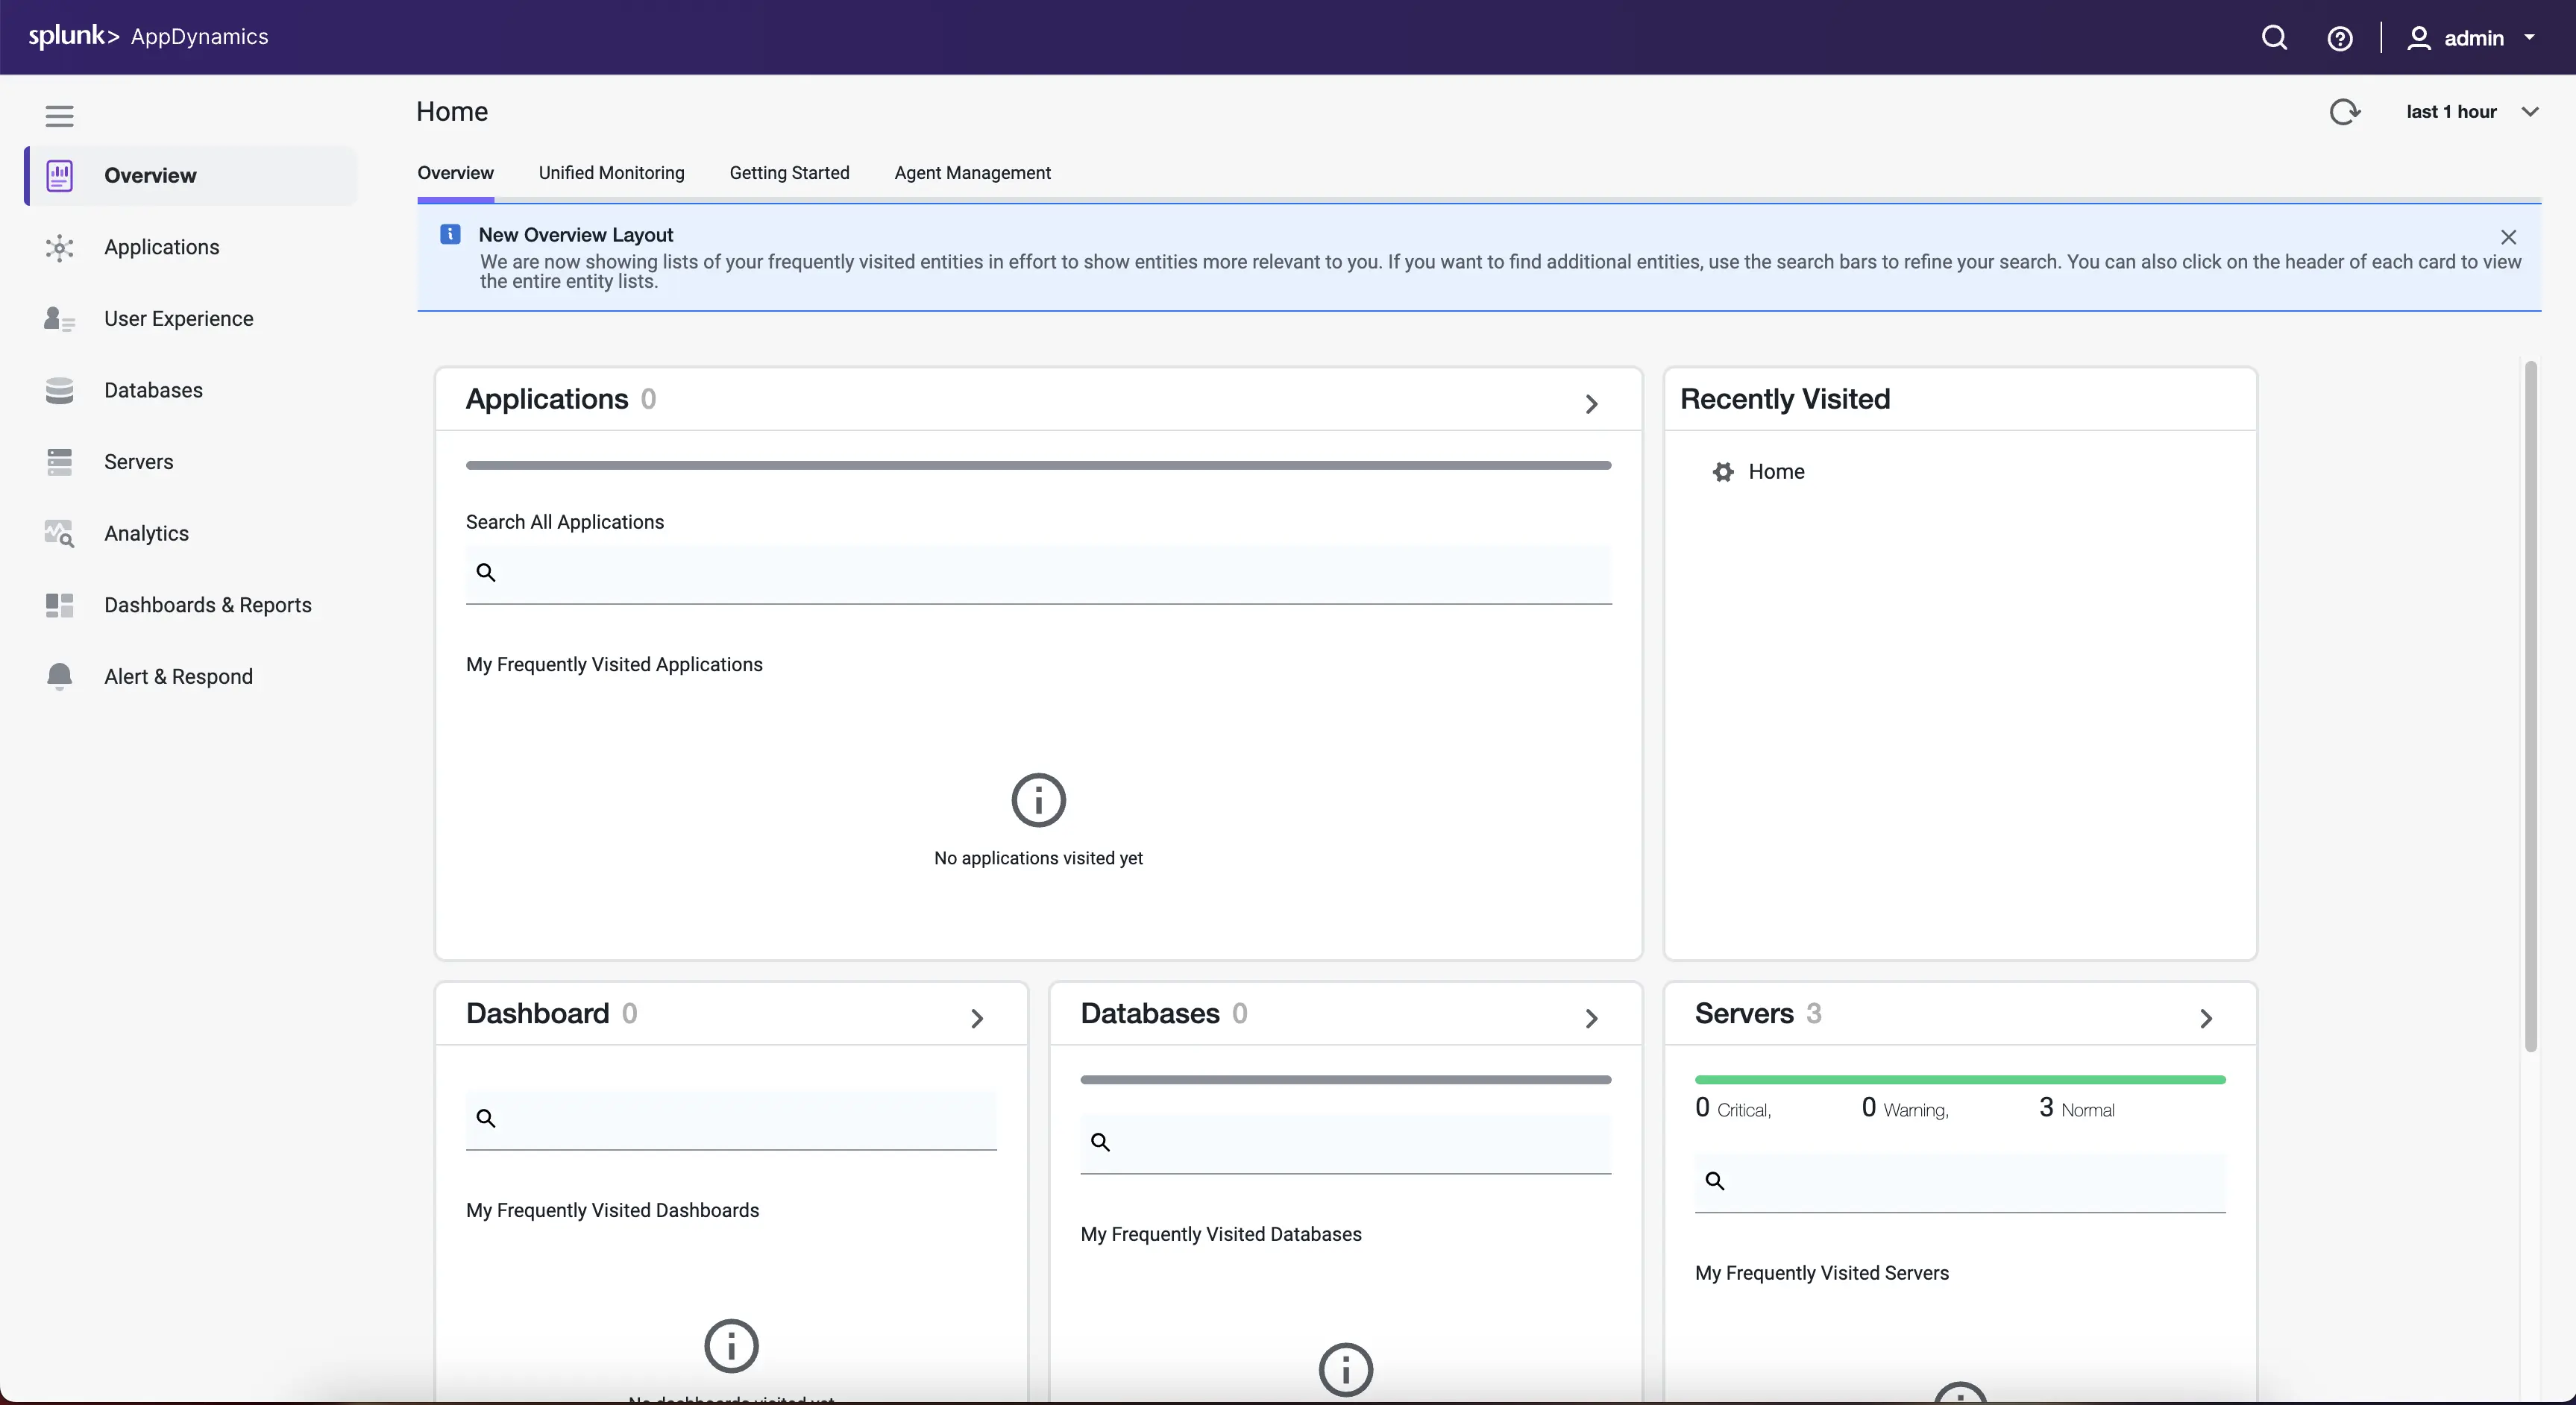
このスクリーンショットのように、AppDynamics の Overview 画面が出ればログイン成功です。
左のメニューから、Servers メニューをクリックします。
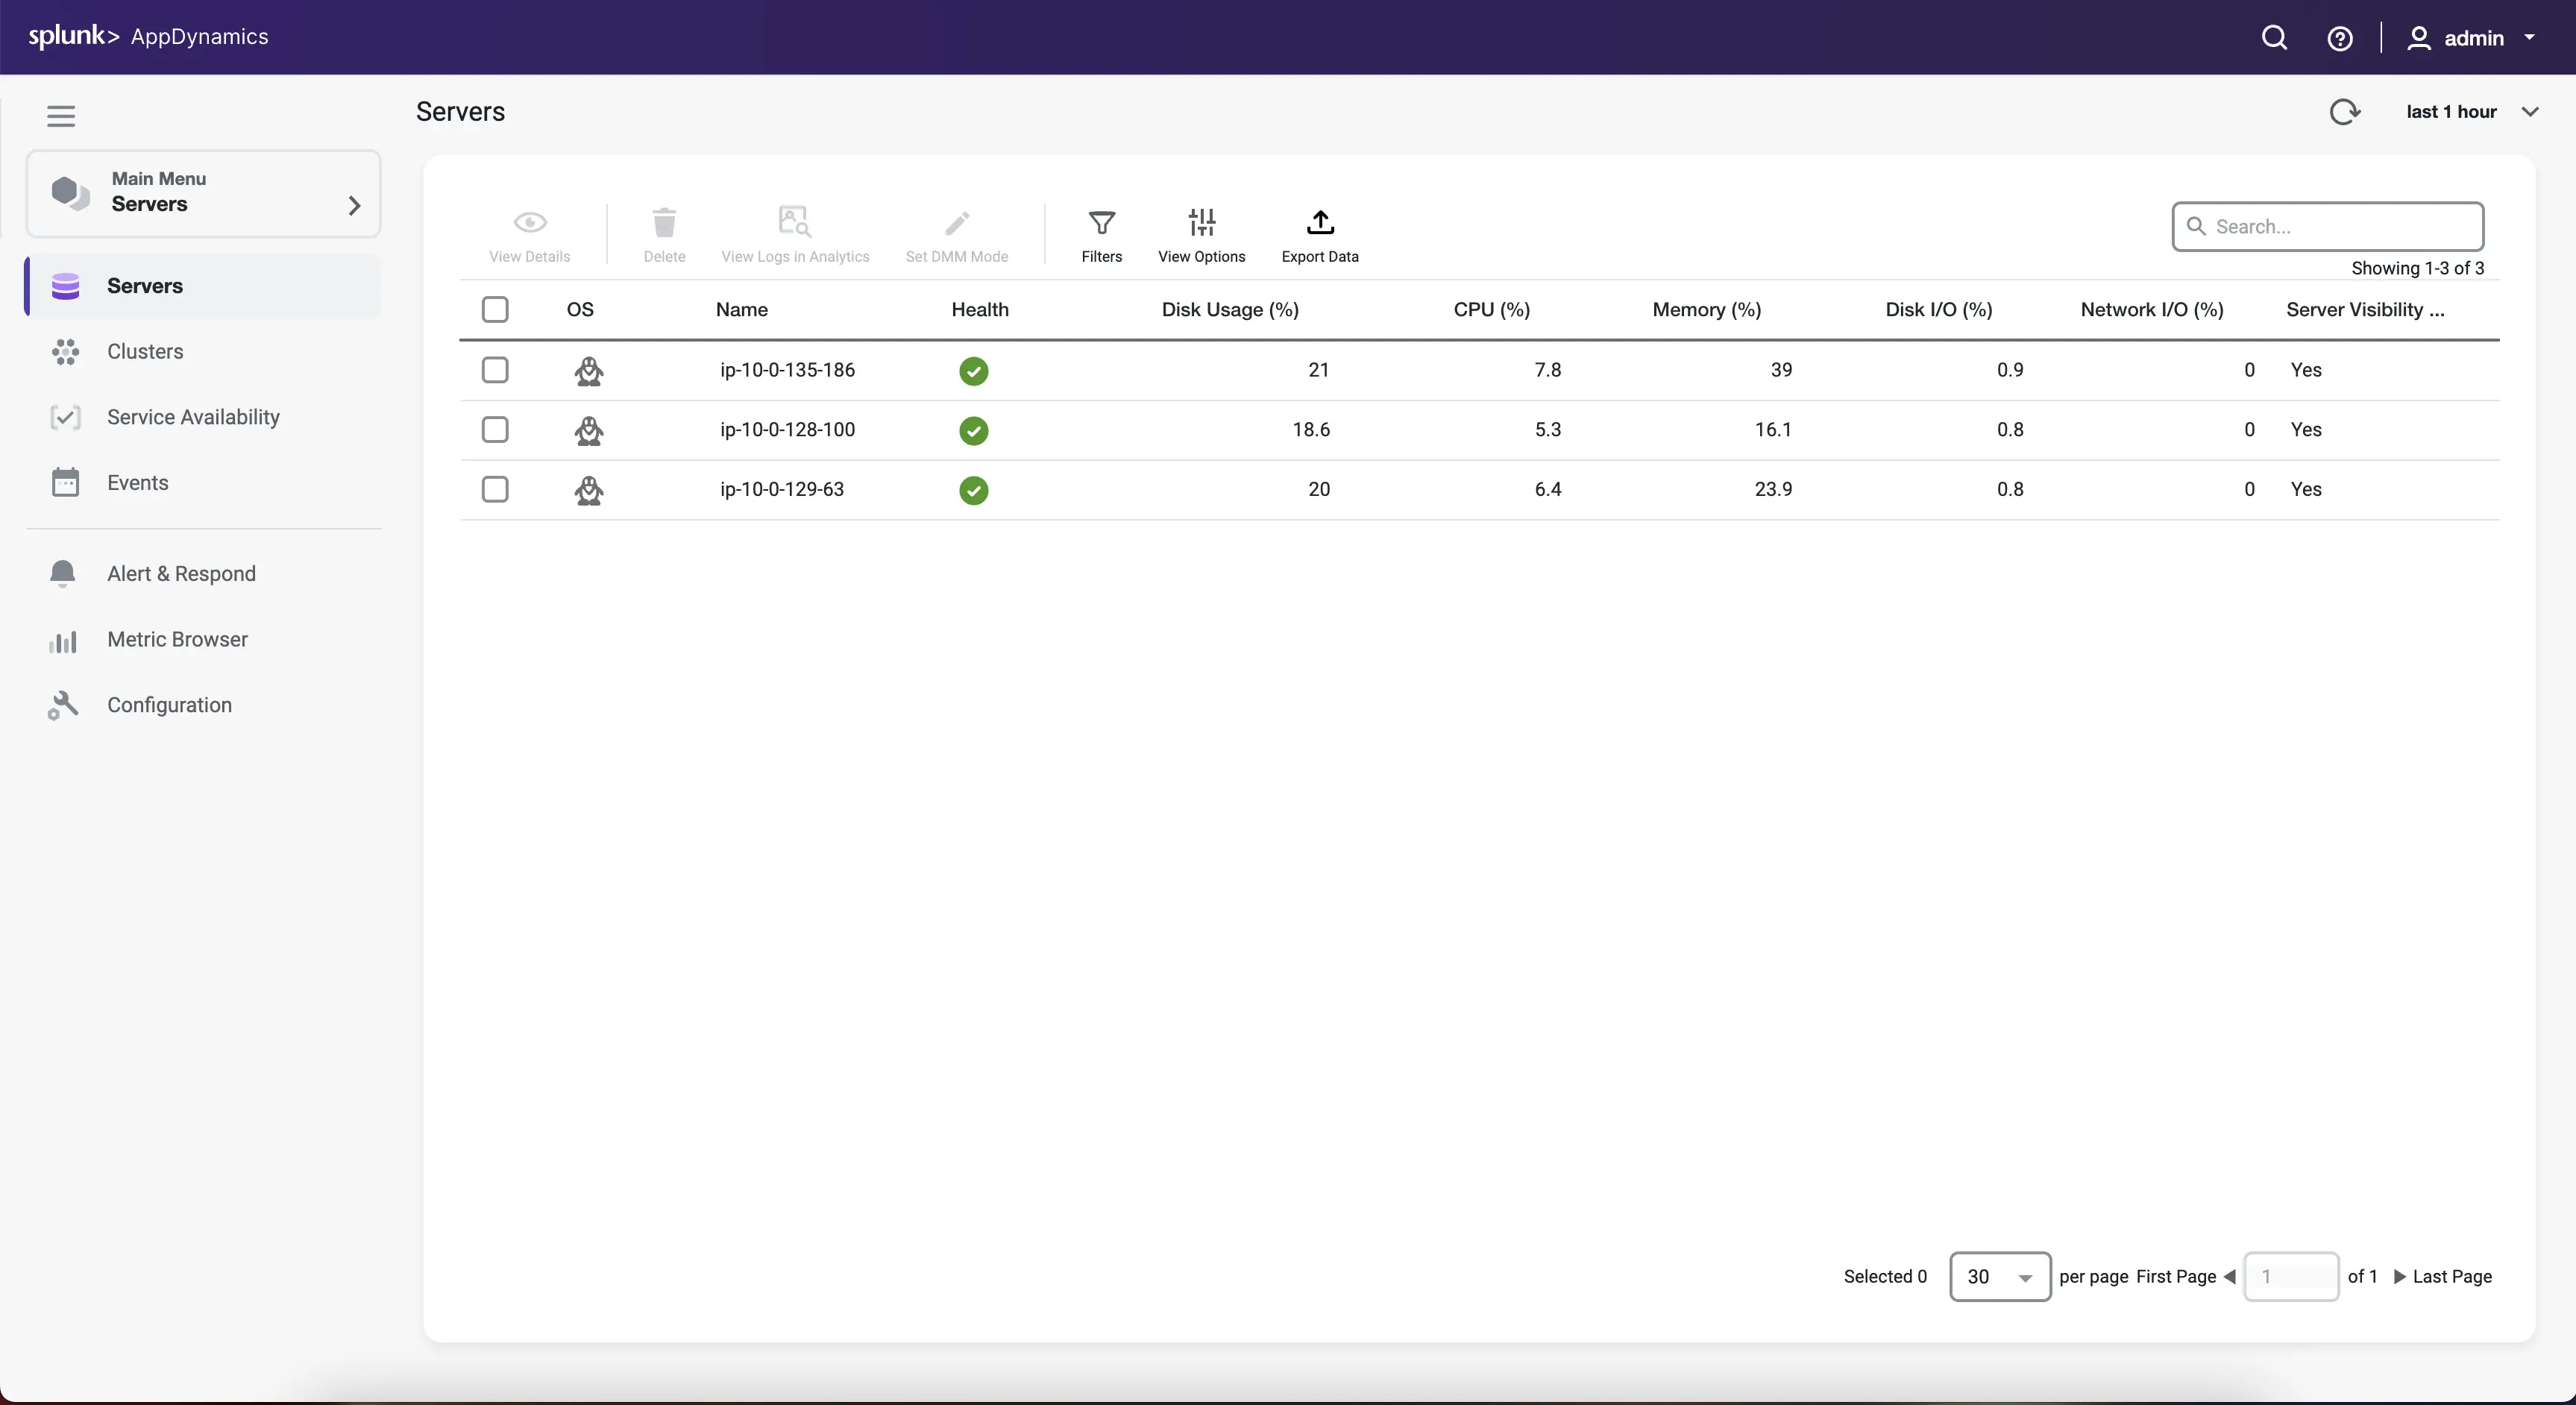
サーバー一覧画面が無事に開けました。ここで見えている情報は、AppD VA を構成する VM1〜3 のサーバーメトリック情報です。AppD VA の初期設定ではセルフモニタリングをするようになっているためです。
続いてどれか1つのサーバーの行をダブルクリックし、詳細画面を開いてみます。
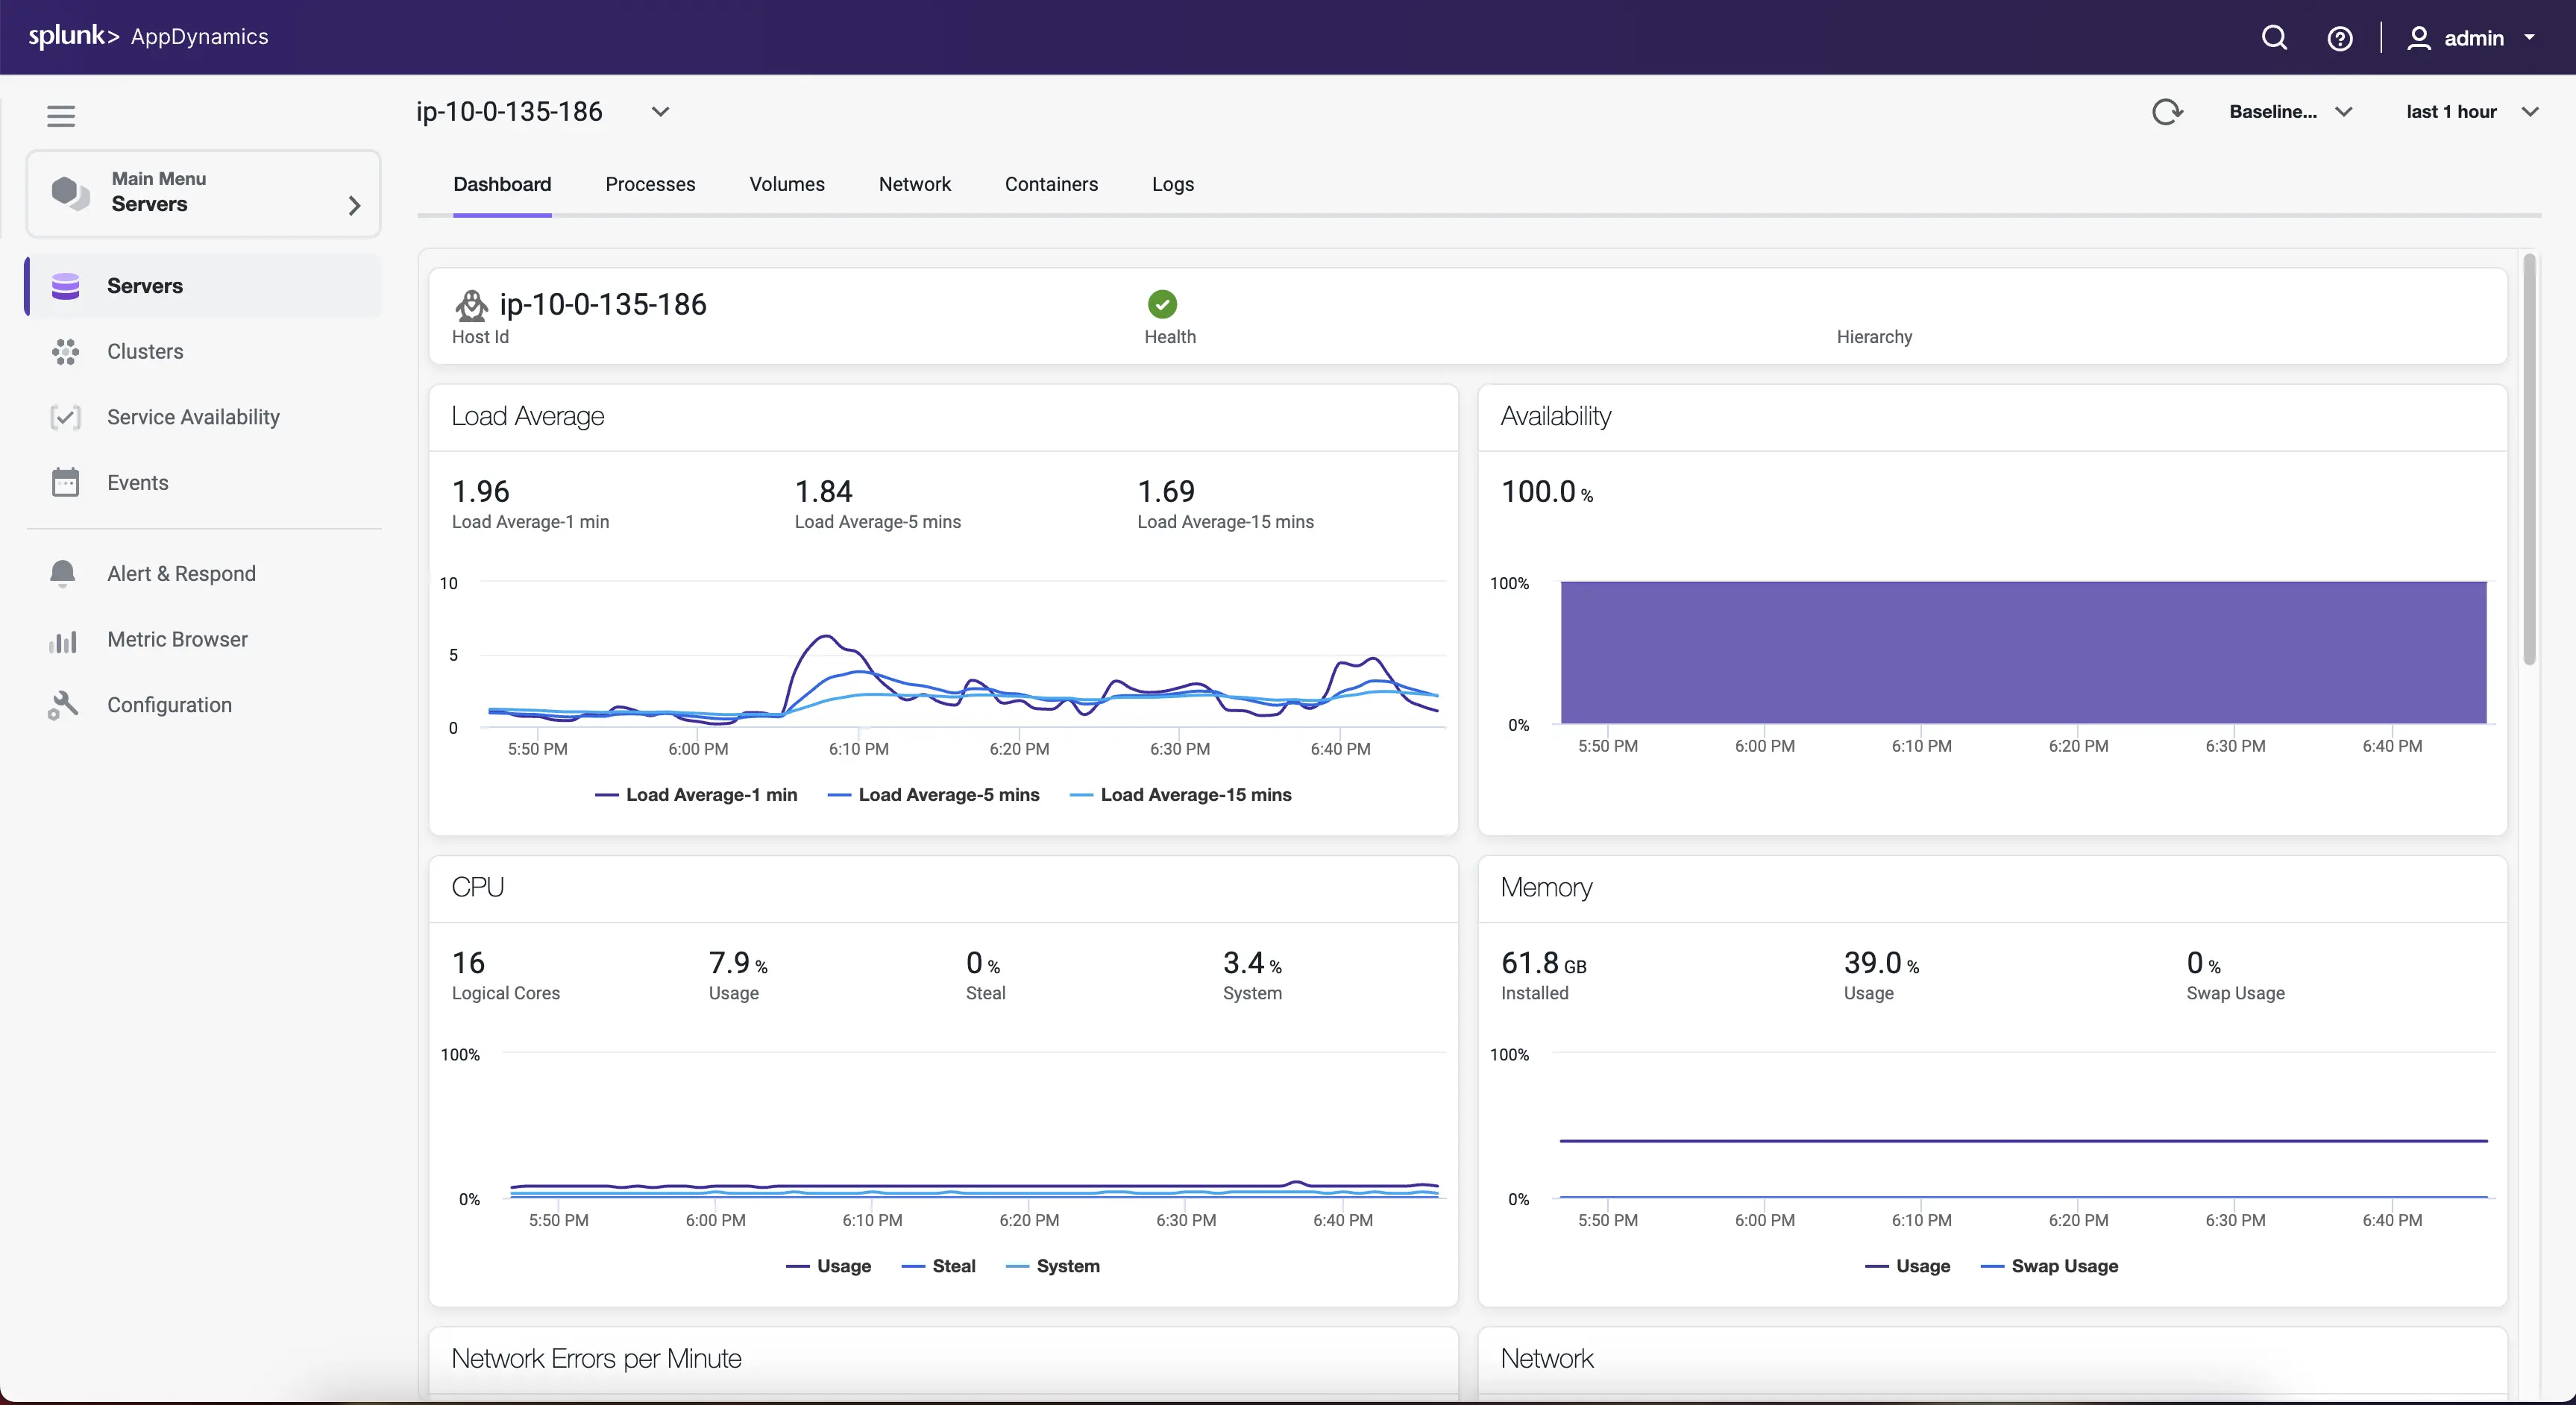
さらに、もし左の Clusters メニューをクリックすると AppD VA を構成する MicroK8s のクラスター一覧・クラスター概要・ポッド一覧のような画面へ順に進むことができます。しかしながら、ここまでで簡単な動作確認はできましたため、本記事での記載は以上とします。
まとめ
本記事では AppD VA インストールの後編として、AppDynamics 基本サービスの起動準備と起動、簡単な動作確認について記載しました。AppD VA を使うことにより、比較的簡単にオンプレミス版オブザーバビリティ・バックエンドを構築できます。
AppD VAへAPMエージェントを接続したり、AppD VAにてAppDynamics基本サービス以外のサービスを動かしてみたりする記録については、追って別の記事にて記載することを検討します。
Discussion