📸
【iOS/Android】UI要素のキャプチャの撮り方いろいろ
SwiftUI、UIKit、Jetpack Compose、Android Viewにて、とあるUI要素をキャプチャしたい場合にどのように実装すればいいかを書き残しておきます。
※この記事は技術書典17でWAKE Community本第15章に載せた内容になります。ぜひこちらもよろしくお願いします!
実行環境
Xcode: 16.0
Swift: 5
Android Studio: Koala Feature Drop | 2024.1.2
Kotlin: 1.9.0
iOSの場合
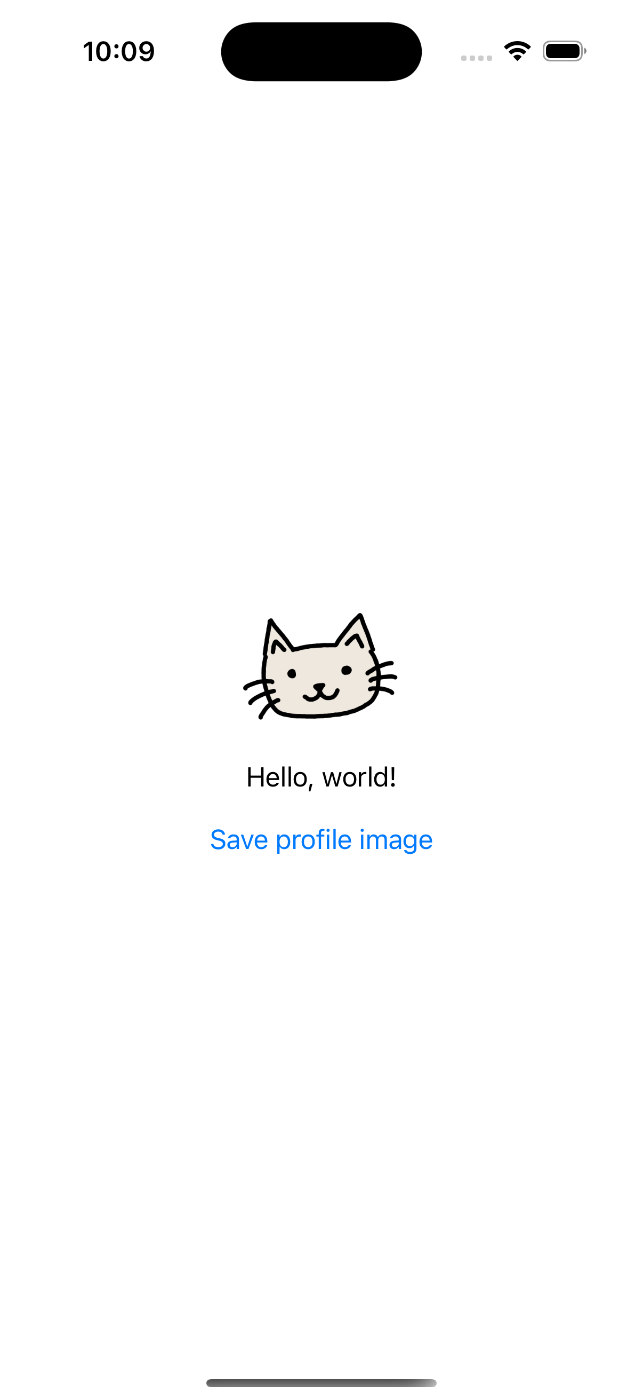
こんなかんじのUIで作りました。「Save profile image」ボタンをタップすると、私のプロフィール画像(UIImageView/Imageに設定したimage)が端末に保存されます。

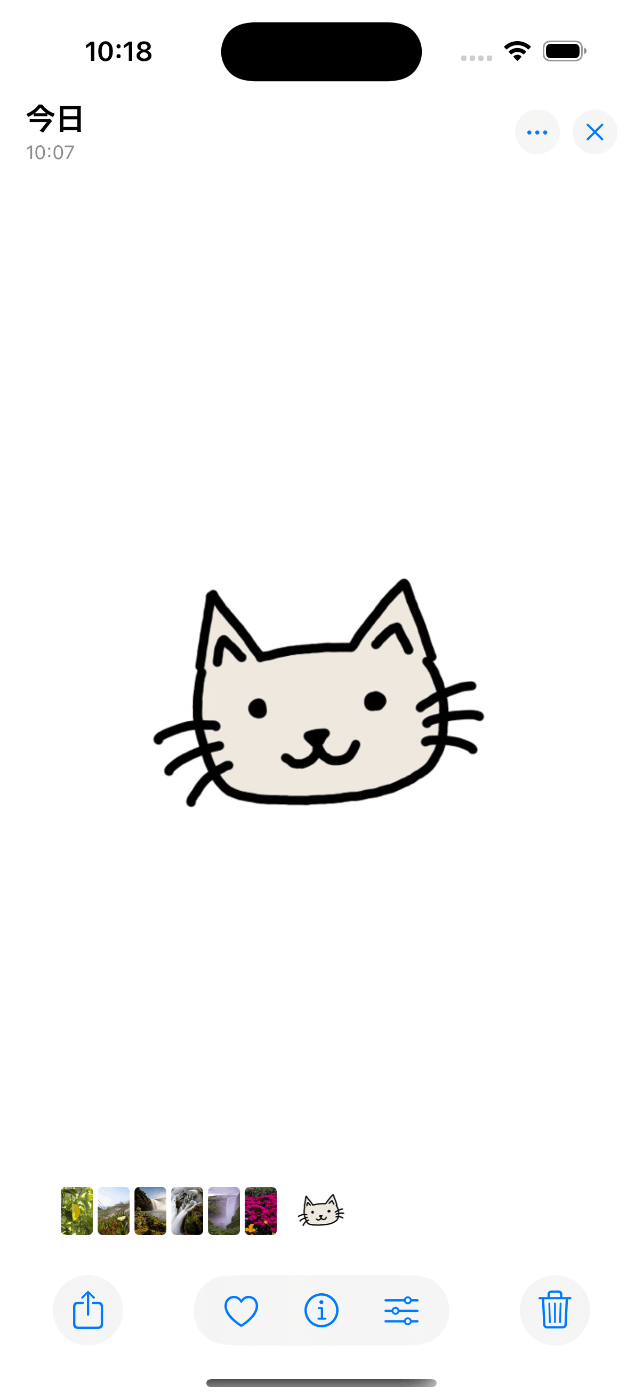
端末にはこのように保存されています。

※以下のコードをコピペしただけだと、写真書き込み権限の関係で動かない、もしくはクラッシュします。手元で実行する場合はInfo.plistで以下のkeyを設定し、適切なvalueを追加してください。
- Privacy - Photo Library Usage Description
- Privacy - Photo Library Additions Usage Description
SwiftUI
struct ContentView: View {
    @Environment(\.displayScale) private var displayScale

    var body: some View {
        let profileImage = Image("profile_image")
            .resizable()
            .scaledToFit()
            .frame(width: 100, height: 100)

        VStack {
            profileImage
            Text("Hello, world!")
            Button(action: {
                saveImageToPhotos(makeImage(body: profileImage))
            }) {
                Text("Save profile image")
            }
            .padding(.top, 8)
        }
        .padding()
    }

    @MainActor
    private func makeImage(body: some View) -> UIImage? {
        // iOS 16以上であればこんなに簡単にレンダリングできる
        let renderer = ImageRenderer(content: body)
        // デバイスのディスプレイ解像度に最適な画像を生成
        renderer.scale = displayScale
        return renderer.uiImage
    }

    // 正しくスクショが撮れているかを確認するコードなので、
    // 今回の検証の本質部分ではない
    private func saveImageToPhotos(_ image: UIImage?) {
        guard let image else { return }
        UIImageWriteToSavedPhotosAlbum(image, nil, nil, nil)
    }
}
UIKit
UIはStoryboardで作ってますし、SwiftUIの時と変わらないので省略します。処理もSwiftUIとほぼ同等です。
class ViewController: UIViewController {

    @IBOutlet weak var imageView: UIImageView!

    override func viewDidLoad() {
        super.viewDidLoad()
    }

    @IBAction func saveImageToPhotos(_ sender: Any) {
        let screenshot = makeImage(of: imageView)
        UIImageWriteToSavedPhotosAlbum(screenshot, nil, nil, nil)
    }

    private func makeImage(of imageView: UIImageView) -> UIImage {
        let renderer = UIGraphicsImageRenderer(size: imageView.bounds.size)
        return renderer.image { ctx in
            imageView.layer.render(in: ctx.cgContext)
        }
    }
}
Androidの場合
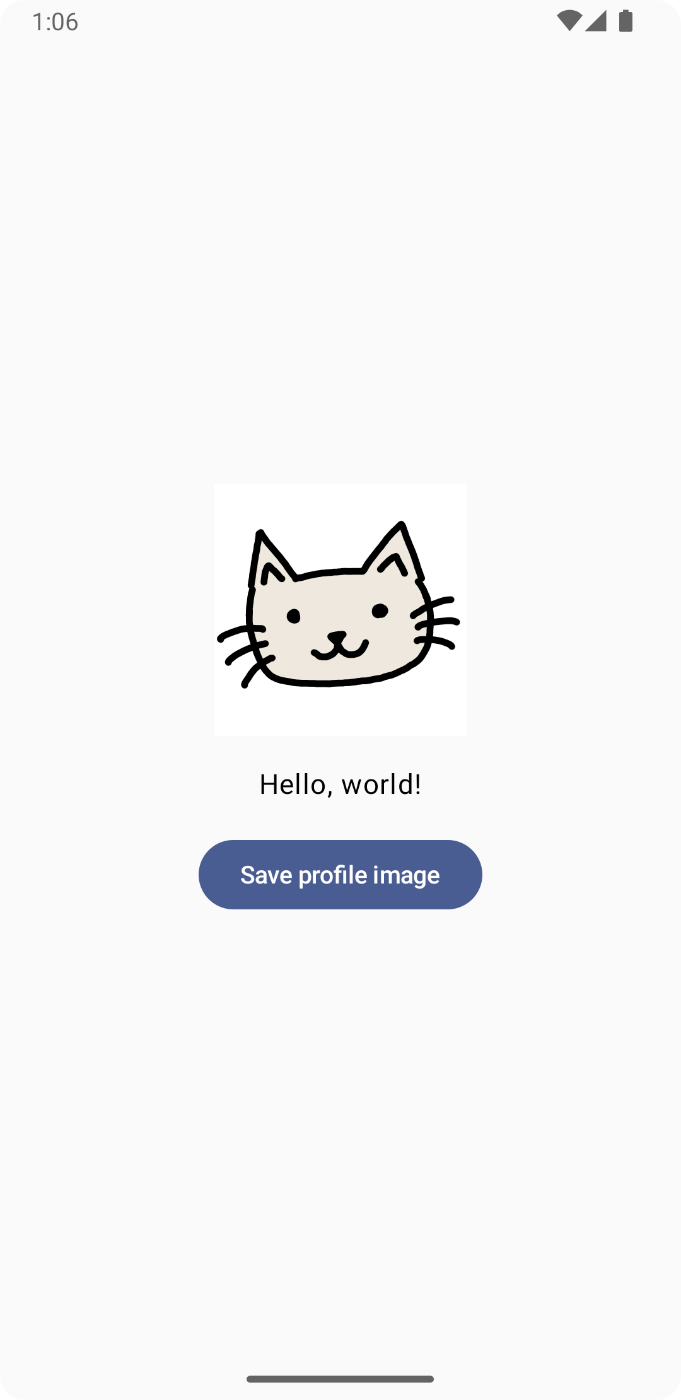
iOSと似たUIで作りました。「Save profile image」ボタンをタップすると、私のプロフィール画像(ImageView/Imageに設定したimage)が端末に保存されます。

端末にはこのように保存されています。

Jetpack Compose
class MainActivity : ComponentActivity() {
    override fun onCreate(savedInstanceState: Bundle?) {
        super.onCreate(savedInstanceState)
        enableEdgeToEdge()
        setContent {
            ScreenshotSmapleTheme {
                MainScreen()
            }
        }
    }
}

@Composable
fun MainScreen() {
    val context = LocalContext.current
    val view = LocalView.current

    // キャプチャする領域の座標を保持する
    val captureArea = remember { mutableStateOf<Rect?>(null) }

    Box(modifier = Modifier.fillMaxSize()) {
        Column(
            modifier = Modifier
                .fillMaxSize()
                .padding(16.dp),
            verticalArrangement = Arrangement.Center,
            horizontalAlignment = Alignment.CenterHorizontally
        ) {
            Image(
                painter = painterResource(id = R.drawable.profile_image),
                contentDescription = null,
                modifier = Modifier
                    .onGloballyPositioned { layoutCoordinates ->
                        val position = layoutCoordinates.positionInWindow()
                        val size = layoutCoordinates.size.toSize()
                        captureArea.value = Rect(
                            position.x.toInt(),
                            position.y.toInt(),
                            (position.x + size.width).toInt(),
                            (position.y + size.height).toInt()
                        )
                    }
            )
            Spacer(modifier = Modifier.height(16.dp))
            Text(
                text = "Hello, world!"
            )
            Spacer(modifier = Modifier.height(16.dp))
            Button(
                onClick = {
                    captureArea.value?.let { rect ->
                        // View全体のBitmapをキャプチャ
                        val bitmap = view.drawToBitmap()
                        // 特定の部分だけを切り出す
                        val croppedBitmap = Bitmap.createBitmap(
                            bitmap,
                            rect.left,
                            rect.top,
                            rect.width(),
                            rect.height()
                        )
                        saveImage(context = context, bitmap = croppedBitmap)
                    }
                }
            ) {
                Text(
                    text = "Save profile image"
                )
            }
        }
    }
}

// 正しくスクショが撮れているかを確認するコードなので、
// 今回の検証の本質部分ではない(のでちょっとおかしくても許して)
private fun saveImage(context: Context, bitmap: Bitmap) {
    val filename = UUID.randomUUID().toString() + ".jpg"
    val contentValues = ContentValues().apply {
        put(MediaStore.MediaColumns.DISPLAY_NAME, filename)
        put(MediaStore.MediaColumns.MIME_TYPE, "image/jpeg")
        put(MediaStore.MediaColumns.RELATIVE_PATH,
            Environment.DIRECTORY_PICTURES + "/Screenshots")
    }
    val uri = contentResolver.insert(
        MediaStore.Images.Media.EXTERNAL_CONTENT_URI, contentValues
    )
    uri?.let {
        context.contentResolver.openOutputStream(it).use { outputStream ->
            outputStream ?: return@let
            bitmap.compress(Bitmap.CompressFormat.JPEG, 100, outputStream)
        }
    }
}
Android View
UIは省略します。
class MainActivity : AppCompatActivity() {
    override fun onCreate(savedInstanceState: Bundle?) {
        super.onCreate(savedInstanceState)
        setContentView(R.layout.activity_main)

        val imageView = findViewById<ImageView>(R.id.imageView)
        val button = findViewById<Button>(R.id.button)
        button.setOnClickListener {
            val bitmap = makeBitmap(imageView)
            saveImage(bitmap)
        }
    }

    private fun makeBitmap(view: View): Bitmap {
        // ImageViewをBitmapに変換
        val bitmap = Bitmap.createBitmap(
            view.width, view.height, Bitmap.Config.ARGB_8888
        )
        val canvas = Canvas(bitmap)
        view.draw(canvas)
        return bitmap
    }

    // 正しくスクショが撮れているかを確認するコードなので、
    // 今回の検証の本質部分ではない(のでちょっとおかしくても許して)
    private fun saveImage(bitmap: Bitmap) {
        val filename = UUID.randomUUID().toString() + ".jpg"
        val contentValues = ContentValues().apply {
            put(MediaStore.MediaColumns.DISPLAY_NAME, filename)
            put(MediaStore.MediaColumns.MIME_TYPE, "image/jpeg")
            put(MediaStore.MediaColumns.RELATIVE_PATH,
                Environment.DIRECTORY_PICTURES + "/Screenshots")
        }
        val uri = contentResolver.insert(
            MediaStore.Images.Media.EXTERNAL_CONTENT_URI, contentValues
        )
        uri?.let {
            contentResolver.openOutputStream(it).use { outputStream ->
                outputStream ?: return@let
                bitmap.compress(Bitmap.CompressFormat.JPEG, 100, outputStream)
            }
        }
    }
}
Discussion