コマンド紹介シリーズ:terminalizer
コマンド紹介シリーズ第9回目は、terminalizerというコマンドを紹介します。ターミナルでの作業を録画し、GIFアニメーションを作成するためのツールです。
なお、第8回は以下になりますので、ぜひご興味があればご覧ください。
terminalizerとは?
terminalizerとは公式の説明によると、
Record your terminal and generate animated gif images or share a web player link www.terminalizer.com
ということで、ターミナルでの作業を録画してGIFを作成できるほか、専用のリンクで共有することができるようです。これまで私のブログではターミナルでの作業が多かったですがそれらはスクリーンショットがメインでした。ただしそれだと流れがわかりずらいのいで、このようなツールを使うことでアニメーションとして共有できるようになります。
使ってみる
インストール
インストール方法ですがNode.jsを必要としますので、各自の環境にNode.jsをインストールしてください。インストールが完了後、例えば以下のようにしてインストールできます。
yarn global add terminalizer
初期設定
初めてterminalizerをインストールした後は、デフォルト設定を作成します。以下のコマンドを利用してデフォルト設定を作成することができます。
terminalizer init
このコマンドを実行すると以下のように~/.config/terminalizerに設定ファイルが作成されました。

設定ファイルはどのようなファイルかというと以下のようなファイルとなっています。
# Specify a command to be executed
# like `/bin/bash -l`, `ls`, or any other commands
# the default is bash for Linux
# or powershell.exe for Windows
command: null

# Specify the current working directory path
# the default is the current working directory path
cwd: null

# Export additional ENV variables
env:
  recording: true

# Explicitly set the number of columns
# or use `auto` to take the current
# number of columns of your shell
cols: auto

# Explicitly set the number of rows
# or use `auto` to take the current
# number of rows of your shell
rows: auto

# Amount of times to repeat GIF
# If value is -1, play once
# If value is 0, loop indefinitely
# If value is a positive number, loop n times
repeat: 0

# Quality
# 1 - 100
quality: 100

# Delay between frames in ms
# If the value is `auto` use the actual recording delays
frameDelay: auto

# Maximum delay between frames in ms
# Ignored if the `frameDelay` isn't set to `auto`
# Set to `auto` to prevent limiting the max idle time
maxIdleTime: 2000

# The surrounding frame box
# The `type` can be null, window, floating, or solid`
# To hide the title use the value null
# Don't forget to add a backgroundColor style with a null as type
frameBox:
  type: floating
  title: Terminalizer
  style:
    border: 0px black solid
    # boxShadow: none
    # margin: 0px

# Add a watermark image to the rendered gif
# You need to specify an absolute path for
# the image on your machine or a URL, and you can also
# add your own CSS styles
watermark:
  imagePath: null
  style:
    position: absolute
    right: 15px
    bottom: 15px
    width: 100px
    opacity: 0.9

# Cursor style can be one of
# `block`, `underline`, or `bar`
cursorStyle: block

# Font family
# You can use any font that is installed on your machine
# in CSS-like syntax
fontFamily: "Monaco, Lucida Console, Ubuntu Mono, Monospace"

# The size of the font
fontSize: 12

# The height of lines
lineHeight: 1

# The spacing between letters
letterSpacing: 0

# Theme
theme:
  background: "transparent"
  foreground: "#afafaf"
  cursor: "#c7c7c7"
  black: "#232628"
  red: "#fc4384"
  green: "#b3e33b"
  yellow: "#ffa727"
  blue: "#75dff2"
  magenta: "#ae89fe"
  cyan: "#708387"
  white: "#d5d5d0"
  brightBlack: "#626566"
  brightRed: "#ff7fac"
  brightGreen: "#c8ed71"
  brightYellow: "#ebdf86"
  brightBlue: "#75dff2"
  brightMagenta: "#ae89fe"
  brightCyan: "#b1c6ca"
  brightWhite: "#f9f9f4"
設定項目としては起動した時に実行されるコマンドなどが設定できます。例えば私の場合は普段zshを利用しているので、冒頭のcommandをcommand: /bin/zshのように設定しています。
また、録画ごとに個別の設定ファイルを利用したい場合ですが、以下のコマンドを実行することで対応できます。
terminalizer config
録画を開始する
録画を開始するには以下のコマンドを実行します。
terminalizer record 録画名
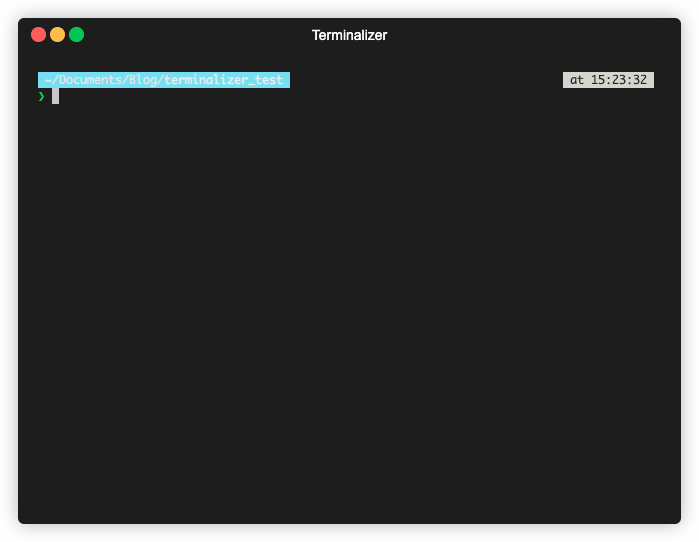
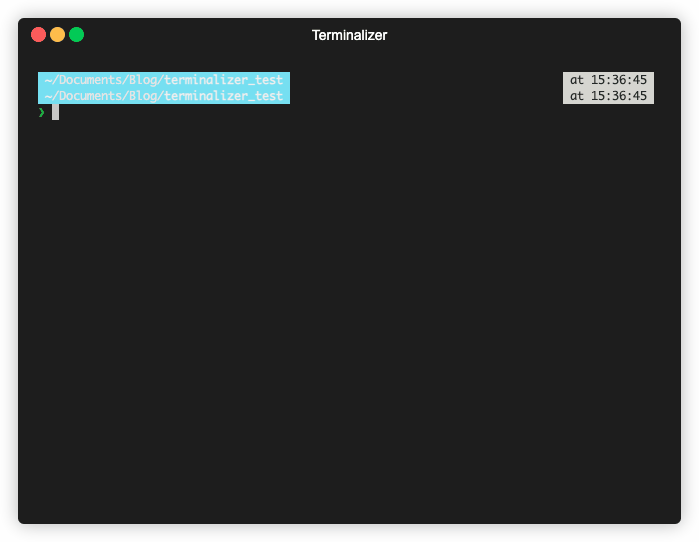
実行すると以下のような感じになります。このコマンドを実行していることを録画するためにレコードをネストしています。

録画を終了する場合、Ctrl-Dを押すと終了できます。終了後にコマンドをシェアするか聞かれますが、今回はシェアしないのでnを入力しました。
録画が完了すると、録画名.ymlというファイル名でコマンド実行履歴が保存されます。そのファイルにはコマンド履歴が残るのですが、ユーザ名なども保存されます。今回共有するにあたり私のユーザ名などを隠すため、文字列を変換しました。フォーマットに問題がなければファイルを編集しても問題ありません。
録画のレンダリング
録画結果は実行した後はまだymlファイルなので、GIFに変換したい場合は以下のコマンドを実行します。
terminalizer render 録画名 -o <出力gifファイル名>
先ほど例で実行したネストされた実行であるrecord_test_subをレンダリングしてみます。
terminalizer render record_test_sub -o record_sub_test.gif
録画のリプレイ
GIFに変換しなくてもコマンド履歴のリプレイを実行することができます。以下のようにすることでリプレイを実行できます。
terminalizer play 録画名.yml
まとめ
今回はコマンド実行を録画できるterminalizerを紹介しました。コマンド実行の手順をGIFで共有したい方はぜひ参考にしてください。
Discussion