Python GUI作成ツールPAGEを使用してみた
はじめに
PythonでGUIをつくる際に細かい設定をいちいち手打ちすると疲弊してしまうことから、
何かいい方法がないかなと思っていたところ、マウスでぽちぽちするだけで簡単にGUIを作れるPAGEというものを教えてもらったので、使ってみることにしました。
たくさん記事が転がっている情報をかき集めただけですので、特に新しい情報はないですが、
自分の備忘録として環境構築と簡単なGUI画面をまとめておきます。
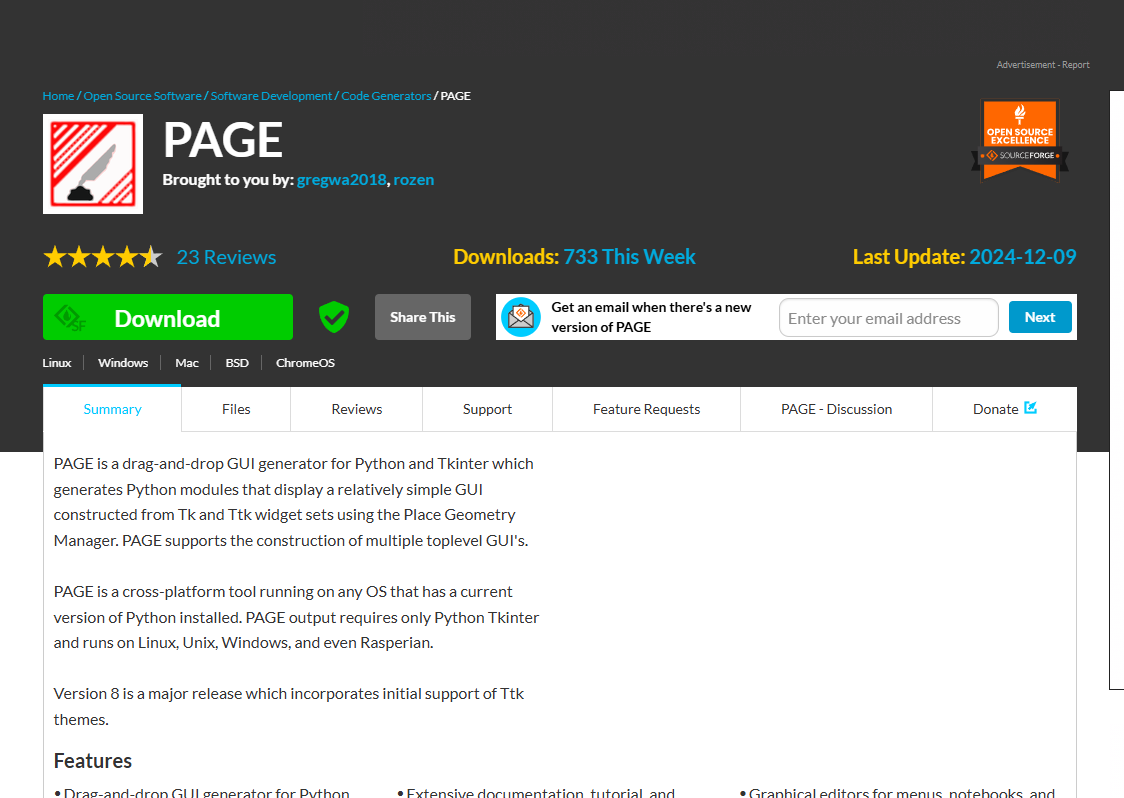
ソフトウェアのインストールサイト
以下からダウンロードしました。
インストール手順
上記インストールサイトからpage-8.0.exeをダウンロードして実行しました。
保存場所はローカルのCドライブにフォルダを切ってそこに作成しています。
ものの10秒ほどでダウンロード完了しました。
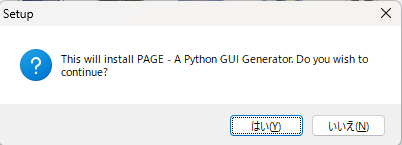
①セットアップ確認画面
②よくあるセットアップ画面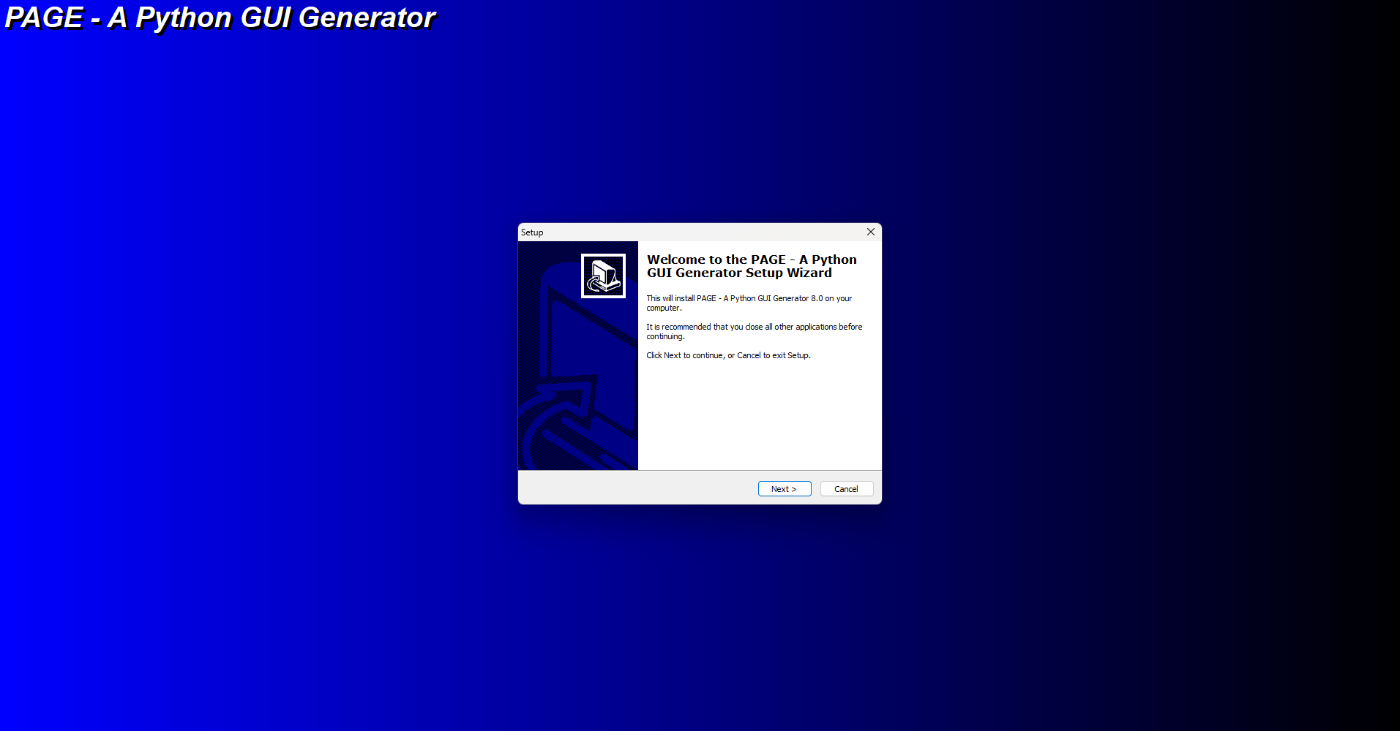
③ソフトの保存先設定

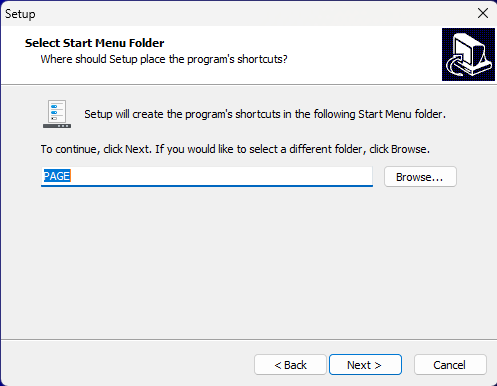
③ショートカットの作成有無
④最終確認

⑤ダウンロード完了

PAGEの起動
さて保存したディレクトリからPAGE.batを起動しましたが、起動した瞬間落ちてしまいました。
どうやらPython3を使用していることがまずかったみたいです。
ネットで調べたところ、同じところで引っかかっている方がおられましたので、そちらの記事を参考にしたら解決しました。ありがたいですね。

Batファイル修正箇所
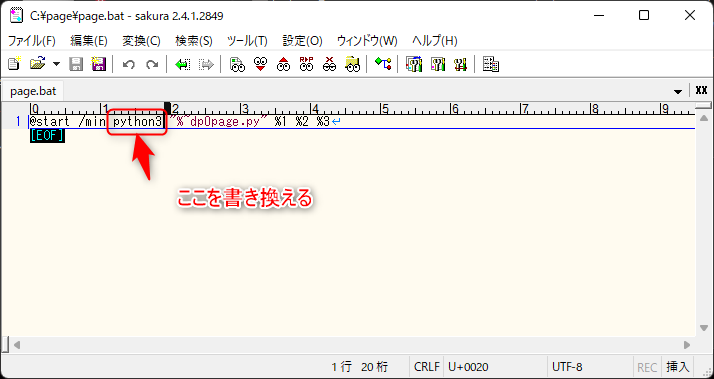
修正したら無事に起動することができました。

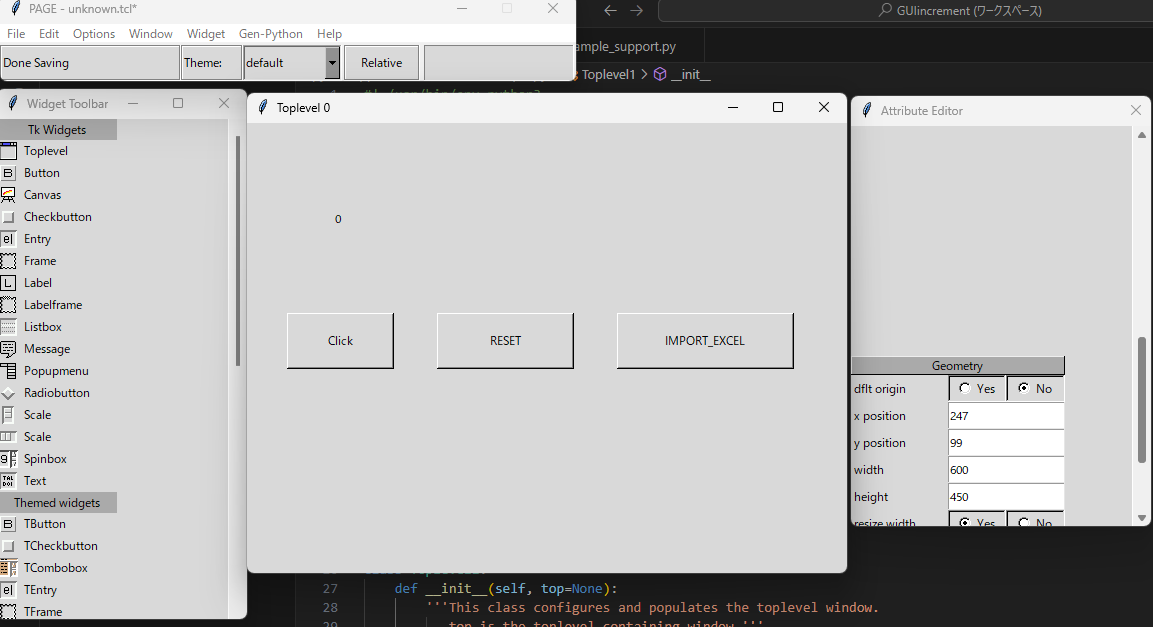
画面作成
直感的に操作できるので、そこまで操作方法は悩まなかったです。
作成できるウィジェットの種類もたくさんあるので、いろいろ遊べそうですね。
今回はお遊びがてらカウントアップ用のボタンとリセットボタン、エクセルを読み込むボタンを
作成してみました。
コードの作成
PAGEから作成されるコードは「GUIレイアウト定義」ファイルと「イベント処理・ロジック記述ファイル」2種類に分けられるようです。私の作業はのちに後述するイベント処理・ロジック記述ファイルに割り当てを行うだけです。今回は以下2種類のファイルを作成します。
| ファイル名 | 役割 |
|---|---|
| sample.py | GUIレイアウトの定義ファイル(ウィジェットの設置やスタイル) |
| sample_support.py | イベント処理・ロジックの記述ファイル(ボタンの機能など) |
具体的な作成手順は以下です。
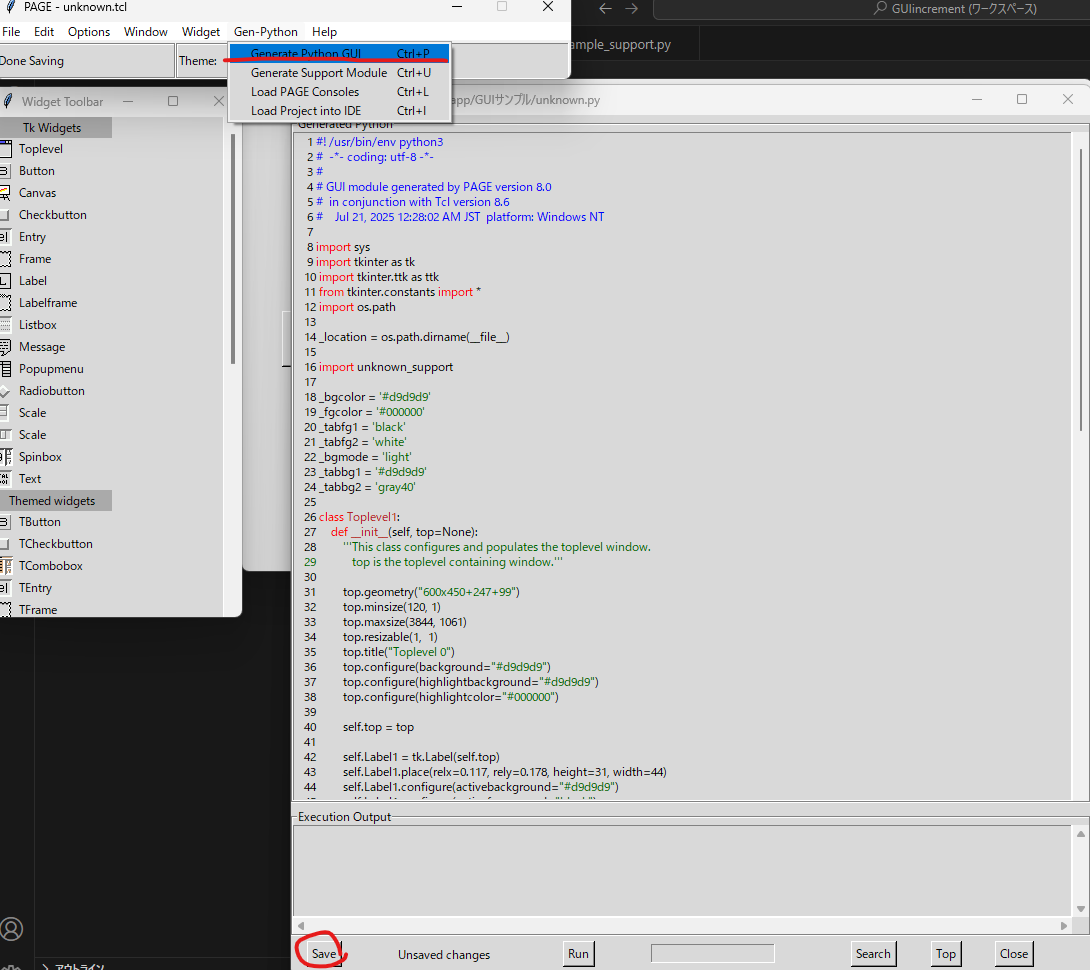
1 GUIレイアウトの定義ファイルの作成
Gen-PythonからGenerate Python GUIボタンを押してコードを作成し、Saveボタンを押してコードを保存します。
import sys
import tkinter as tk
import tkinter.ttk as ttk
from tkinter.constants import *
import os.path

_location = os.path.dirname(__file__)

import sample_support

_bgcolor = '#d9d9d9'
_fgcolor = '#000000'
_tabfg1 = 'black'
_tabfg2 = 'white'
_bgmode = 'light'
_tabbg1 = '#d9d9d9'
_tabbg2 = 'gray40'

class Toplevel1:
    def __init__(self, top=None):
        '''This class configures and populates the toplevel window.
           top is the toplevel containing window.'''

        top.geometry("600x450+272+116")
        top.minsize(120, 1)
        top.maxsize(3844, 1061)
        top.resizable(1,  1)
        top.title("Toplevel 0")
        top.configure(background="#d9d9d9")
        top.configure(highlightbackground="#d9d9d9")
        top.configure(highlightcolor="#000000")

        self.top = top

        self.Button1 = tk.Button(self.top)
        self.Button1.place(relx=0.067, rely=0.289, height=56, width=107)
        self.Button1.configure(activebackground="#d9d9d9")
        self.Button1.configure(activeforeground="black")
        self.Button1.configure(background="#d9d9d9")
        self.Button1.configure(command=sample_support.BT_CLICK)
        self.Button1.configure(disabledforeground="#a3a3a3")
        self.Button1.configure(foreground="#000000")
        self.Button1.configure(highlightbackground="#d9d9d9")
        self.Button1.configure(highlightcolor="#000000")
        self.Button1.configure(text='''Click''')

        self.Label1 = tk.Label(self.top)
        self.Label1.place(relx=0.117, rely=0.178, height=31, width=44)
        self.Label1.configure(activebackground="#d9d9d9")
        self.Label1.configure(activeforeground="black")
        self.Label1.configure(anchor='w')
        self.Label1.configure(background="#d9d9d9")
        self.Label1.configure(compound='center')
        self.Label1.configure(cursor="fleur")
        self.Label1.configure(disabledforeground="#a3a3a3")
        self.Label1.configure(font="-family {Yu Gothic UI} -size 9")
        self.Label1.configure(foreground="#000000")
        self.Label1.configure(highlightbackground="#d9d9d9")
        self.Label1.configure(highlightcolor="#000000")
        self.Label1.configure(text='''0''')

        self.Button1_1 = tk.Button(self.top)
        self.Button1_1.place(relx=0.317, rely=0.289, height=56, width=137)
        self.Button1_1.configure(activebackground="#d9d9d9")
        self.Button1_1.configure(activeforeground="black")
        self.Button1_1.configure(background="#d9d9d9")
        self.Button1_1.configure(command=sample_support.BT_RESET)
        self.Button1_1.configure(disabledforeground="#a3a3a3")
        self.Button1_1.configure(font="-family {Yu Gothic UI} -size 9")
        self.Button1_1.configure(foreground="#000000")
        self.Button1_1.configure(highlightbackground="#d9d9d9")
        self.Button1_1.configure(highlightcolor="#000000")
        self.Button1_1.configure(text='''RESET''')

        self.Button2 = tk.Button(self.top)
        self.Button2.place(relx=0.617, rely=0.289, height=56, width=177)
        self.Button2.configure(activebackground="#d9d9d9")
        self.Button2.configure(activeforeground="black")
        self.Button2.configure(background="#d9d9d9")
        self.Button2.configure(command=sample_support.load_excel)
        self.Button2.configure(disabledforeground="#a3a3a3")
        self.Button2.configure(foreground="#000000")
        self.Button2.configure(highlightbackground="#d9d9d9")
        self.Button2.configure(highlightcolor="#000000")
        self.Button2.configure(text='''IMPORT_EXCEL''')

def start_up():
    sample_support.main()

if __name__ == '__main__':
    sample_support.main()
2 イベント処理・ロジックの記述ファイル
Gen-PythonからGenerate Support Moduleボタンを押してイベント処理・ロジックの記述ファイルを作成します。ここで作成されるのは、機能を割り当てられていない外側だけのコードですので、
この後各種ボタンにイベント処理を割り当てる必要があります。

import sys
import tkinter as tk
import tkinter.ttk as ttk
from tkinter.constants import *
import sample
_debug = True # False to eliminate debug printing from callback functions.

def main(*args):
    '''Main entry point for the application.'''
    global root
    root = tk.Tk()
    root.protocol( 'WM_DELETE_WINDOW' , root.destroy)
    # Creates a toplevel widget.
    global _top1, _w1
    _top1 = root
    _w1 = sample.Toplevel1(_top1)
    root.mainloop()

def BT_CLICK(*args):
    if _debug:
        print('sample_support.BT_CLICK')
        for arg in args:
            print ('    another arg:', arg)
        sys.stdout.flush()

def BT_RESET(*args):
    if _debug:
        print('sample_support.BT_RESET')
        for arg in args:
            print ('    another arg:', arg)
        sys.stdout.flush()

def load_excel(*args):
    if _debug:
        print('sample_support.load_excel')
        for arg in args:
            print ('    another arg:', arg)
        sys.stdout.flush()

if __name__ == '__main__':
    sample.start_up()
各種ボタンにイベント処理の割り当て
さて今回作成したGUIのボタンに対して機能を割り当てを行っていきます。
大枠はPAGE側で作成済みですので、各種ボタンに欲しい機能を割り当てていきます。
import sys
import tkinter as tk
import tkinter.ttk as ttk
from tkinter.constants import *
import openpyxl
import sample
from tkinter import filedialog

_debug = True # False to eliminate debug printing from callback functions.

def main(*args):
    '''Main entry point for the application.'''
    global root
    root = tk.Tk()
    root.protocol( 'WM_DELETE_WINDOW' , root.destroy)
    # Creates a toplevel widget.
    global _top1, _w1, w
    _top1 = root
    _w1 = sample.Toplevel1(_top1)
    w = _w1
    root.mainloop()
#クリックボタン(押したら1ずつインクリメント)
def BT_CLICK(*args):
    print('ボタン押下')
    sys.stdout.flush()
    now_str = w.Label1["text"]
    now_int = int(now_str) + 1
    w.Label1["text"] =  str(now_int)

#クリックボタン(押したらリセット)
def BT_RESET(*args):
    if _debug:
        print('リセット')
        now_str = w.Label1["text"]
        now_int = int(0)
        w.Label1["text"] =  str(now_int)

#クリックボタン(エクセルをインポート)
def load_excel(*args):
    global w  # w にGUI要素が格納されている
    filepath = tk.filedialog.askopenfilename(
        filetypes=[("Excel files", "*.xlsx *.xls")]
    )
    if not filepath:
        return

    wb = openpyxl.load_workbook(filepath)
    sheet = wb.active

    rows = []
    for row in sheet.iter_rows(values_only=True):
        rows.append("\t".join([str(cell) if cell is not None else "" for cell in row]))

    # Textウィジェットなどに表示
    w.Text1.delete("1.0", "end")  # 既存テキスト削除
    w.Text1.insert("end", "\n".join(rows))  # 読み込んだデータを表示

if __name__ == '__main__':
    sample.start_up()
まとめ
GUIのデザインを直感的に作れて、さらにPyhonファイルに吐き出してくれるので非常に助かりました。
またGUI定義ファイルとイベント定義用のファイルが分かれているので、再度GUIデザインを修正する時はPAGEからGUI定義ファイルを修正すれば容易にでき、かなり便利だと思います。
イベント定義に関して、知識に自信がない場合であっても生成AIツールを使用すればすぐに作成することができます。ちなみに今回はほとんどCopilot先生に作ってもらいました(小声)
変数のつけ方などお粗末な点もありますが、そういった部分を自分好みにアレンジしていければよいと思います。(今回は割愛しました。)
今後PAGEを使用した標準GUIフォーマットを作成する予定ですので、その時は可読性を上げた
フォーマットを作成したいと思います。
あとPythonの勉強をもうちょっとしないとですね。
参考サイト
Discussion