Open13
WordPress ブロックエディタのチュートリアル
これをやってみる
テンプレートから作成
$ cd wp-content/plugins/
$ npx @wordpress/create-block gutenpride --template @wordpress/create-block-tutorial-template
管理画面から、作成したプラグインを有効化

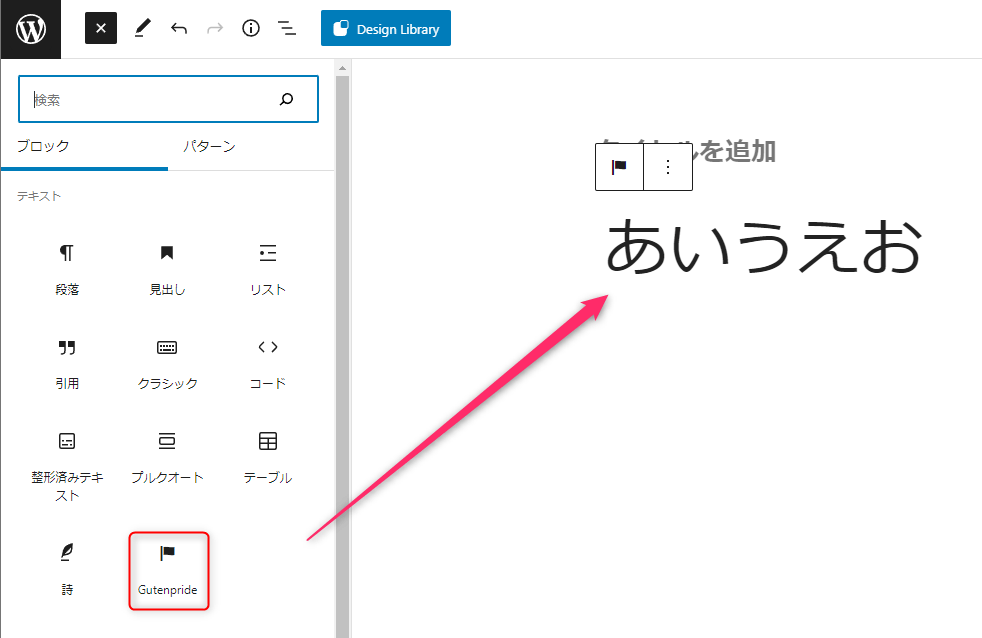
投稿画面でブロックが使えることを確認

ソースのビルド
# 開発
$ npm run start

# 本番
$ npm run build
プラグインのロード順序
-
gutenpride.phpのcreate_block_gutenpride_block_init()内でregister_block_typeを実行 -
block.jsonの"editorScript": "file:./index.js"によって、ファイルが読み込まれる
block.json
- title: 投稿画面に表示されるブロックの名前
- icon:投稿画面に表示されるブロックのアイコン(デフォルトアイコンから選択するかSVGを指定)
- category:
common、formatting、layout、widgets、embedから選択するか独自のものを追加
- edit.js:投稿画面の表示
- save.js:公開ページの表示内容
- build/index.css:src/editor.scssから生成。投稿画面のみでロードされる。
- build/style-index.css:src/style.scssから生成。投稿画面と公開ページの両方でロードされる。
ブロック挿入後、コンテンツ未入力の状態を「プレースホルダー」と呼ぶ。
<Placeholder>コンポーネントで囲むことで実装できる。
Edit関数のパラメータで、isSelectedを受けとるとブロックが編集中であるかを判定できる。
export default function Edit({ attributes, isSelected, setAttributes }) {
 ...
}
Edit関数でInspectorControlsコントロールを返すと、投稿画面の右サイドバーにブロックの設定を表示できる。
import {  InspectorControls } from "@wordpress/block-editor";

export default function Edit({ attributes, isSelected, setAttributes }) {
  const blockProps = useBlockProps();
  return (
    <div {...blockProps}>
      <InspectorControls key="setting">  // これを追加
        <div id="gutenpride-controls">
          <fieldset>
            <legend className="blocks-base-control__label">背景色</legend>
            <ColorPalette />
          </fieldset>
        </div>
      </InspectorControls>
      <TextControl
        {...blockProps}
        value={attributes.message}
        onChange={(val) => setAttributes({ message: val })}
      />
    </div>
  );
}
JavaScriptのコーディング規約を適用させる。
$ npm i -D eslint @wordpress/eslint-plugin
// .eslintrc.js
module.exports = {
	extends: [ 'plugin:@wordpress/eslint-plugin/recommended-with-formatting' ],
};
上のコードで、extends:.../recommendではWordPressのコーディング規約が効かなかった。