【Flutter】ListViewの使い方について
はじめに
この記事ではFlutterのListViewの使い方をまとめています。
ベースのコードを用意する
ListViewを作る前に、まずはベースとなるコードを用意します。
import 'package:flutter/cupertino.dart';
class VerticalListView extends StatelessWidget {
const VerticalListView({Key? key}) : super(key: key);
Widget build(BuildContext context) {
return Container();
}
}
StatelessWidgetを継承したVerticalListView用意しました。
このコードを元にListViewを作成します。
ListViewで縦方向にスクロールするリストをつくる
import 'package:flutter/cupertino.dart';
import 'package:flutter/material.dart';
class ListTileItem {
final String title;
const ListTileItem({
required this.title,
});
}
class ListItemData {
final List<String> alphabets = [
'A',
'B',
'C',
'D',
'E',
'F',
'G',
'H',
'I',
];
ListItemData();
}
class VerticalListView extends StatelessWidget {
const VerticalListView({Key? key}) : super(key: key);
Widget build(BuildContext context) {
final ListItemData itemData = ListItemData();
return ListView.builder(
itemCount: itemData.alphabets.length,
itemBuilder: (context, index) {
return SizedBox(
height: 50,
child: Center(
child: Text(
itemData.alphabets[index],
),
),
);
},
);
}
}
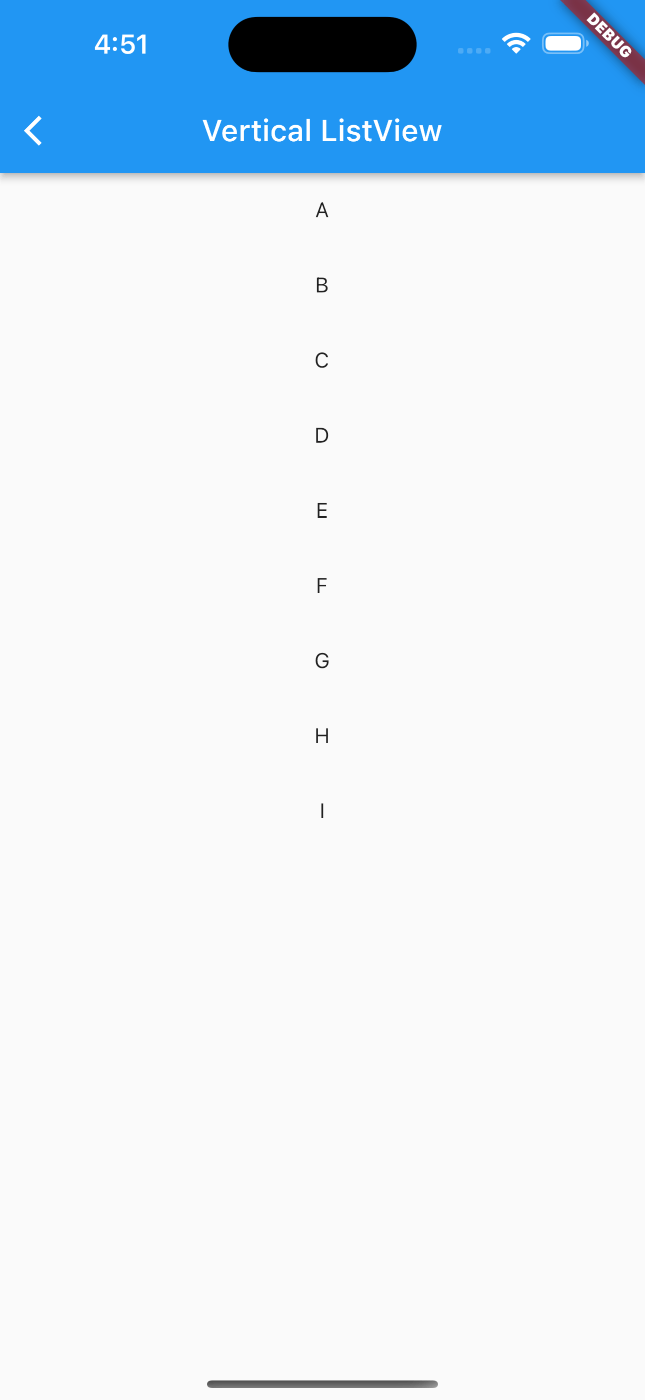
このコードを実行すると、つぎのような一覧を表示することができます。
このコードでは、ListView.builderを使用しています。ListView.builderは、ドキュメントでつぎのように説明されています。
The ListView.builder constructor takes an IndexedWidgetBuilder, which builds the children on demand. This constructor is appropriate for list views with a large (or infinite) number of children because the builder is called only for those children that are actually visible.
ListView.builderはIndexedWidgetBuilderを引数に取ります。ビルダーは実際に表示する子どもたちのためだけに呼び出されるため、このコンストラクタは大量のデータを扱うリストビューに適しています。
リストの要素をタップしたときの処理をつくる
ListViewは要素が選択されたときに通知を受け取る機能がありません。
そのため、ListTileを使用して、要素がタップされたときの処理を作成してみます。
ListTile
class VerticalListView extends StatelessWidget {
const VerticalListView({Key? key}) : super(key: key);
Widget build(BuildContext context) {
final ListItemData itemData = ListItemData();
return ListView.builder(
itemCount: itemData.alphabets.length,
itemBuilder: (context, index) {
return SizedBox(
height: 50,
child: ListTile(
onTap: () {
print("${itemData.alphabets[index]} is tapped.");
},
title: Center(
child: Text(
itemData.alphabets[index],
),
),
),
);
},
);
}
}
このコードでは、SizedBoxのchildをListTileに変更しています。
ListTileはGestureTapCallback?型のonTapに設定できます。
この例では、選択されたデータをconsole出力しています。

使用したコードと同様のサンプルコードをGitHubに置いていますので、参考にしてください。
Discussion