[AWS]AWS VaultとTerraformでEC2を作成する






はじめに
Terraform で AWS のサービスを管理したく、AWS Vaultコマンドで EC2 を立ち上げる方法を執筆します
下記記事の作業が完了している前提で解説します。
※sandbooks の作業の一環になります。
1. AWS CLI をインストール
-
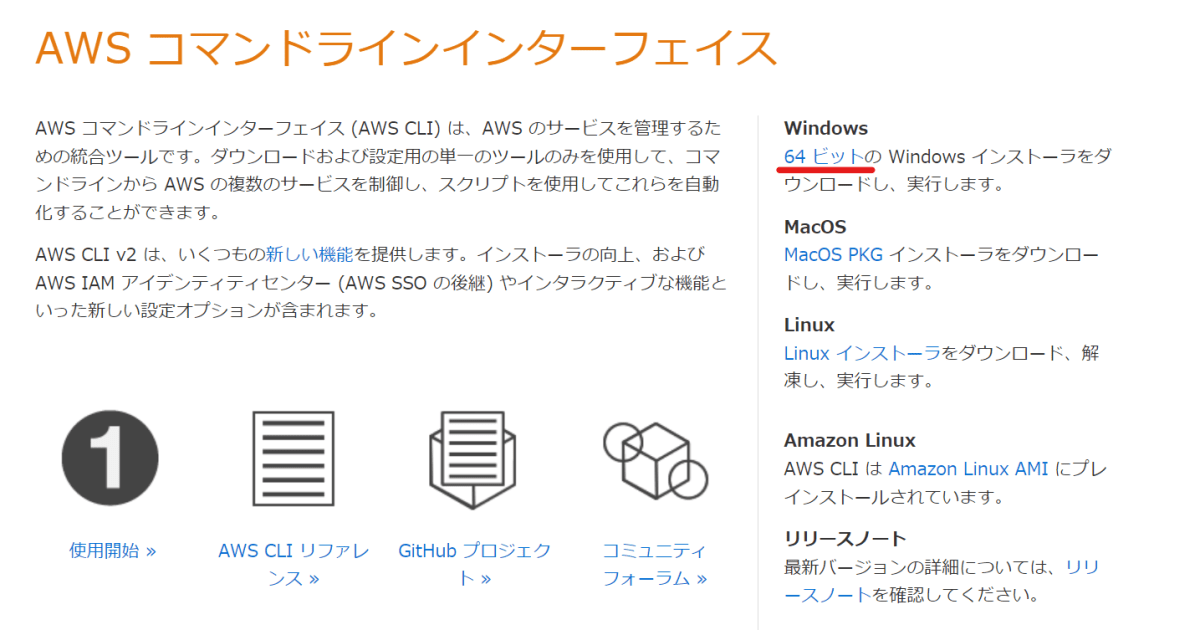
下記ページにアクセスする
-
Windows の方は、
64ビットをクリックしインストーラーをダウンロードする
-
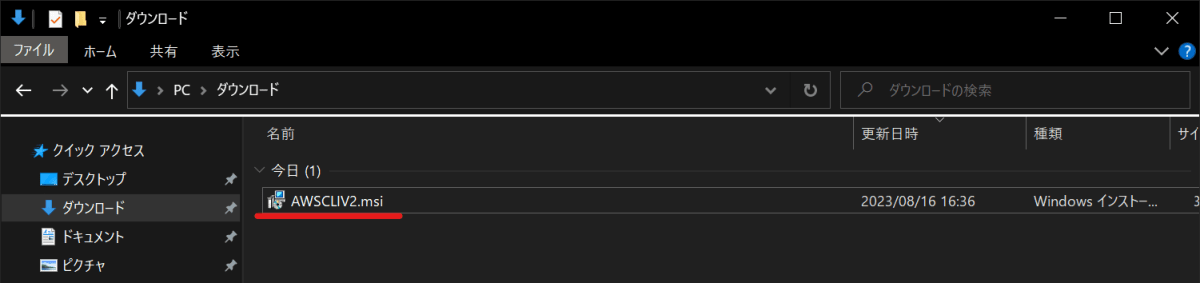
ダウンロードされたインストーラーを実行する
-
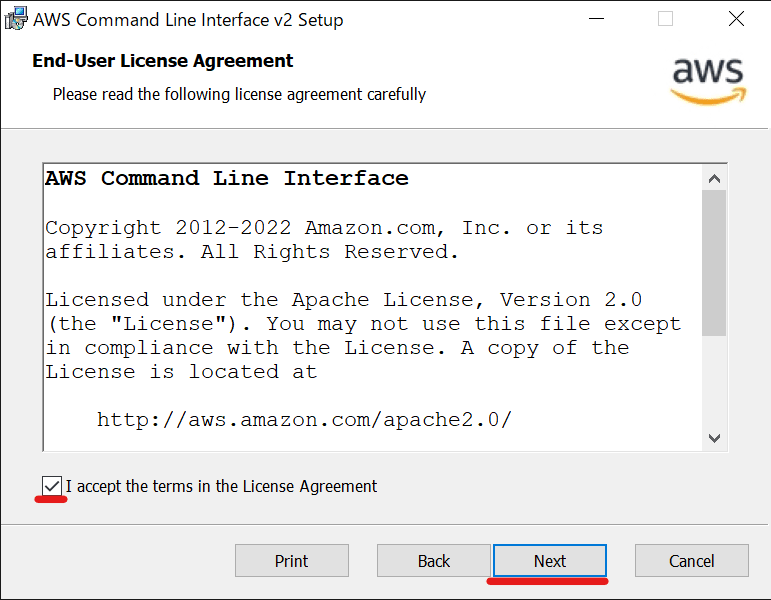
✅ を付けて
Nextをクリックする
-
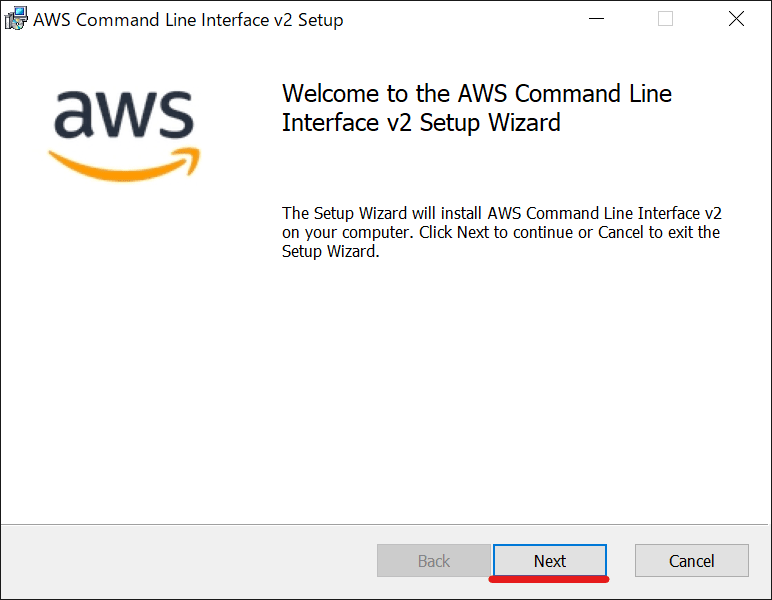
インストールを開始するために、
Nextをクリックする
-
Nextをクリックする
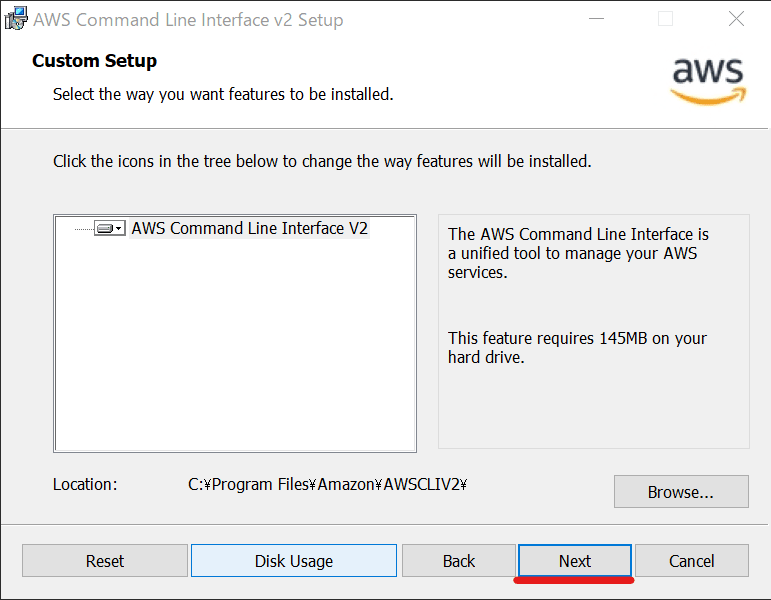
-
Nextをクリックする
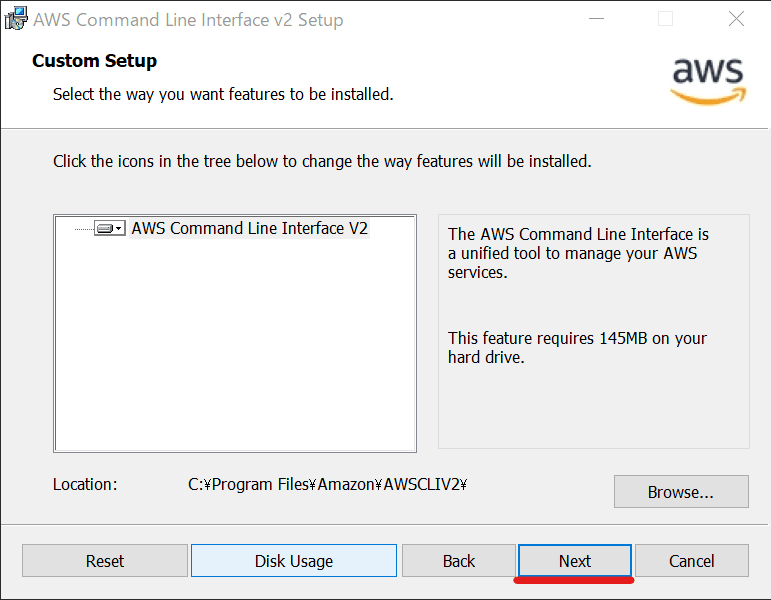
-
Installをクリックする
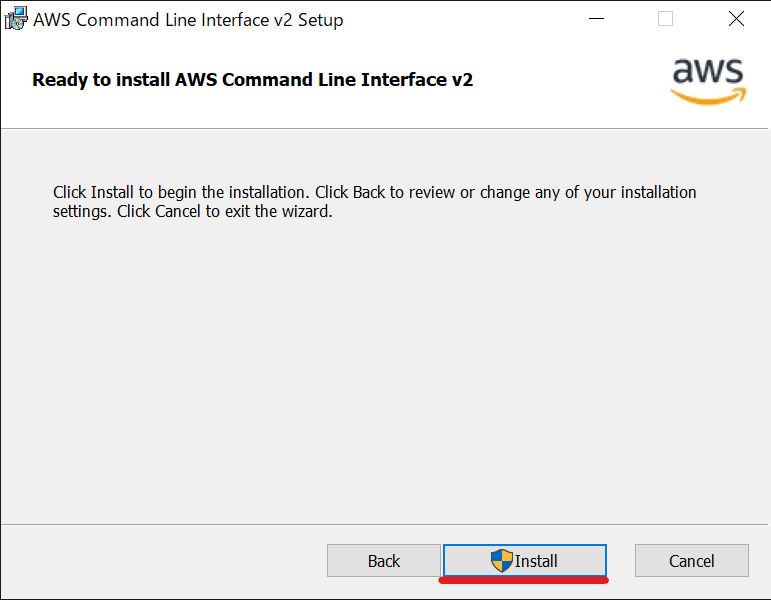
-
インストールが完了するまで待つ
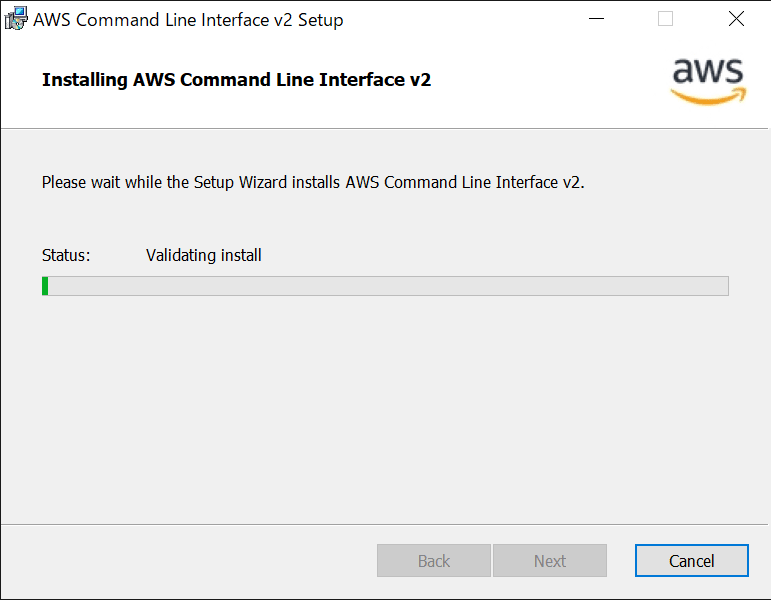
-
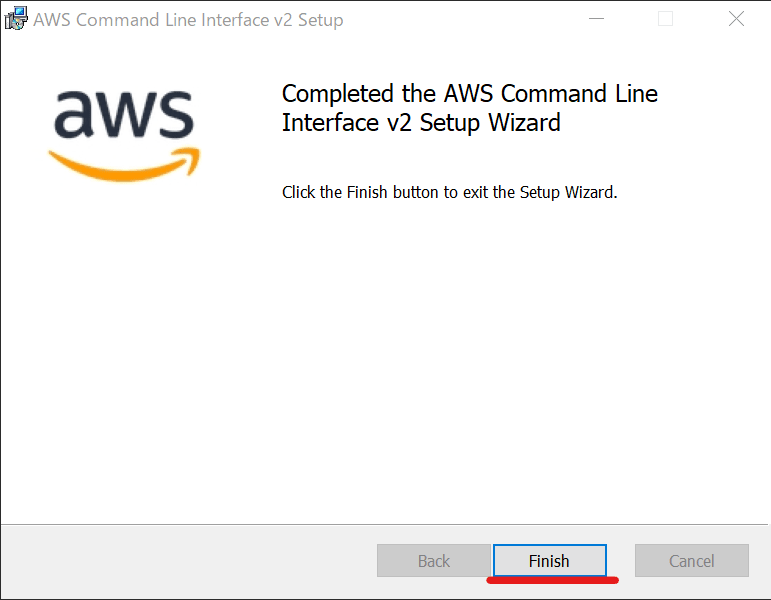
完了したら
Finishをクリックする
2. ~/.aws/configを設定する
-
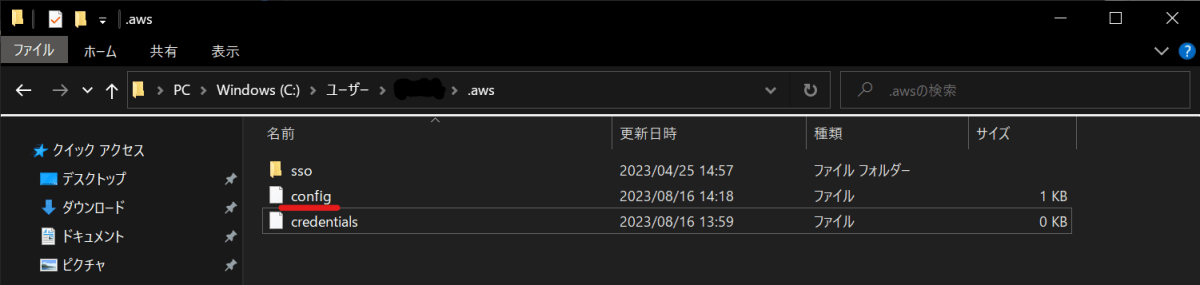
エクスプローラーから~/.aws/configを開きます。
-
下記のように変更します。
[default]
region=ap-northeast-1 # アジアパシフィック(東京)
output=json

[profile sandbooks]
region=ap-northeast-1 # アジアパシフィック(東京)
mfa_serial=arn:aws:iam::[アカウントID]:mfa/XXXXX # MFAしている端末
role_arn=arn:aws:iam::[アカウントID]:role/XXXXX # Assume Roleを想定しているロール
source_profile=default
※sandbooksはプロジェクト名になります。
※~/.aws/credentialsは空のままで大丈夫です。
3. aws-vault経由でAccess Keys,Secret Access Keyを登録する
- 下記コマンドを実行し、
Access Keys、Secret Access Keyを登録する
aws-vault add default
実行結果: Access Keys,Secret Access Keyの入力を求められます。
PS C:\Users\Users\Work\sandbooks-infra> aws-vault add default
Enter Access Key ID: AKXXXXXXXXXXXXXXXXXX
Enter Secret Access Key: ****************************************
Added credentials to profile "default" in vault
※事前にAccess Keys,Secret Access Keyを設定しておく必要があります
- MFA 認証が出来るのか確認するために、下記コマンドを実行する
aws-vault exec sandbooks -- aws s3 ls
実行結果: MFA 認証で登録しているデバイスに表示されている6 桁の番号を入力する
PS C:\Users\Users\Work\sandbooks-infra> aws-vault exec sandbooks -- aws s3 ls
Enter MFA code for arn:aws:iam::[アカウントID]:mfa/iPhone: 706865
-
Sessionsに認証成功が記録されているか確認する
aws-vault ls
実行結果: 58m37sまでSessionsが残っているみたいですね
PS C:\Users\Users\Work\sandbooks-infra> aws-vault ls
Profile                  Credentials              Sessions
=======                  ===========              ========
default                  default                  -
sandbooks                sandbooks                sts.AssumeRole:58m37s
4. Terraform ファイルの作成
- ファイル構成は下記の通りにします
.
├── aws.tf
└── variables.tf
provider "aws" {
  region = var.region
}

resource "aws_instance" "example" {
  ami = lookup(var.amis, var.region)
  instance_type = var.instance_type
}
variable "region" {
  description = "AWS region to host your network"
  default     = "ap-northeast-1"
}

variable "instance_type" {
  default = "t2.micro"
}

variable "amis" {
  default = {
    "ap-northeast-1" = "ami-04beabd6a4fb6ab6f"
  }
}
5. terraform で EC2 を作成する
- 下記コマンドを実行する
aws-vault exec sandbooks -- terraform init
実行結果
PS C:\Users\Users\Work\sandbooks-infra> aws-vault exec sandbooks -- terraform init
Enter MFA code for arn:aws:iam::439798504435:mfa/iPhone: 406982

Initializing the backend...

Initializing provider plugins...
- Reusing previous version of hashicorp/aws from the dependency lock file
- Using previously-installed hashicorp/aws v5.12.0

Terraform has been successfully initialized!

You may now begin working with Terraform. Try running "terraform plan" to see
any changes that are required for your infrastructure. All Terraform commands
should now work.

If you ever set or change modules or backend configuration for Terraform,
rerun this command to reinitialize your working directory. If you forget, other
commands will detect it and remind you to do so if necessary.
- 下記コマンドを実行する
aws-vault exec sandbooks -- terraform plan
実行結果:Error が発生しなかったので、問題がなさそうですね。
PS C:\Users\Users\Work\sandbooks-infra> aws-vault exec sandbooks -- terraform plan

Terraform used the selected providers to generate the following execution plan. Resource actions are indicated with the
following symbols:
  + create

Terraform will perform the following actions:

  # aws_instance.example will be created
  + resource "aws_instance" "example" {
      + ami                                  = "ami-04beabd6a4fb6ab6f"
      + arn                                  = (known after apply)
      + associate_public_ip_address          = (known after apply)
      + availability_zone                    = (known after apply)
      + cpu_core_count                       = (known after apply)
      + cpu_threads_per_core                 = (known after apply)
      + disable_api_stop                     = (known after apply)
      + disable_api_termination              = (known after apply)
      + ebs_optimized                        = (known after apply)
      + get_password_data                    = false
      + host_id                              = (known after apply)
      + host_resource_group_arn              = (known after apply)
      + iam_instance_profile                 = (known after apply)
      + id                                   = (known after apply)
      + instance_initiated_shutdown_behavior = (known after apply)
      + instance_lifecycle                   = (known after apply)
      + instance_state                       = (known after apply)
      + instance_type                        = "t2.micro"
      + ipv6_address_count                   = (known after apply)
      + ipv6_addresses                       = (known after apply)
      + key_name                             = (known after apply)
      + monitoring                           = (known after apply)
      + outpost_arn                          = (known after apply)
      + password_data                        = (known after apply)
      + placement_group                      = (known after apply)
      + placement_partition_number           = (known after apply)
      + primary_network_interface_id         = (known after apply)
      + private_dns                          = (known after apply)
      + private_ip                           = (known after apply)
      + public_dns                           = (known after apply)
      + public_ip                            = (known after apply)
      + secondary_private_ips                = (known after apply)
      + security_groups                      = (known after apply)
      + source_dest_check                    = true
      + spot_instance_request_id             = (known after apply)
      + subnet_id                            = (known after apply)
      + tags_all                             = (known after apply)
      + tenancy                              = (known after apply)
      + user_data                            = (known after apply)
      + user_data_base64                     = (known after apply)
      + user_data_replace_on_change          = false
      + vpc_security_group_ids               = (known after apply)
    }

Plan: 1 to add, 0 to change, 0 to destroy.

───────────────────────────────────────────────────────────────────────────────────────────────────────────────────────

Note: You didn't use the -out option to save this plan, so Terraform can't guarantee to take exactly these actions if
you run "terraform apply" now.
- 下記コマンドを実行する
aws-vault exec sandbooks -- terraform apply
実行途中でOnly 'yes' will be accepted to approve.と尋ねられるので、yesと入力する
Do you want to perform these actions?
  Terraform will perform the actions described above.
  Only 'yes' will be accepted to approve.

  Enter a value: yes
実行結果: i-0122846cb479c3fc6が作成された
PS C:\Users\Users\Work\sandbooks-infra> aws-vault exec sandbooks -- terraform apply

Terraform used the selected providers to generate the following execution plan. Resource actions are indicated with the following symbols:
  + create

Terraform will perform the following actions:

  # aws_instance.example will be created
  + resource "aws_instance" "example" {
      + ami                                  = "ami-04beabd6a4fb6ab6f"
      + arn                                  = (known after apply)
      + associate_public_ip_address          = (known after apply)
      + availability_zone                    = (known after apply)
      + cpu_core_count                       = (known after apply)
      + cpu_threads_per_core                 = (known after apply)
      + disable_api_stop                     = (known after apply)
      + disable_api_termination              = (known after apply)
      + ebs_optimized                        = (known after apply)
      + get_password_data                    = false
      + host_id                              = (known after apply)
      + host_resource_group_arn              = (known after apply)
      + iam_instance_profile                 = (known after apply)
      + id                                   = (known after apply)
      + instance_initiated_shutdown_behavior = (known after apply)
      + instance_lifecycle                   = (known after apply)
      + instance_state                       = (known after apply)
      + instance_type                        = "t2.micro"
      + ipv6_address_count                   = (known after apply)
      + ipv6_addresses                       = (known after apply)
      + key_name                             = (known after apply)
      + monitoring                           = (known after apply)
      + outpost_arn                          = (known after apply)
      + password_data                        = (known after apply)
      + placement_group                      = (known after apply)
      + placement_partition_number           = (known after apply)
      + primary_network_interface_id         = (known after apply)
      + private_dns                          = (known after apply)
      + private_ip                           = (known after apply)
      + public_dns                           = (known after apply)
      + public_ip                            = (known after apply)
      + secondary_private_ips                = (known after apply)
      + security_groups                      = (known after apply)
      + source_dest_check                    = true
      + spot_instance_request_id             = (known after apply)
      + subnet_id                            = (known after apply)
      + tags_all                             = (known after apply)
      + tenancy                              = (known after apply)
      + user_data                            = (known after apply)
      + user_data_base64                     = (known after apply)
      + user_data_replace_on_change          = false
      + vpc_security_group_ids               = (known after apply)
    }

Plan: 1 to add, 0 to change, 0 to destroy.

Do you want to perform these actions?
  Terraform will perform the actions described above.
  Only 'yes' will be accepted to approve.

  Enter a value: yes

aws_instance.example: Creating...
aws_instance.example: Still creating... [10s elapsed]
aws_instance.example: Still creating... [20s elapsed]
aws_instance.example: Still creating... [31s elapsed]
aws_instance.example: Creation complete after 32s [id=i-0122846cb479c3fc6]

Apply complete! Resources: 1 added, 0 changed, 0 destroyed.
6. AWS コンソールで作成できているか確認する
- AWS コンソールにログインする
- EC2 を作成した
リージョンに切り替える -
EC2 ダッシュボードにアクセスし、先ほど作成したi-0122846cb479c3fc6がある確認する

おわりに
Windows と Terraform の相性が悪く、環境構築に時間がかかりました。
MacOS ならもっと楽に出来そうです。
YouTube のご案内
ポモドーロタイマー(25 分勉強+ 5 分休憩)を活用した作業・勉強配信を行っています。
集中したいときや、誰かと一緒に頑張りたいときに、ぜひご活用ください。
ご興味のある方は、ぜひお気軽に遊びに来てください!
「Zenn から来ました!!」とコメントを貰えると泣いて喜びます 🤣
Discussion