アクセンチュア株式会社テクノロジーコンサルティング本部金融サービスグループ アソシエイト・ディレクターの青柳雅之です。私は金融サービスグループのクラウドに関するプラクティスのリードをしています。
Vertex AI Agent Builderでは、簡単に生成AIアプリケーションを開発することができます。生成したアプリケーションはコンソールからその動作を確認することができます。しかし、このような簡単に開発したアプリをユーザーにコンソールから使わせることはありません。 そこで、Webアプリからのアクセスを念頭に、このアプリケーションにPythonからアクセスする手順をまとめてみました。
最終的にはCloud Codeを使ってコマンドを使わずにCloud Runに生成AIアプリを呼ぶWebアプリ(Flask)をデプロイし、Load Balaning経由でWebアプリにアクセスすることを目指します。 今回は、①として、Vertex AI Agent Builderで開発したアプリをFlaskで開発したWebアプリからアクセスするまでのローカルマシンで動作確認するところまでを解説します。
事前準備
Vertex AI Agent Builderですでにアプリケーションは開発済みとします。
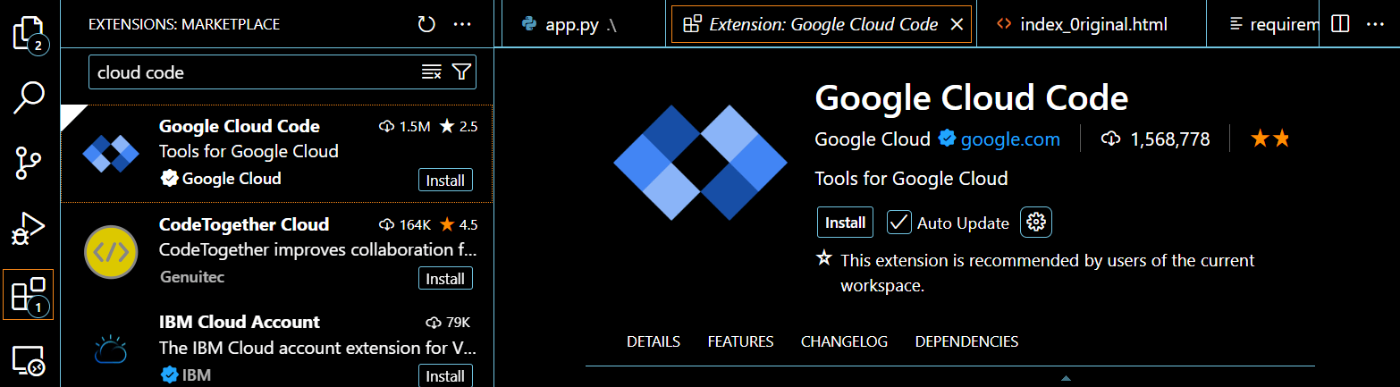
VS Code にCloud Code for VS Code Extensionをインストールする
1.拡張機能アイコン [拡張機能] をクリックし、Cloud Codeを探します。
2.[Install]をクリックします。
3.VS Codeを再起動します。
4. Cloud Codeのアイコンをクリックし、Sign in to Google Cloudをクリックします。
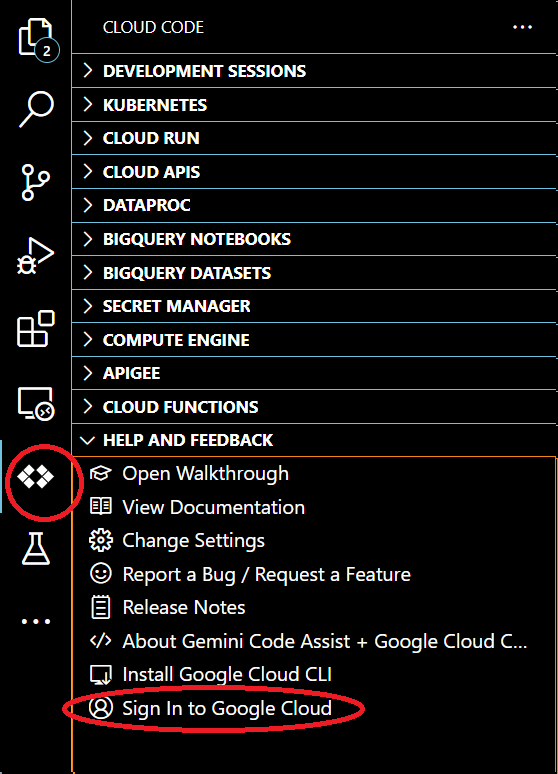
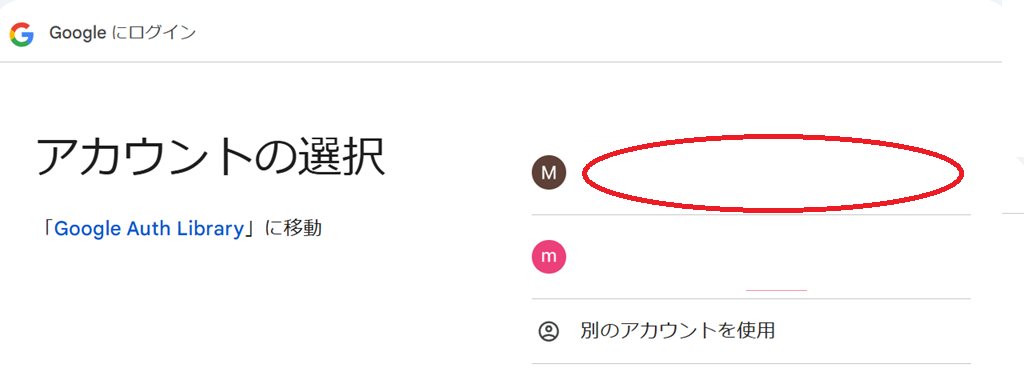
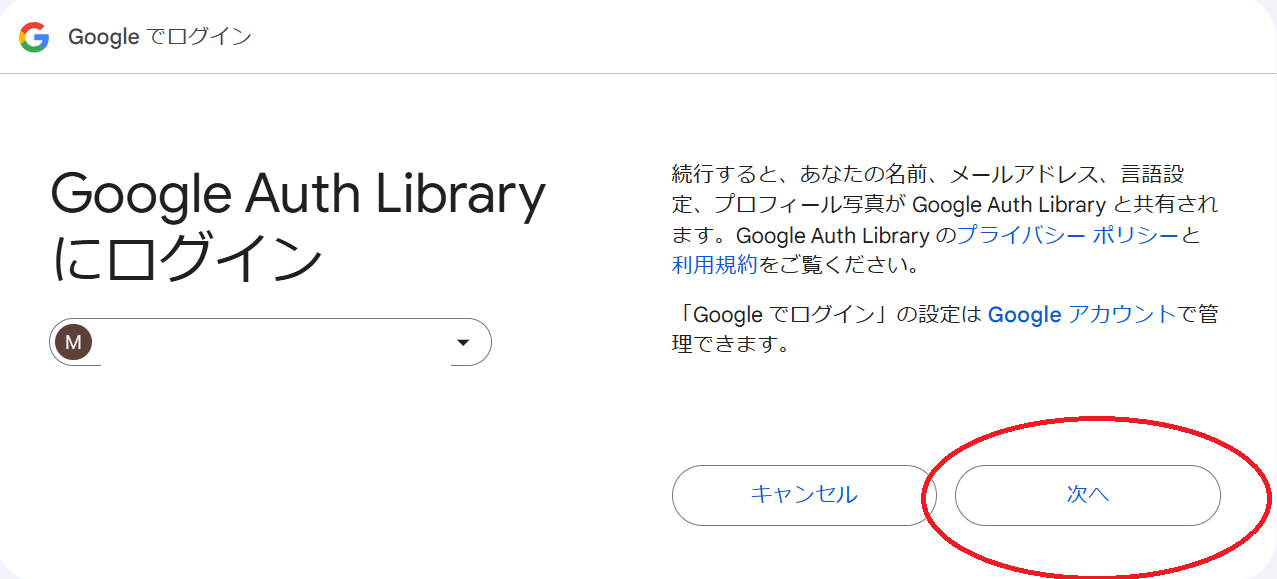
5. ブラウザが立ち上がり、Googleアカウントの認証画面に行きます。次の画面で[ログイン]をクリックします。[Cloud Code for VS Code からアカウントにアクセスできるようになりました]というページが表示されたら成功です。

【参考】
[Cloud Code for VS Code 拡張機能をインストールする]
(https://cloud.google.com/code/docs/vscode/install?hl=ja)
ローカル環境での認証設定
PythonのコードからGoogleのAPIを呼ぶ場合に、誰の権限で呼ぶかです。まずローカルで動作確認をするので自分のアカウントで呼ぶことにします。今回は自分はプロジェクトに対してオーナー権限を持っているとします。
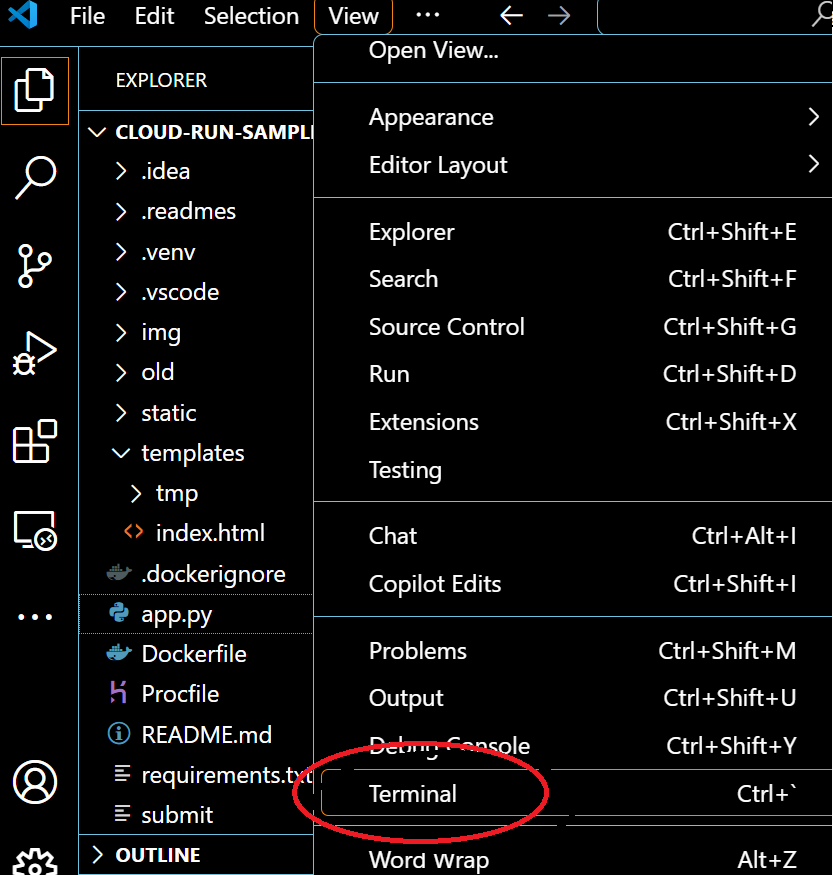
- Terminalを開きます。なお、ここではpipなどのPythonのコマンドを打つことができます。
- Terminalで次のコマンドを打ちます。

[Your Browser has been opened to visit]の下に、URLが表示されます。これをクリックするとGoogle アカウントの認証画面に行きます。
3.次の画面に行き、許可を押すして[gcloud CLIの認証が完了しました]の画面が表示されれば成功です。


(オプション)Google Cloud CLIをインストールする。
今回のサンプルでは使用しないですが、自分のローカルマシンでgcloudコマンドを打つ場合には便利なツールなので必要に応じてインストールします。
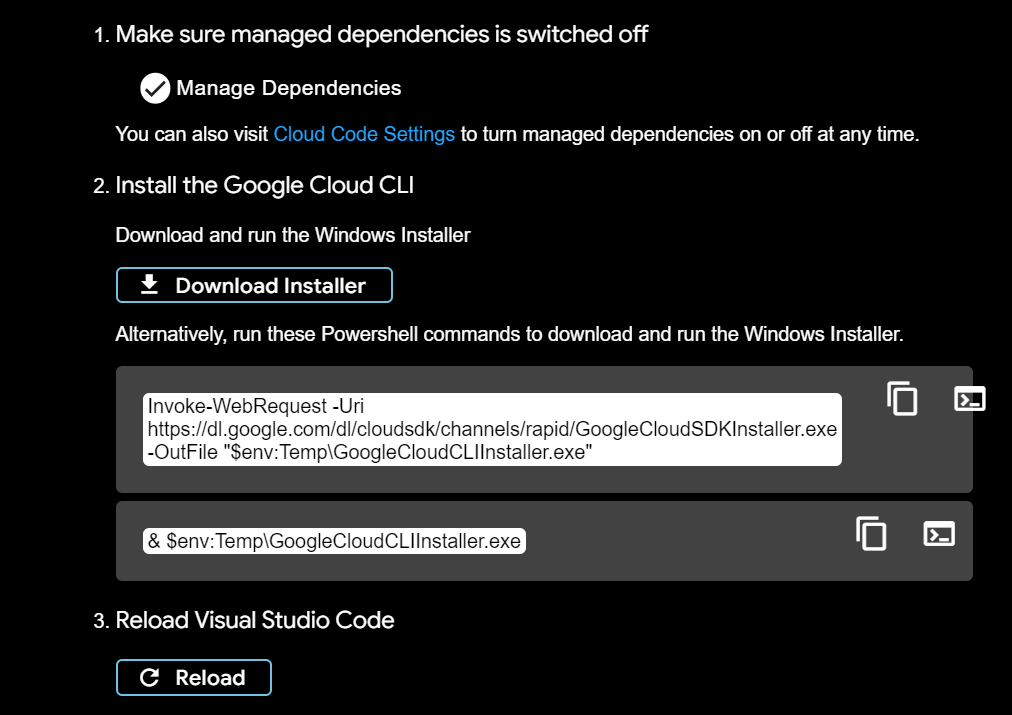
1.Google Cloud CLIをインストールします。[Instlall Google Cloud CLI]をクリックをすると、インストールのインストラクションが出てきます。
[Download Installer]をクリックして、インストーラーをダウンロードしてローカルマシンにインストールします。次に、[Reload]をクリックしてVS Codeをリロードします。

サンプルコードの記述
Flaskのスケルトンコードを作る。
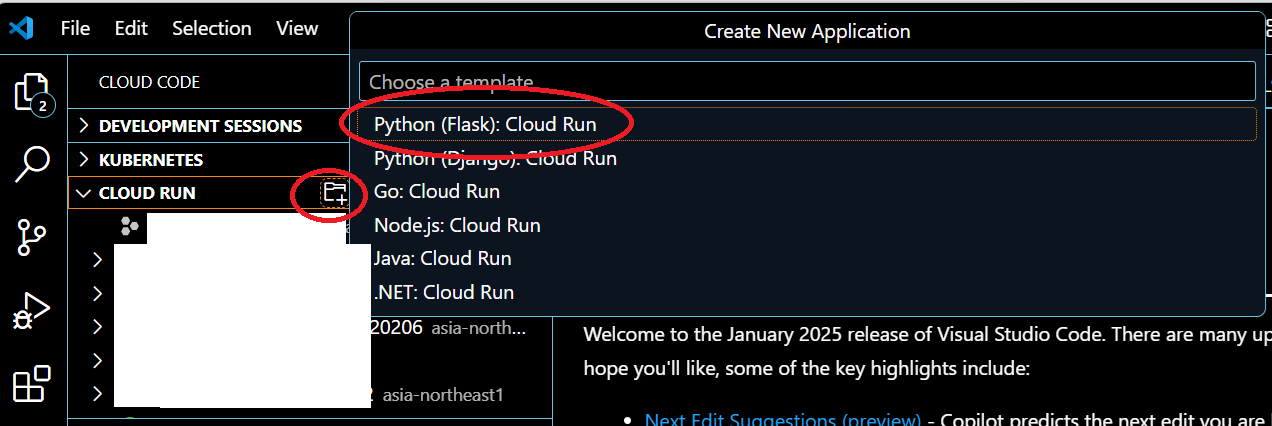
1.Cloude Codeを選択し、CLOUD RUNのタブを開きます。フォルダに+のマークがあるアイコンをクリックすると、[Create New Application]のボックスが開きます。ここで、[Python(Flask):Cloud Run]をクリックします。
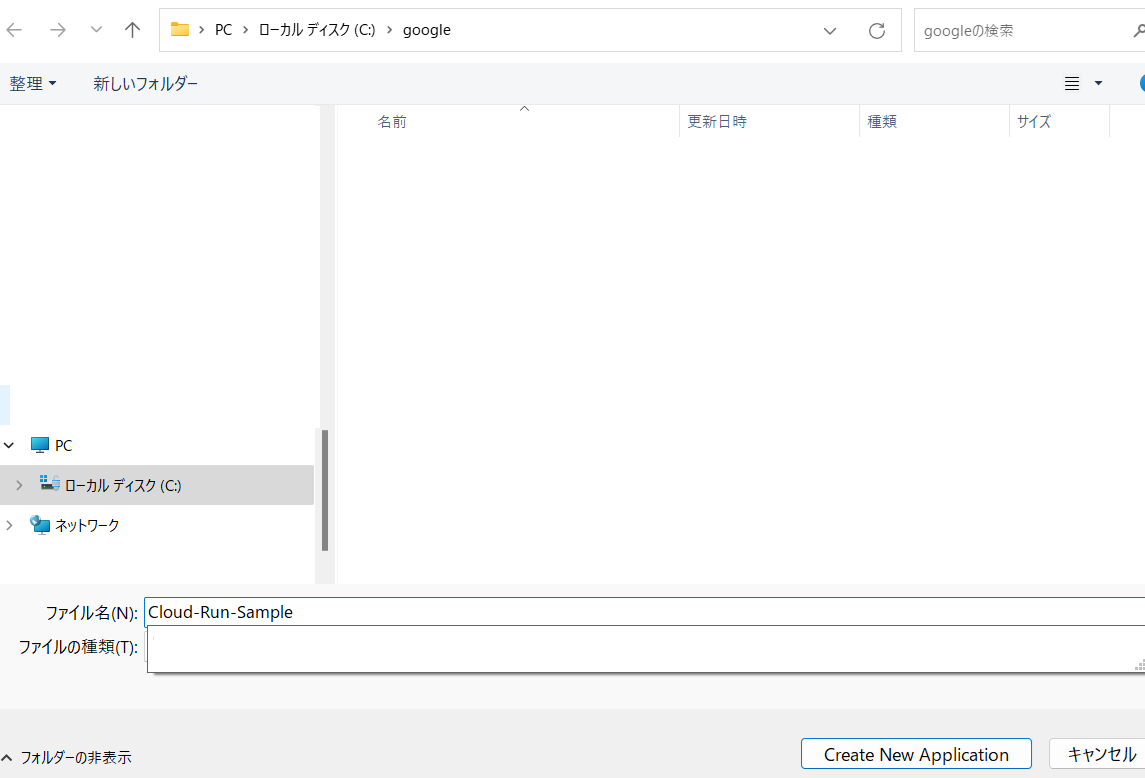
2.一連のソースコードをローカルに保存するためのダイアログが出ますので、フォルダ名と場所を決めて保存します。ここではC:\Googleの下に、Cloud-Run-Sampleというフォルダ名で保存していますが、名前は任意で構いません。
3.次のようにフォルダが左ペインに展開されます。

Vertrex AI Agent Builderで開発したアプリを呼ぶコードを記述する
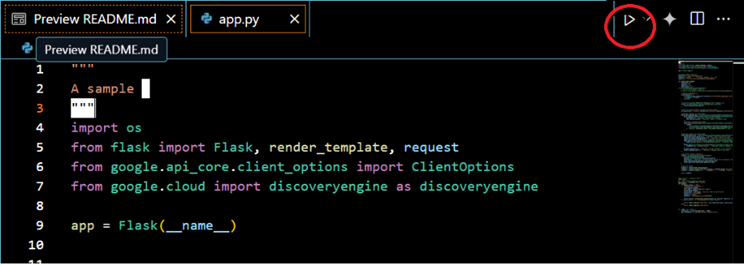
1.左ペインからapp.pyを選択し、クリックして開きます。It's Runningとだけ出るページを表示するシンプルなFlaskのPythonコードが表示されます。これにこれから必要な処理を追加していきます。
コード自体は、回答クエリをほぼそのまま持ってきています。ライブラリのバージョンアップでそのままだとうまく動かないことが確認できていたのでimport文は変更しています。

2.次のコードで、App.pyの中のコードを入れ替えます。
"""
A sample
"""
import os
from flask import Flask, render_template, request
from google.api_core.client_options import ClientOptions
from google.cloud import discoveryengine as discoveryengine

app = Flask(__name__)

#以下3つの変数を自分の環境に合わせて適宜編集する
project_id = "YOUR PROJECT ID"
location = "global"        # Values: "global", "us", "eu"
engine_id = "YOUR APPLICATION ID"

def answer_query_sample(
    project_id: str,
    location: str,
    engine_id: str,
    search_query: str,
) -> discoveryengine.AnswerQueryResponse:
    #  For more information, refer to:
    # https://cloud.google.com/generative-ai-app-builder/docs/locations#specify_a_multi-region_for_your_data_store

    # APIエンドポイントの設定 (Agent Builderで開発したアプリのAPIエンドポイント)
    client_options = (
        ClientOptions(api_endpoint=f"{location}-discoveryengine.googleapis.com")
        if location != "global"
        else None
    )

    # Discovery Engineクライアントを作成(ローカルマシンのデフォルト認証情報を使用)
    client = discoveryengine.ConversationalSearchServiceClient(
        client_options=client_options
    )

    # The full resource name of the Search serving config
    serving_config = f"projects/{project_id}/locations/{location}/collections/default_collection/engines/{engine_id}/servingConfigs/default_serving_config"

    # Optional: Options for query phase
    query_understanding_spec = discoveryengine.AnswerQueryRequest.QueryUnderstandingSpec(
        query_rephraser_spec=discoveryengine.AnswerQueryRequest.QueryUnderstandingSpec.QueryRephraserSpec(
            disable=False,  # Optional: Disable query rephraser
            max_rephrase_steps=1,  # Optional: Number of rephrase steps
        ),
        # Optional: Classify query types
        query_classification_spec=discoveryengine.AnswerQueryRequest.QueryUnderstandingSpec.QueryClassificationSpec(
            types=[
                discoveryengine.AnswerQueryRequest.QueryUnderstandingSpec.QueryClassificationSpec.Type.ADVERSARIAL_QUERY,
                discoveryengine.AnswerQueryRequest.QueryUnderstandingSpec.QueryClassificationSpec.Type.NON_ANSWER_SEEKING_QUERY,
            ]  # Options: ADVERSARIAL_QUERY, NON_ANSWER_SEEKING_QUERY or both
        ),
    )

    # Optional: Options for answer phase
    answer_generation_spec = discoveryengine.AnswerQueryRequest.AnswerGenerationSpec(
        ignore_adversarial_query=False,  # Optional: Ignore adversarial query
        ignore_non_answer_seeking_query=False,  # Optional: Ignore non-answer seeking query
        ignore_low_relevant_content=False,  # Optional: Return fallback answer when content is not relevant
        model_spec=discoveryengine.AnswerQueryRequest.AnswerGenerationSpec.ModelSpec(
            model_version="gemini-1.5-flash-001/answer_gen/v2",  # Optional: Model to use for answer generation
        ),
        prompt_spec=discoveryengine.AnswerQueryRequest.AnswerGenerationSpec.PromptSpec(
            preamble="Give a detailed answer.",  # Optional: Natural language instructions for customizing the answer.
        ),
        include_citations=True,  # Optional: Include citations in the response
        answer_language_code="ja",  # Optional: Language code of the answer
    )

    # Initialize request argument(s)
    request = discoveryengine.AnswerQueryRequest(
        serving_config=serving_config,
        query=discoveryengine.Query(text=search_query),
        session=None,  # Optional: include previous session ID to continue a conversation
        query_understanding_spec=query_understanding_spec,
        answer_generation_spec=answer_generation_spec,
    )

    # Make the request
    response = client.answer_query(request)
    response = response.answer.answer_text.strip() if response.answer else "No answer found."
    response = response.replace('\n', ' ').replace('\r', ' ').strip()  # Remove newlines and extra spaces

    return response

@app.route('/', methods=['POST','GET'])
def submit():
    if request.method == "POST":
        """Handle form submission."""
        print(request.method)
        user_input = request.form['user_input']
        print(request.method)
        search_query = user_input  # Use user input as search query
        project_id = "YOUR PROJECT ID"
        location = "global"
        engine_id = "YOUR APPLICATION ID"

        search_results = answer_query_sample(project_id, location, engine_id, search_query)
    #  search_results = []  # Placeholder for search results

        return render_template('index.html', user_input=user_input, search_results=search_results)
    else:
        return render_template('index.html')


if __name__ == '__main__':
    server_port = os.environ.get('PORT', '8080')
    app.run(debug=False, port=server_port, host='0.0.0.0')
3."YOUR PROJECT ID"と"YOUR APPLICATION ID"はそれぞれご自身の物に変えてください。
#YOUR APPLICAION ID"は、Vertex AI Agent Builderで開発したアプリケーションのIDとなります。Vetex AI Agent Builderのアプリ一覧で確認することができます。

4.Index.htmlを以下に変更します。生成AIに質問を投げて回答をもらうUIです。なるべくシンプルに記載しています。
<!doctype html>
<html lang=en>
<head>
<meta charset=utf-8>
<meta name="viewport" content="width=device-width, initial-scale=1">
<title>Gemini Demo</title>
<!--<link href="https://fonts.googleapis.com/css?family=Roboto" rel="preload" as="font">-->
<link href="/static/cloud-run-32-color.png" rel="icon" type="image/png" />
<link href="/static/style.css" rel="stylesheet" type="text/css" />
</head>

<body>
	<div class="container">
		<!--
		<div class="hero">

			<div style="text-align:center;">
				<picture>
					<source srcset="/static/celebration-dark.svg" media="(prefers-color-scheme: dark)">
					<img src="/static/celebration.svg" alt="A group celebrating" width="427" height="231">
				</picture>
			</div>


			<div class="message">
				<h1>{{ message }}</h1>
				<h2>Congratulations, you successfully deployed a container image to Cloud Run</h2>
			</div>

			</div>
			-->
		<div class="details">
				<!--<p>Service: {{ service }}</p>
				 <p>Revision: {{ revision }}</p> -->

				 <form action="/" method="post">
                    <label for="user_input">質問を投げてください。</label>
                    <textarea type="text" id="user_input" name="user_input" style="width: 100%; height: 50px;"></textarea>
                    <button type="submit">Submit</button>
                </form>
                <h2>回答:</h2>
                <textarea id="output" name="output" style="width: 100%; height: 100px;" readonly>
                     {{ search_results }}
                </textarea>
		</div>
	</div>

	<!-- Widget JavaScript bundle -->
<script src="https://cloud.google.com/ai/gen-app-builder/client?hl=ja"></script>


</body>
</html>
5.requirements.txtを以下に変更します。今回は各ライブラリのバージョンを記載していますが、何も記載しなければ最新のバージョンがコンテナを作る際にインストールされます。
Flask==2.3.3
requests==2.31.0
google-cloud==0.34.0
google-api-core==2.24.1
動作確認を行う
1.この時点でローカルマシンでPythonが動きますので、図の矢印をクリックしてコードを実行します。
7.import文でライブラリがインストールされていないエラーが出る場合は、必要なライブラリをインストールします。

pip install flask google.api_core google.cloud
2.APIがGoogle Cloudの認証を通るように、次のコマンドを実行します。
ブラウザが開き、Googleアカウントにログインするように求められます。指示に従ってログインしてください。

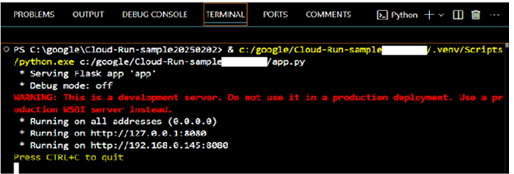
3.Terminalを開くと、 ローカルマシンでアプリケーションが実行されていることがわかります。
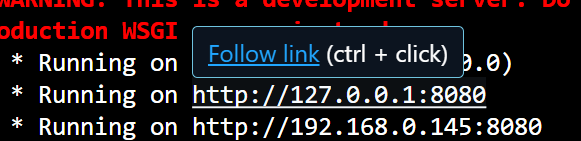
4.http://127.0.0.1:8080かhttp://192.168.0.145:8080をクリックします。
5.ローカルでWebサーバが立ち上がり、UIが表示されます。

6. [質問を投げてください]に質問を投げると[回答]に回答が返ってきます。

アクセンチュア株式会社に所属する社員有志による運営です。アクセンチュアの社員による様々な発信をまとめています。なお、投稿内容は社員個人の見解であり、所属する組織を代表するものではありません。
Discussion