🌟
【CogView2】Text-to-Image 試してみた


はじめに
Twitterで以下の様な投稿をたまたま見かけました.
詳しい説明は除きますが,CogView2 とは学習重みが公開されていて誰でも試すことができる Text-to-Image モデルです.
本記事では,実際に CogView2 に触れてみます.
環境構築
GitHub の Repository の README.md に記載されている手順に従って,以下の様に環境を構築します.
git clone https://github.com/THUDM/CogView2

cd CogView2
pip install -r requirements.txt

cd ../
git clone https://github.com/Sleepychord/Image-Local-Attention
cd Image-Local-Attention
python setup.py install
しかし,私の場合は以下の様なエラーを吐かれたので
RuntimeError:
The detected CUDA version (11.1) mismatches the version that was used to compile
PyTorch (10.2). Please make sure to use the same CUDA versions.
PyTorch のバージョンを変更して入れ直しました.実際に使ったコマンドは以下です.
pip install torch==1.9.0+cu102 torchvision==0.10.0+cu102 torchaudio==0.9.0 -f https://download.pytorch.org/whl/torch_stable.html
実際に試してみる
まずは,CogView2/input.txt に書かれているテキストを以下のように変更します.
0	a beautiful cat
1	a cat with bulue eyes
2	a cute kitten
そして,以下の様にコマンドを実行します.
sh text2image.sh
なんと以上です!簡単ですね!
結果
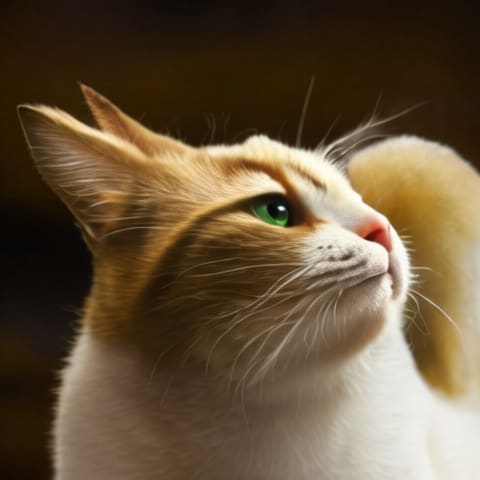
a beautiful cat
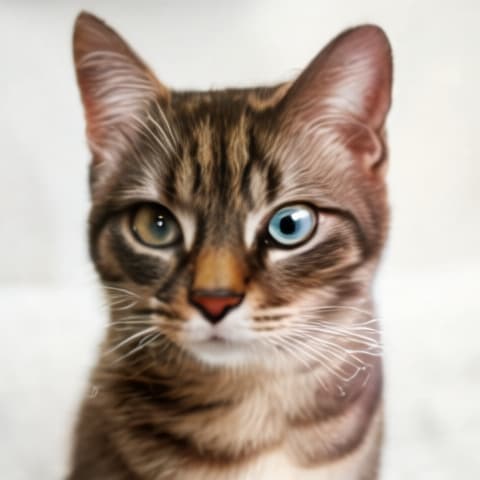
a cat with bulue eyes

a cute kitten
おわりに
今回は2022年4月に寄稿された CogView2 を実際に使って Text-to-Image を試してみました.
AIが描いた絵とは信じられないくらい,テキストの意味を解釈して自然に画像化しています.
誰でも簡単にフェイク画像を作ることができるので,より一層の注意が必要となりそうですね.
Discussion