🎆
【Golang】画像を扱ってみた
はじめに
Goの勉強がてら 標準ライブラリの imageを使って簡単な画像処理をしてみました.
image ライブラリ
imageライブラリとは,Goに入っている標準ライブラリで
import "image"
とimportすることで使用することが可能です.
コード
移行では,実際にコードを書いていきます.
必要なライブラリ
goimg.go
import (
	"fmt"
	"image"
	_ "image/jpeg"
	"image/png"
	"log"
	"os"
)
使用する構造体の定義
undefined (cannot refer to unexported field or method name)
頭文字が小文字の状態で異なるパッケージからアクセスする場合,上記の様なエラーを吐かれるので,アクセスさせたい設計の場合,頭文字は必ず大文字にしましょう.
goimg.go
type ImgOperator interface {
	Gray() GoImg
	Flip() GoImg
	Save()
	String() string
}

type GoImg struct {
	// image
	Image         image.Image

	// file path
	Path          string

	// height and width of image
	Height, Width int
}
画像の読み込み
goimg.go
func LoadImage(path string) GoImg {
	file, _ := os.Open(path)
	defer file.Close()

	src, _, err := image.Decode(file)
	if err != nil {
		log.Fatal(err)
	}

	size := src.Bounds().Size()
	width, height := size.X, size.Y

	img := GoImg{
		Image:  src,
		Path:   path,
		Height: height,
		Width:  width,
	}

	return img
}
画像の保存
goimg.go
func (img *GoImg) Save(path string) {
	file, err := os.Create(path)
	if err != nil {
		log.Println("Cannot create file:", err)
	}
	defer file.Close()

	png.Encode(file, img.Image)
}
画像の反転
反転には
- 水平方向 (holizontal flip)
- 垂直方向 (vertical flip)
の2種類存在していますが,個人的に関数を分けるのは好きじゃないので,引数で指定できるようにしました.
goimg.go
func (img *GoImg) Flip(direction string) GoImg {
	canvas := image.NewRGBA(image.Rect(0, 0, img.Width, img.Height))

	if direction == "h" {
		// holizontal flip
		for y := 0; y < img.Height; y++ {
			for x1 := 0; x1 < img.Width/2; x1++ {
				x2 := img.Width - x1 - 1
				canvas.Set(x1, y, img.Image.At(x2, y))
				canvas.Set(x2, y, img.Image.At(x1, y))
			}
		}
	} else if direction == "v" {
		// vertical flip
		for y1 := 0; y1 < img.Height/2; y1++ {
			for x := 0; x < img.Width; x++ {
				y2 := img.Height - y1 - 1
				canvas.Set(x, y1, img.Image.At(x, y2))
				canvas.Set(x, y2, img.Image.At(x, y1))
			}
		}
	}

	dst := GoImg{
		Image:  canvas,
		Path:   img.path,
		Height: img.height,
		Width:  img.width,
	}

	return dst
}
サンプルの実行
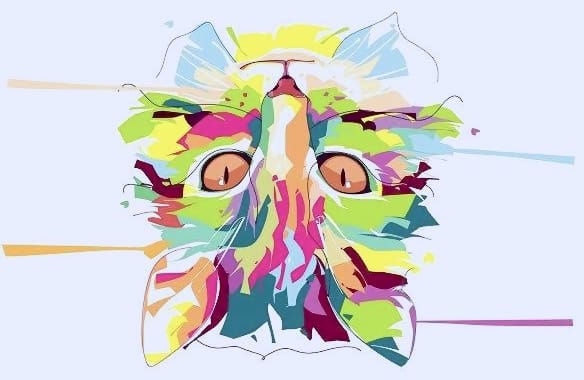
Vertical Flip
goimg.go
func main() {
	img := LoadImage("assets/images/cat.jpg")
	fliped := img.Flip("v")
	fliped.Save("assets/images/fliped.png")
}
上記のサンプルコードを実行すると下記の様な画像が保存されるはずです.

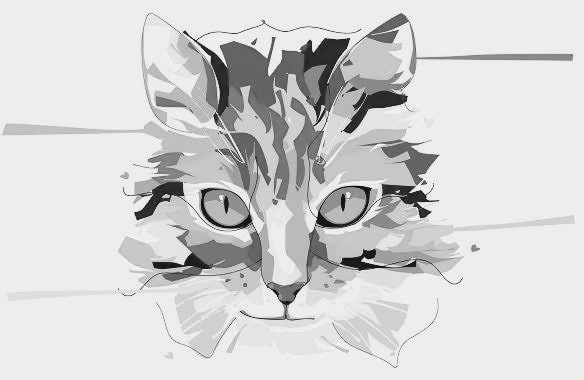
Gray Scale
goimg.go
func main() {
	img := LoadImage("assets/images/cat.jpg")
	gray := img.Gray()
	gray.Save("assets/images/gray.png")
}
上記のサンプルコードを実行すると下記の様な画像が保存されるはずです.

おわりに
今回は,勉強し始めたGoで画像処理をしました.
普段はPythonを使っているので Python-like になっているかもしれませんが,間違いや改善点などあったら優しく指摘して頂けると嬉しいです.
Discussion