Playwrightの細々した知見
複数のページを使った場合はVideoやTraceはされるか?
@playwright/testにおいて、page fixtureを使った場合、Video、Traceが取得できるのは知っていたが、context fixtureやbrowser fixtureで複数のpageを使った場合にどのように出力されるのかは試したことがなかった。
前提として、playwright.config.jsは以下のように設定する。(抜粋)
const config = {
  reporter: 'html',
  use: {
    trace: 'on',
    video: 'on',
  },
}
まずは、context fuxtureから
test('context fixture', async ({ context }) => {
  const page1 = await context.newPage();
  await page1.setContent('<body style="background-color:red;"></body>')
  const page2 = await context.newPage();
  await page2.setContent('<body style="background-color:black;"></body>')
  await page1.waitForTimeout(200);
});
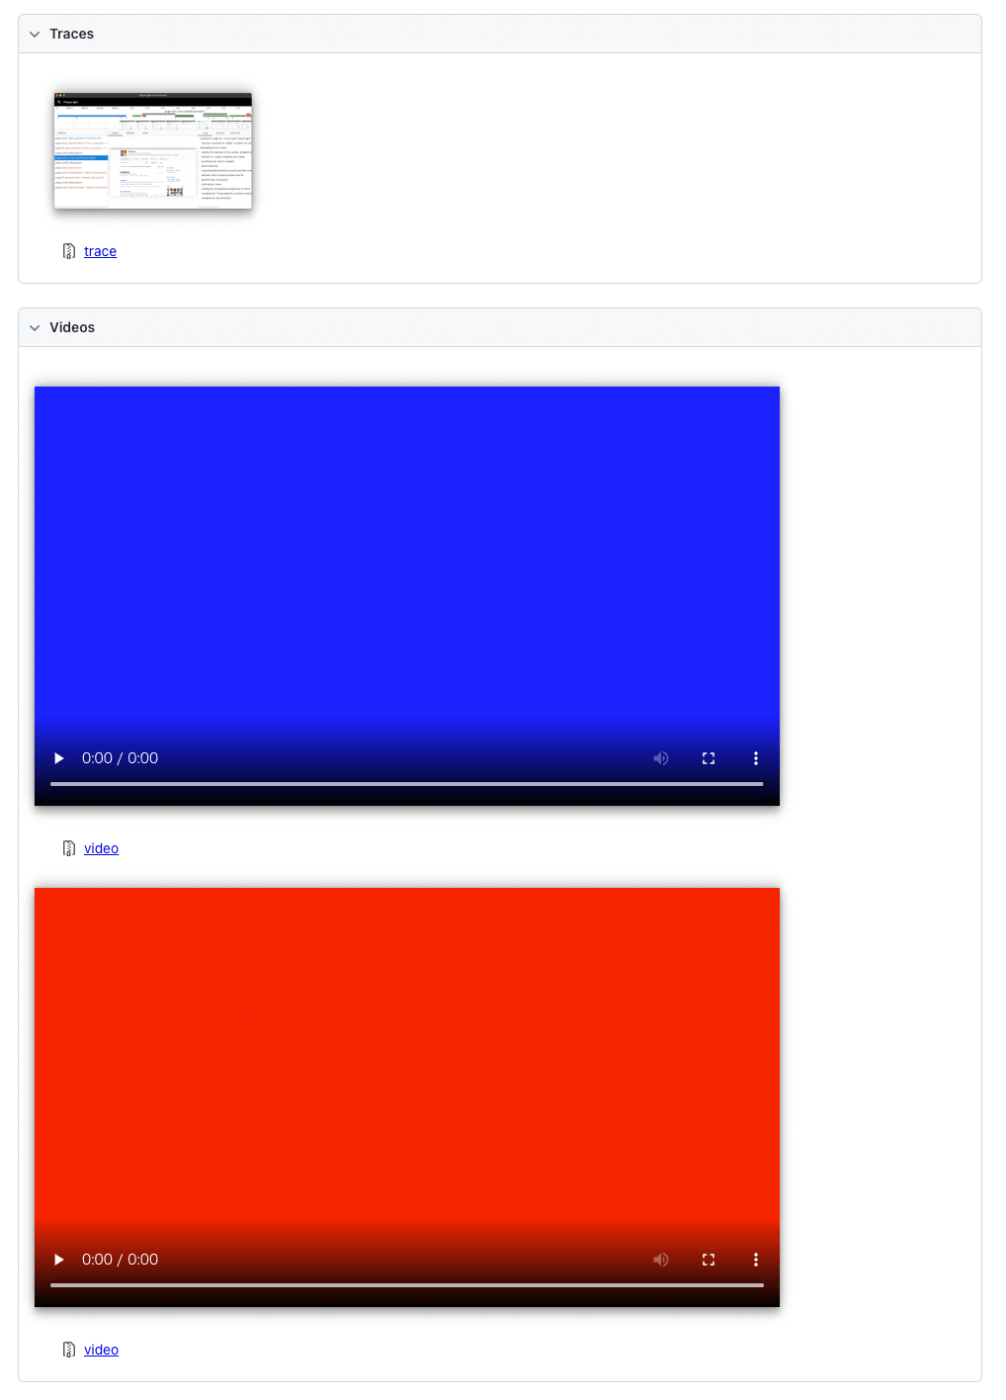
結果として、1つのTraceと2つのVideoが生成された。

Traceファイルの中には2つのページ両方の情報が含まれているようだ。

問題なし。
続いて、browserを使って複数のcontextを使った場合、
test('browser fixture', async ({ browser }) => {
  const context1 = await browser.newContext();
  const page1 = await context1.newPage();
  await page1.setContent('<body style="background-color:red;"></body>')
  const context2 = await browser.newContext();
  const page2 = await context2.newPage();
  await page2.setContent('<body style="background-color:blue;"></body>')
  await page1.waitForTimeout(200);

  await context1.close();
  await context2.close();
});
2つのTraceが出力され、Recordは出力されなかった。
browser fixtureを使った場合はRecordを'on'にしていてもRecordされないようだ。

Traceのダウンロードリンクは2つだけど、Trace Viewerへのリンクは1つだけだ、と思い開くと、2つのcontextの情報が両方表示された。

どうやらTrace Viewerは複数のTraceファイルを重ねて表示できるようだ(知らなかった)。
-
npx playwright show-traceは複数のファイルを指定できる - Trace Viewerに複数のファイルをD&Dできる
- (少なくともMacの場合)Trace Viewerのファイル選択画面では 1つのファイルしか選択できない。(なぜ?)
test.stepとtestInfo.attachments, annotationsを使ってみる。
test.stepは使ったことがなかった。テストの区切りとして使えるとのこと。
また、testInfo.attachmentsやannotationsでテストレポートに情報を埋め込めるようなので使ってみる。
test('step and attachments', async ({ page }) => {
  await test.step("setContent", async () => {
    await page.setContent('<body style="background-color:red;"></body>')
  });
  await test.step("Stdout And Stderr", async () => {
    console.log("Output to Stdout");
    console.error("Output to Stderr");
  });
  await test.step("Annotation", async () => {
    test.info().annotations.push({type: 'info', description: 'annotation info'});
    test.info().annotations.push({type: 'warn', description: 'annotation warn'});
  });
  await test.step("Attach", async () => {
    const screenshot = await page.screenshot();
    await test.info().attach("screenshot!", {body: screenshot, contentType: "image/png"});
    await test.info().attach("json", {body: "{title: json}", contentType: "application/json"});
    expect(test.info().attachments).toHaveLength(2);
  });
  const retval = await test.step("Return Value", async () => {return 1});
  expect(retval).toBe(1);
});
test.step
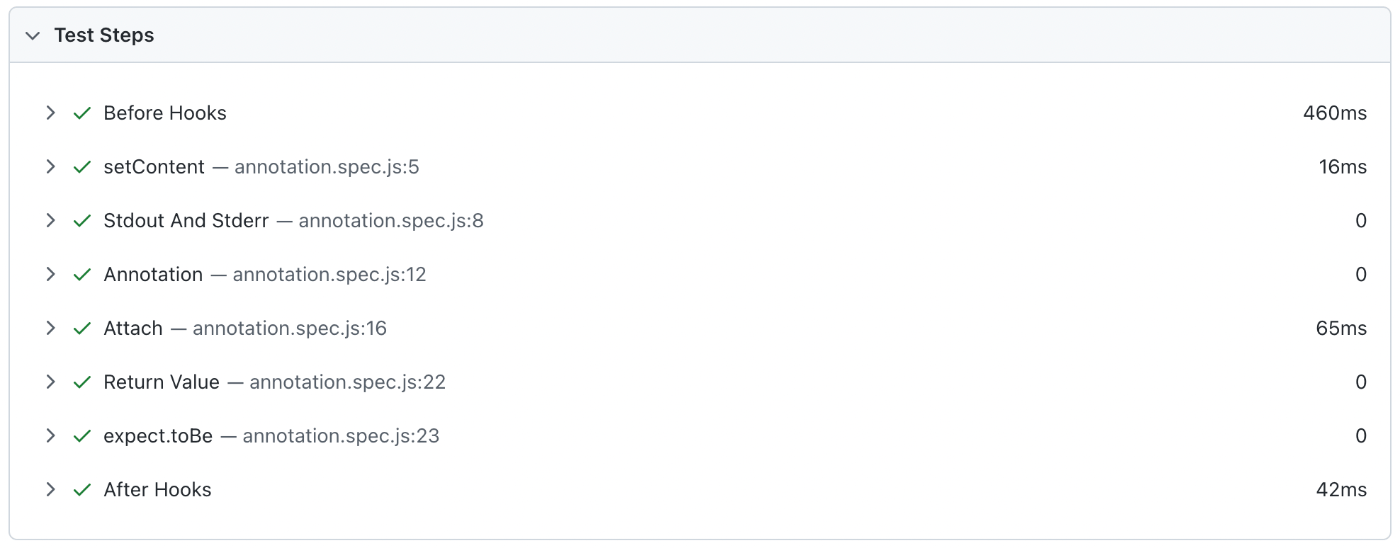
想定通りHTMLレポートがStep単位で表示された。

V1.25からtest.stepはfunctionの戻り値を返すようになったそうなので使ってみた(最後のexpect)。
どういう利用シーンを想定しているのかはわからない。
testinfo.annotation
こちらは結果のHTMLファイルにAnnotationsという領域に表示された。なんとなく上記のTestStepsの中に表示されると思っていたので少し想定外。

testinfo.attach, stdout, stderr
testinfo.attachで png と jsonをattachした。また、標準入力と標準エラーに書き込んでみた。
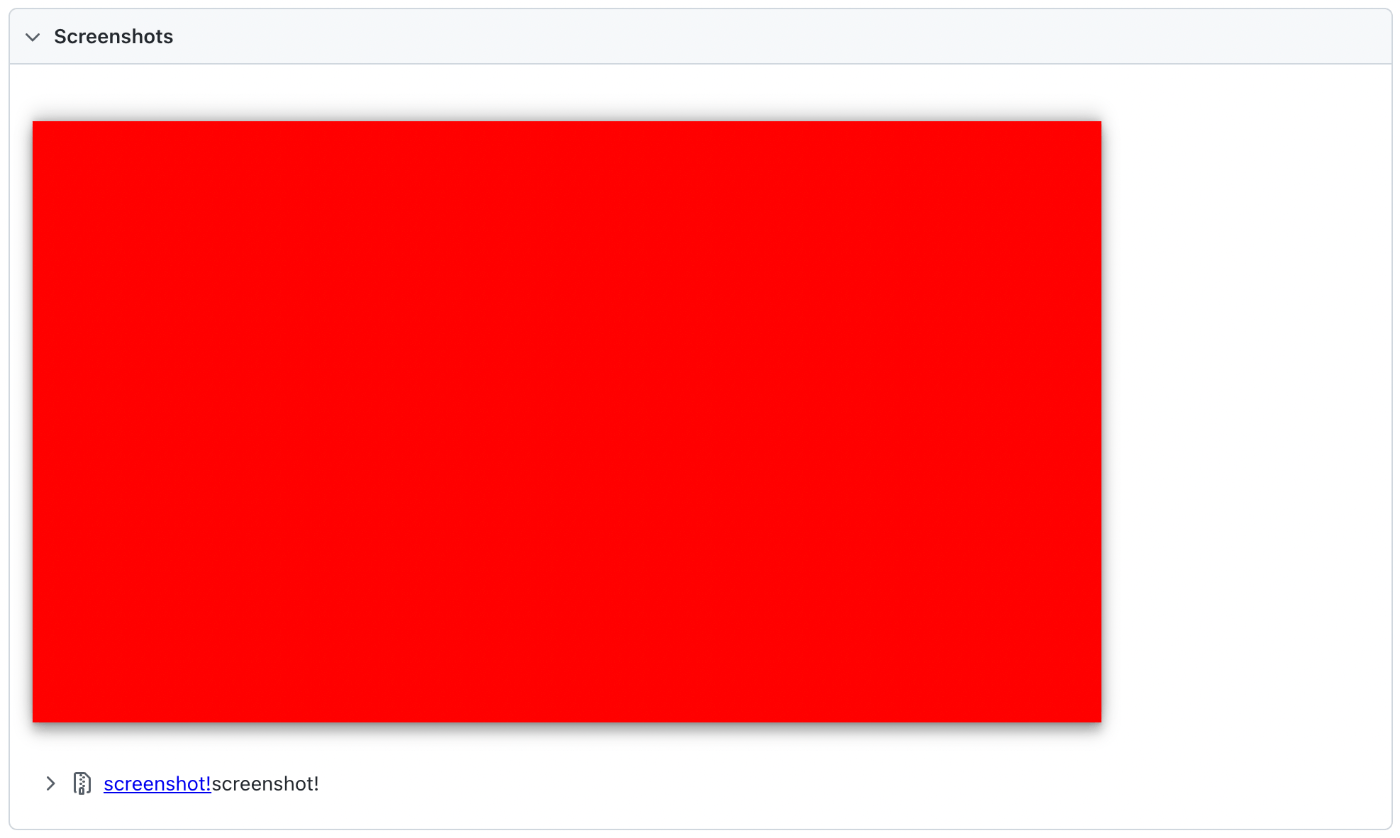
png画像はScreenshots領域に表示され、jsonと標準入力と標準エラーはAttachments領域に表示された。

screenshot!という文字列が2回表示されているのは不具合な気がする。

公式ドキュメントに'application/json' と 'image/png' が例として載っていたのでこの2つを試したが、他に何が使えるのだろう?