🦀
Cloud9 に Rust の開発環境と整える
はじめに
最近、Rust を始めたばかりの 135yshr です。
Rust の環境を Cloud9 に必要なったので、その時の手順を残します。
不足などあれば、ご指摘いただけると幸いです。
Rust のインストール
コマンド実行
curl https://sh.rustup.rs -sSf | sh
オプションの確認
特にこだわりがなければ、 Enter キー
Current installation options:


   default host triple: x86_64-unknown-linux-gnu
     default toolchain: stable (default)
               profile: default
  modify PATH variable: yes

1) Proceed with installation (default)
2) Customize installation
3) Cancel installation
>
shellを再起動
インストールが完了するとshellを再起動しろとメッセージがでてくるので、コマンドを実行してshellを再起動する
Rust is installed now. Great!

To get started you may need to restart your current shell.
This would reload your PATH environment variable to include
Cargo's bin directory ($HOME/.cargo/bin).

To configure your current shell, run:
source $HOME/.cargo/env
Shellの再起動
exec $SHELL -l
動作確認
cargo -V
cargo 1.62.0 (a748cf5a3 2022-06-08)
Cloud9 の設定
実行環境
Runnerを作る
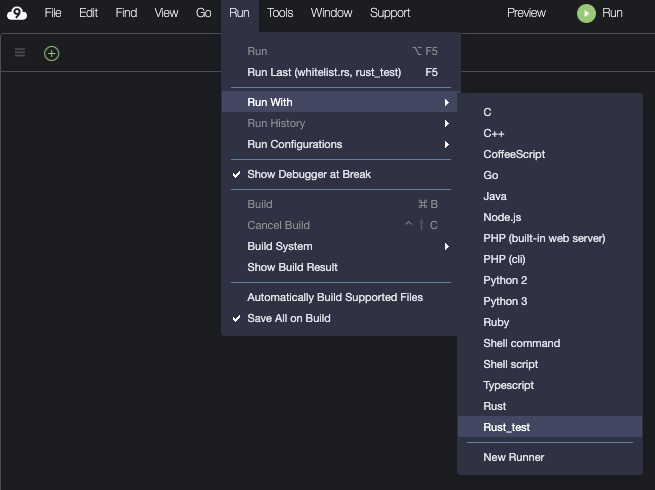
Run -> Run With -> New Runner の順にクリックする
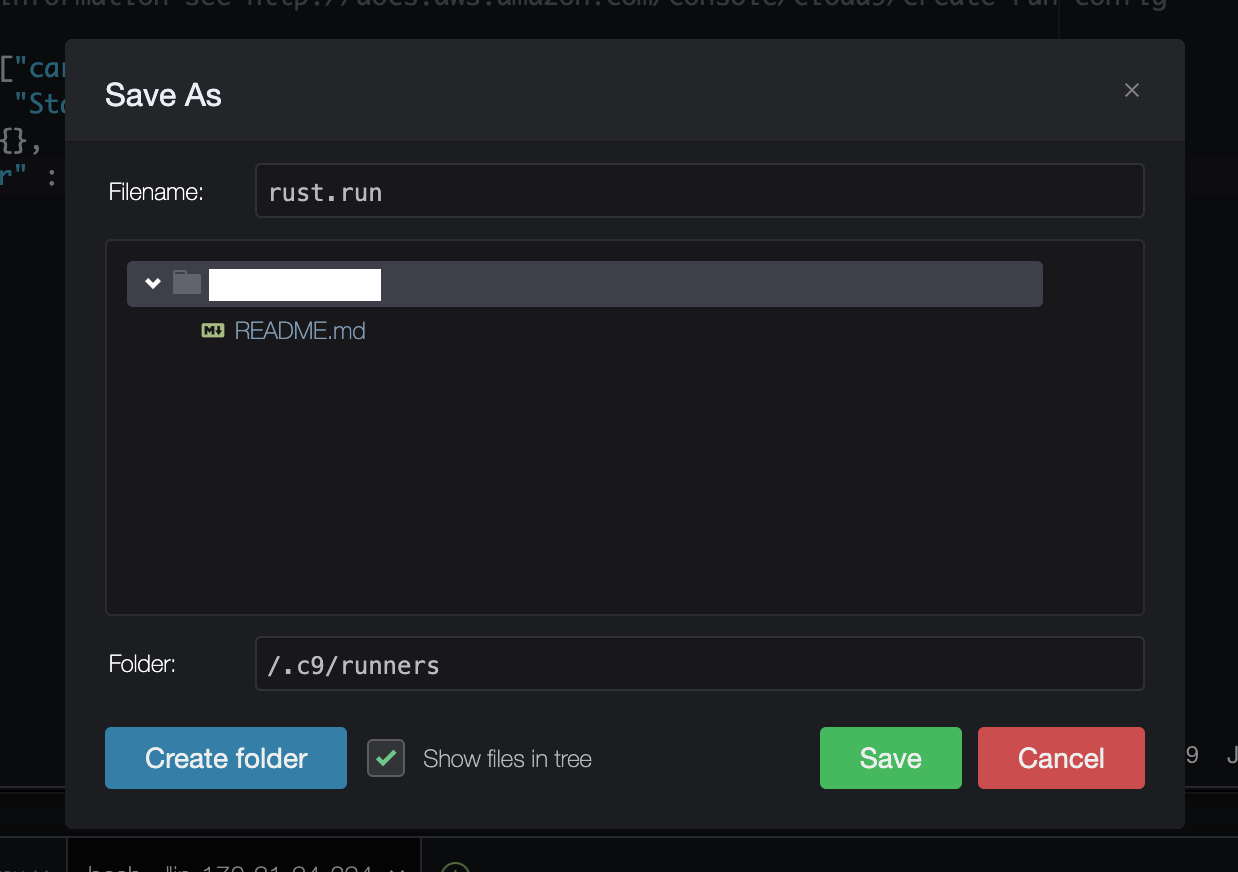
Runner のテンプレートが表示されるようになるので、以下のように書き換えて、 .c9/runners/rust.run として保存する
// Create a custom Cloud9 runner - similar to the Sublime build system
// For more information see http://docs.aws.amazon.com/console/cloud9/create-run-config
{
    "cmd" : ["cargo", "run", "$file", "$args"],
    "info" : "Started $project_path$file_name",
    "env" : {},
    "selector" : "source.rs"
}
動作確認
Run -> Run With の順にクリックして、Rust があることを確認する

テスト環境
Runnerを作る
この作業は、必須ではないので必要な人だけ実施してください
Runner を作る と同様に Run -> Run With -> New Runner の順にクリックする
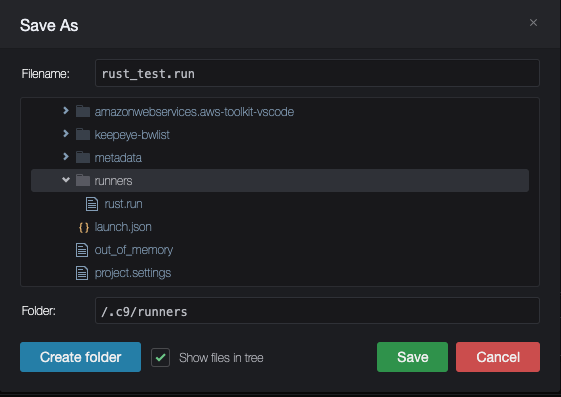
Runner のテンプレートが表示されるようになるので、以下のように書き換えて、 .c9/runners/rust_test.run として保存する
// Create a custom Cloud9 runner - similar to the Sublime build system
// For more information see http://docs.aws.amazon.com/console/cloud9/create-run-config
{
    "cmd" : ["cargo", "test"],
    "info" : "Started $project_path$file_name",
    "env" : {},
    "selector" : "source.rs"
}
動作確認
Run -> Run With の順にクリックして、 Rust_test があることを確認する
Code Formatter の設定
インストール
rustup component add rustfmt
インストール確認
cargo fmt
Discussion