Closed16
Fitbit で画像を表示するアプリを作る
このスクラップについて
このスクラップでは Fitbit で画像を表示するアプリを作る過程を記録する。
せっかくなので TypeScript を使って開発してみる。
また Fitbit Studio が使えなくなったみたいなのでコマンドラインでプロジェクトを作成する方法などについても学んでいきたい。
fitbit アプリ作成
コマンド
npx create-fitbit-app fitbit-images
色々と質問されるのでそれぞれ下記のように回答した。
? What type of application should be created? app
? What should the name of this application be? Fitbit Images
? Should this application contain a companion component? No
? Which platforms should this application be built for? Fitbit Versa 3, Fitbit
Sense
ビルド
コマンド
fitbit$ build
色々と警告が表示された。
コンソール出力
[11:11:45][warn][build] package.json Tiles available only for native components. Skipping tile configuration!
[11:11:45][warn][companion] This project is being built without a companion component. Create a file named companion/index.ts or companion/index.js to add a companion component to your project.
[11:11:45][warn][settings] This project is being built without a settings component. Create a file named settings/index.tsx, settings/index.ts, settings/index.jsx or settings/index.js to add a settings component to your project.
[11:11:45][info][app] Building app for Fitbit Versa 3
[11:11:45][warn][app] There is no app icon present in this project. To set an app icon, add a 80x80 PNG file named resources/icon.png to your project.
[11:11:45][info][app] Building app for Fitbit Sense
[11:11:45][warn][app] There is no app icon present in this project. To set an app icon, add a 80x80 PNG file named resources/icon.png to your project.
[11:11:45][info][build] App UUID: 4a6abd61-2ea5-433f-92fe-3ed704ea1eee, BuildID: 0x06b4b296a85fd867
Fitbit Image API
これを試す前に TypeScript にしてみよう。
こちらの API はあまり関係無かったようだ。
Fitbit SDK Types をインストール
コマンド
npx fitbit-sdk-types install
stripct を ON にする
tsconfig.json
{
  "extends": "./node_modules/@fitbit/sdk/sdk-tsconfig.json",
  "compilerOptions": {
    "strict": true
  }
}
表示する画像
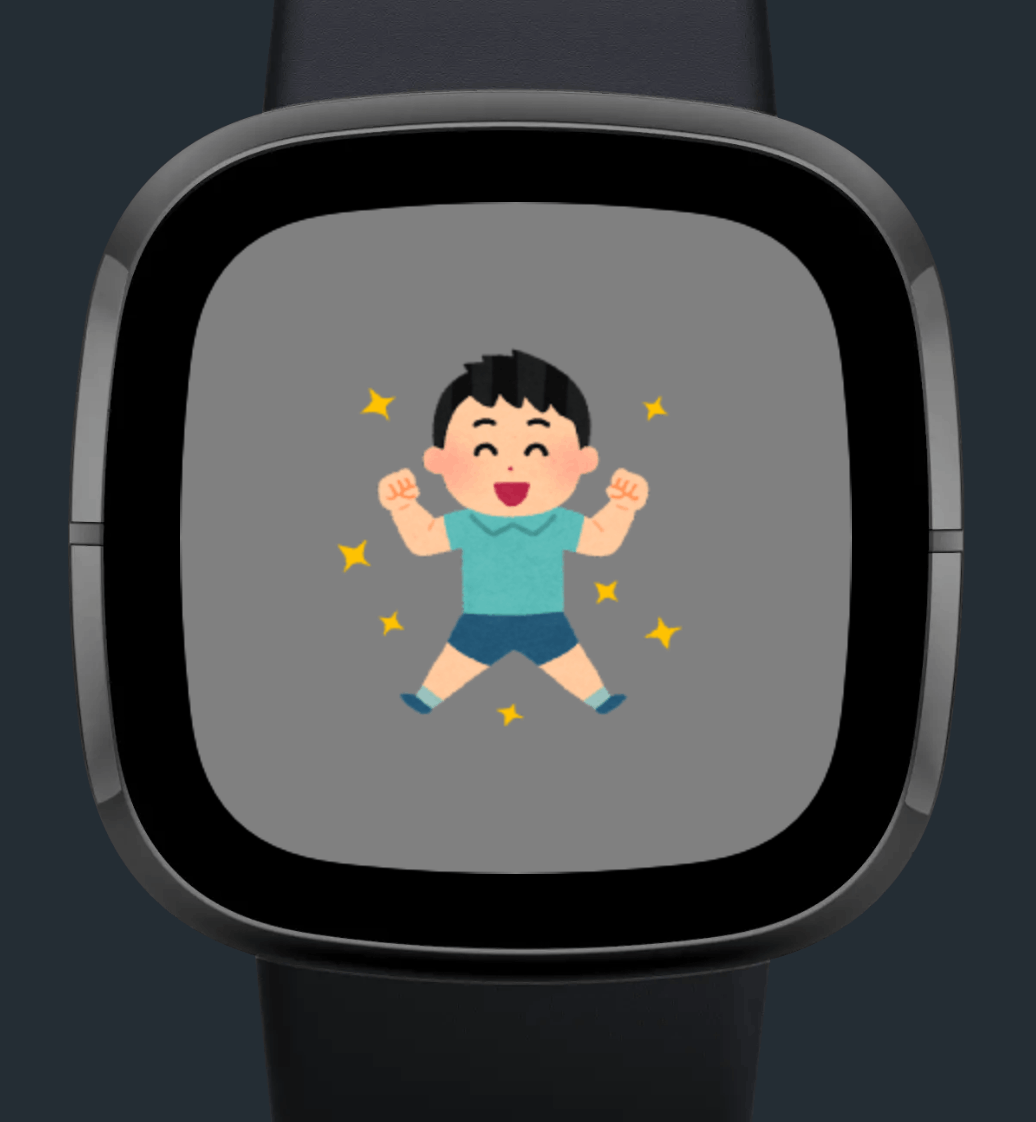
いらすとやさんのこちらのイラストを使わせていただく。

Fitbit での画像表示
画像ファイルは resources に配置すれば良いのだろうか?
コードは下記のように変更する。
resources/index.view
<svg>
  <defs>
    <link rel="stylesheet" href="styles.css" />
    <link rel="import" href="/mnt/sysassets/system_widget.defs" />
  </defs>
</svg>

無事に表示された。
別の画像を表示してみる

import document from "document";

const el = {
  image: document.getElementById("image") as ImageElement,
};

let counter = 0;

setInterval(() => {
  counter += 1;

  if (counter % 3 === 0) {
    el.image.href = "pose_genki01_boy.png";
  } else if (counter % 3 === 1) {
    el.image.href = "utsu_man.png";
  } else {
    el.image.href = "";
  }
}, 1000);

1 秒おきに画像が切り替わるようになった。

href に "" を代入することで画像を非表示にもできるようだ。
これで終わり?
せっかくなので画面タップで表示を切り替えるのに挑戦してみよう。
タイルリストを表示する
resources/widget.defs
<svg>
  <defs>
    <link rel="stylesheet" href="styles.css" />
    <link rel="import" href="/mnt/sysassets/system_widget.defs" />

    <link rel="import" href="/mnt/sysassets/widgets/baseview_widget.defs" />
    <link rel="import" href="/mnt/sysassets/widgets/scrollbar.defs" />
    <link rel="import" href="/mnt/sysassets/widgets/tile_list_widget.defs" />

    <symbol id="my-item" href="#tile-list-item" class="list-item">
      <text id="text" />
      <rect class="line" />
    </symbol>
  </defs>
</svg>
resources/index.view
<svg viewport-fill="gray">
  <image x="68" y="68" width="200" height="200" href="" id="image" />
  <use id="myList" href="#tile-list" class="horizontal-pad">
    <use href="#my-item">
      <set href="#text" attributeName="text-buffer" to="Text Item 1" />
    </use>
    <use href="#my-item">
      <set href="#text" attributeName="text-buffer" to="Text Item 2" />
    </use>
    <use href="#my-item">
      <set href="#text" attributeName="text-buffer" to="Text Item 3" />
    </use>
  </use>
</svg>
resources/styles.css
.defaultText {
  font-size: 32;
  font-family: System-Regular;
  font-weight: regular;
  text-length: 32;
}

#background {
  width: 100%;
  height: 100%;
  fill: white;
}

.list-item {
  height: 112;
}

.list-item text {
  fill: "white";
  x: 50%;
  text-anchor: middle;
  font-size: 24;
}

.line {
  height: 6;
  width: 100%;
  fill: #222222;
  y: 100%-6;
}

タイルリストが表示された。
CSS 以外は何をやっているのかはよく理解していない。
タイルリストのクリックイベント
resources/index.view
<svg viewport-fill="gray">
  <image x="68" y="68" width="200" height="200" href="" id="image" />
  <use id="myList" href="#tile-list" class="horizontal-pad" pointer-events="visible">
    <use href="#my-item">
      <set href="#text" attributeName="text-buffer" to="Text Item 1" />
    </use>
    <use href="#my-item">
      <set href="#text" attributeName="text-buffer" to="Text Item 2" />
    </use>
    <use href="#my-item">
      <set href="#text" attributeName="text-buffer" to="Text Item 3" />
    </use>
  </use>
</svg>
onclick を使えるようにするには pointer-events="visible" をセットする必要がある。
app/index.ts
import document from "document";

const noImage = "";
const positiveImage = "pose_genki01_boy.png";
const negativeImage = "utsu_man.png";

const el = {
  image: document.getElementById("image") as ImageElement | null,
  tileList: document.getElementById("myList"),
};

if (!el.image) {
  throw new Error("!el.image");
}

if (!el.tileList) {
  throw new Error("!el.tileList");
}

el.tileList.onclick = () => {
  console.log("here");
};
これでタップするとコンソールに console.log と表示されるようになった。
切り替えられるようにする
resources/styles.css(追加分)
.hidden {
  display: none;
}
resources/index.view(一部)
<image x="68" y="68" width="200" height="200" href="pose_genki01_boy.png" id="image" class="hidden" pointer-events="visible" />
app/index.ts
import document from "document";

type State = {
  mode: "tile" | "image";
};

const state: State = {
  mode: "tile",
};

const el = {
  image: document.getElementById("image") as ImageElement,
  tileList: document.getElementById("myList") as TileList,
};

if (!el.image) {
  throw new Error("!el.image");
}

if (!el.tileList) {
  throw new Error("!el.tileList");
}

el.image.onclick = () => {
  state.mode = "tile";
  updateDisplay();
};

el.tileList.onclick = () => {
  state.mode = "image";
  updateDisplay();
};

function updateDisplay() {
  if (state.mode === "tile") {
    el.tileList.class = "";
    el.image.class = "hidden";
  } else if (state.mode === "image") {
    el.tileList.class = "hidden";
    el.image.class = "";
  }
}

無事に切り替えられるようになった。
Git リポジトリ
MIT ライセンスでご利用いただけます。
おわりに
比較的スムーズにやりたいことを終えれて良かった。
Fitbit アプリ開発は情報が少なくて結構大変。
TypeScript は今回初めて使ったけどとても便利だった。
今後 Fitbit アプリを開発する機会があったら TypeScript を使おうと思う。
このスクラップは2024/01/24にクローズされました