vscodeのwebviewでReact + Viteを使いたい!
はじめに
webview を使って vscode の拡張機能を開発していた時に最初は dom の書き換えで頑張っていたのですがとあるものを作ろうとした時に React 使いたい!!となりました。
React を使う方法を調べていたところ Microsoft がサンプルコードを出していたのを見つけました。
ただ、このサンプルは通常の command を作成するプロジェクトの中にwebview-uiというサブディレクトリを作成してそこで package.json や vite.config.ts など React プロジェクト一式を入れ込む方式でした。
それでもいいのですが、私は package.json など共通化してやる方法がないかと調査して動かすことができたので次作成する時の備忘録として記事にしました。
VSCode の開発雛形を作る
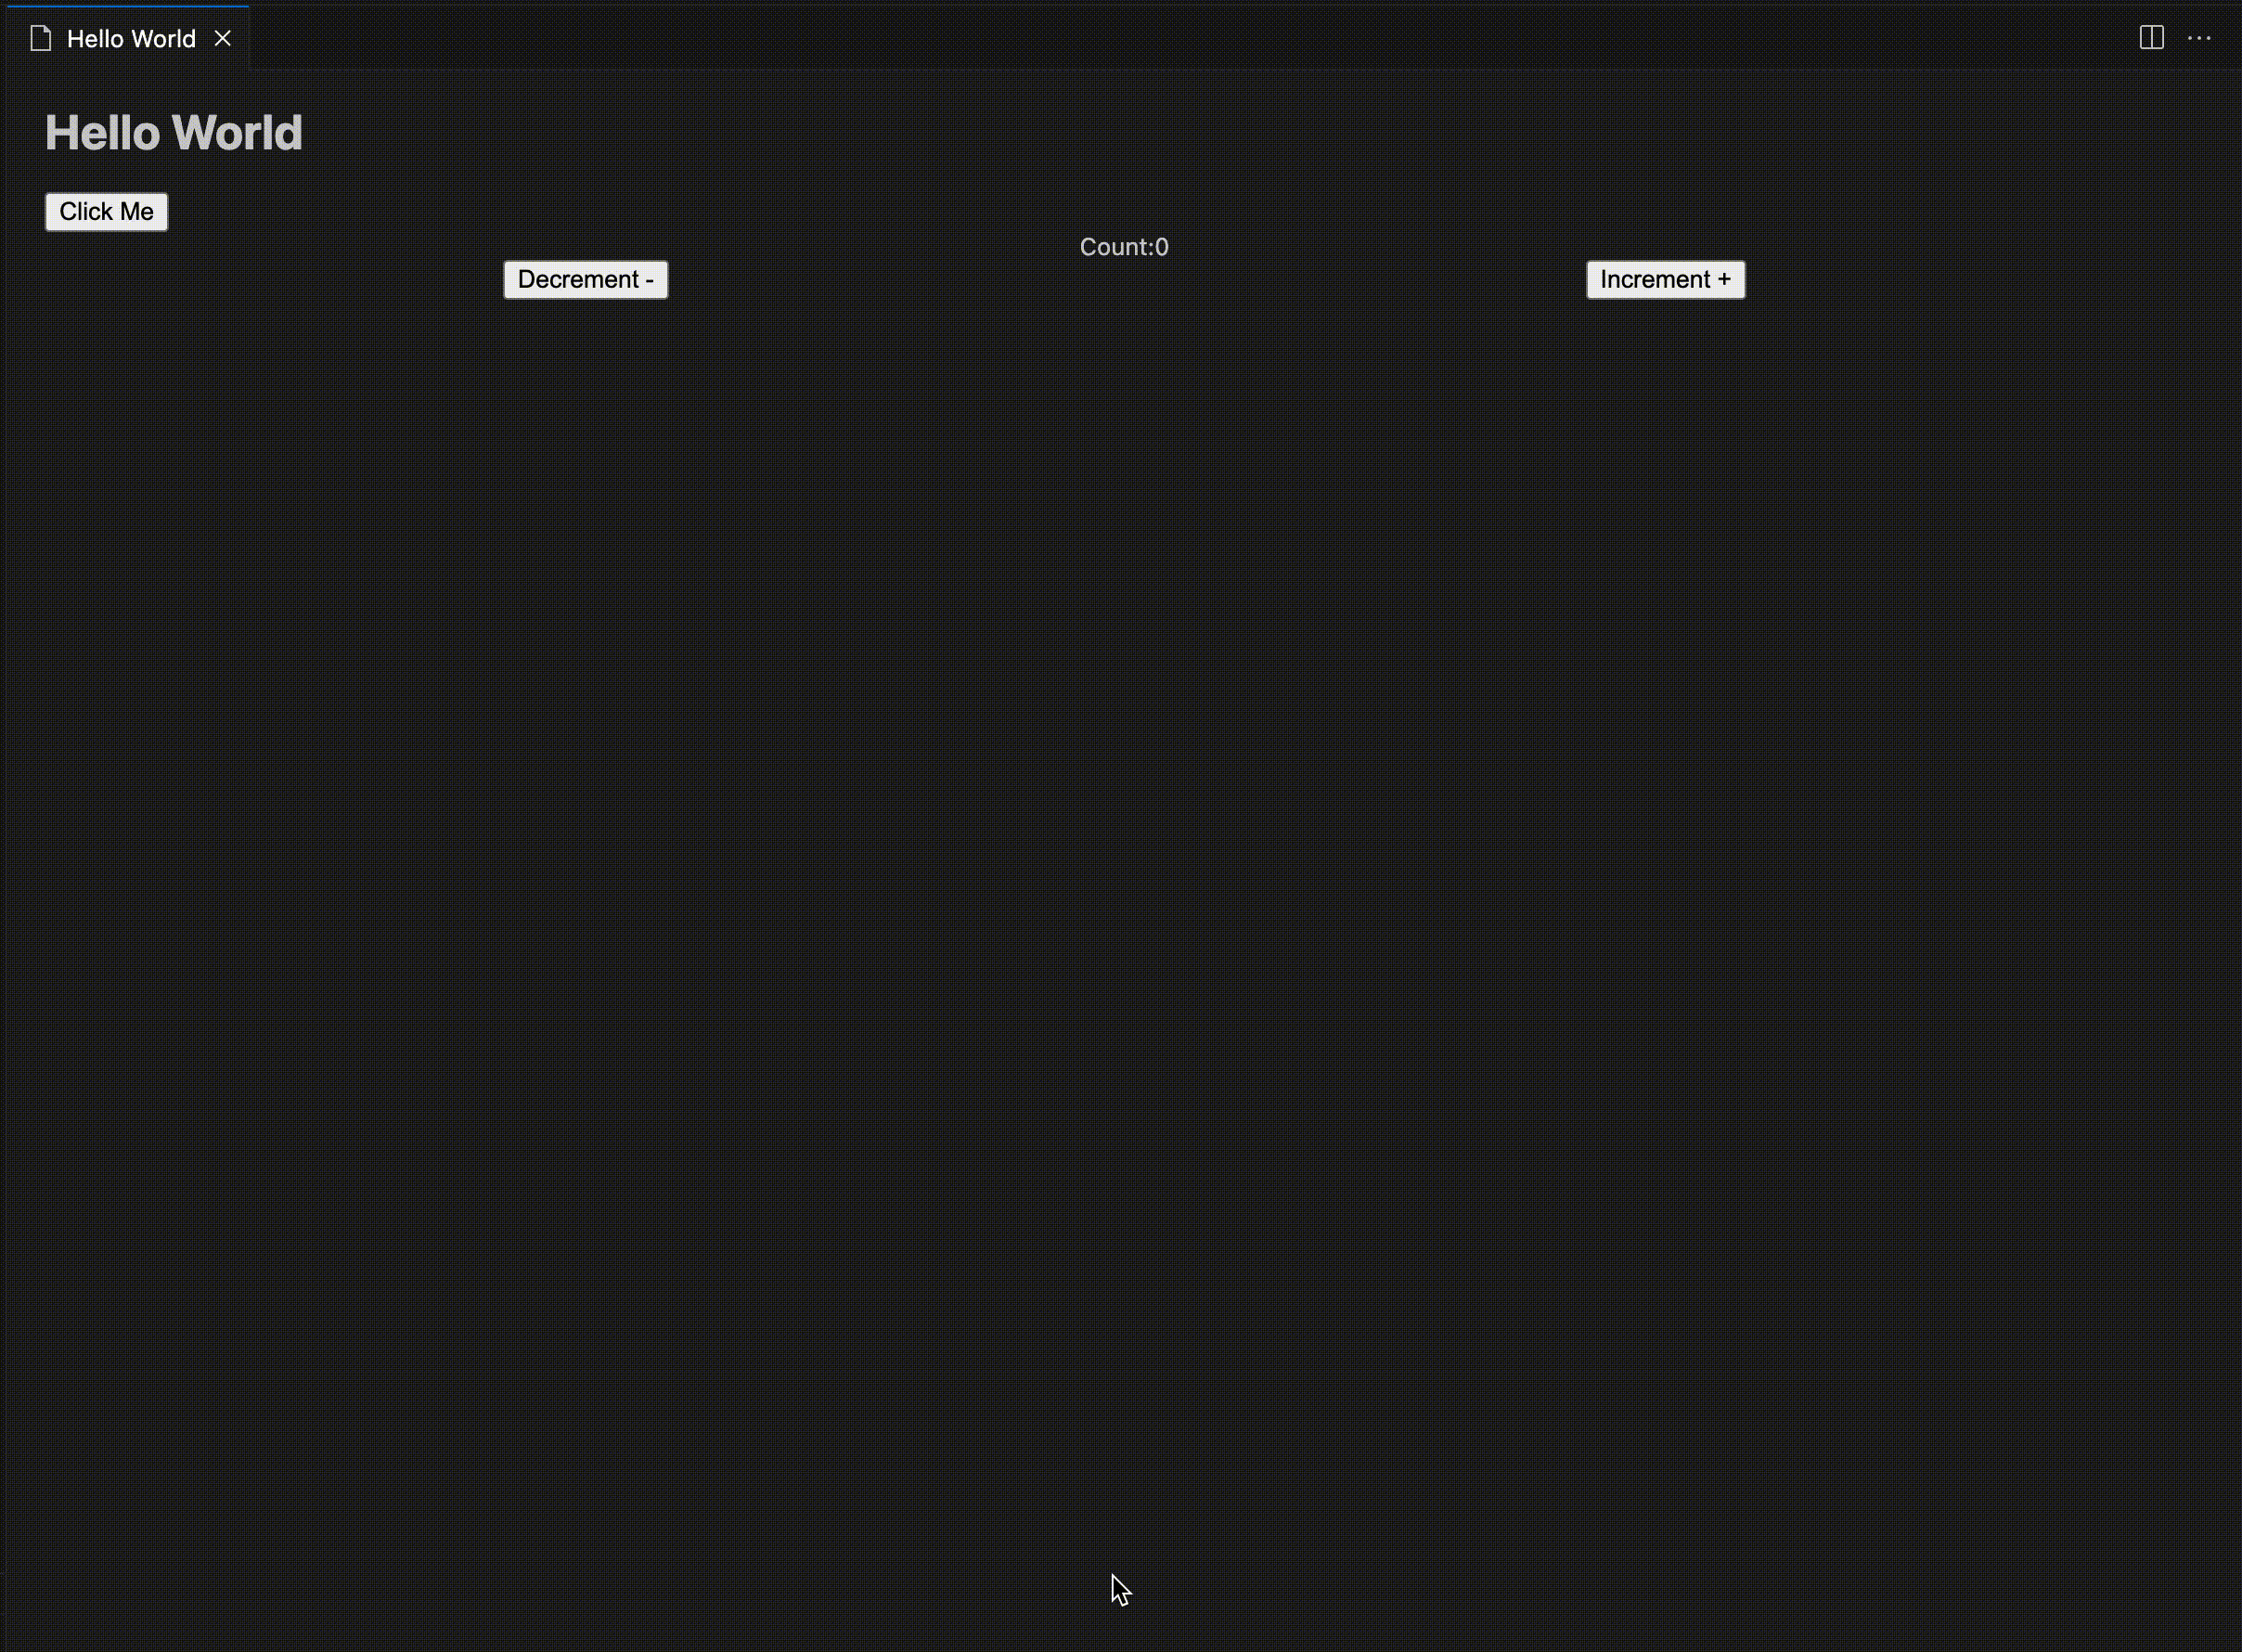
まずはじめに vscode の拡張を開発するための雛形を生成します。
公式のチュートリアル通りに進めていけば簡単にHello Worldできます。
必要なパッケージの追加
React + Vite 周りのパッケージを追加します。
pnpm add react react-dom

pnpm add -D @types/react @types/react-dom
pnpm add -D vite @vitejs/plugin-react
src 配下の整理
次に src 配下の整理をしていきます。
わかりやすくするため commands ディレクトリと webview ディレクトリを切ります。
commands ディレクトリには extension.ts などの command 系ファイルも移動しておきます。
└── src
    ├── commands
    └── webview
そして webview 配下に React 用の tsconfig.json やエントリーになる index.tsx などいつも通りのファイルを作成しておきます。
tsconfig.json の設定は vscode の拡張用と React 用で異なるため、それぞれ tsconfig.json を配置します。
└── src
    ├── commands
    │   ├── ...
    │   ├── extension.ts
    │   └── tsconfig.json
    └── webview
        ├── ...
        ├── index.tsx
        └── tsconfig.json
Build の成果物が vscode の拡張と React の2つが出来上がるため、競合しないように tsconfig.json で outDir の調整をします。
../../としているのはルートディレクトリに build ファイルを置きたいからです。
buildのみの指定だと src/(commands|webview) に build ファイルができてしまいます。
commandsのtsconfig.json
{
  "compilerOptions": {
    "outDir": "../../build/commands",
    ...
  }
}
webviewのtsconfig.json
{
  "compilerOptions": {
    "outDir": "../../build/webview",
    ...
  }
}
この時 build した後の構成が変わるので、package.json の main も変更しておきます。
{
  "main": "./build/commands/extension.js"
  ...
}
これで src 配下は完成です。
Vite の設定
通常どりプロジェクトの直下にvite.config.tsを作ります。
ここでも変えるものは include と out のファイルパスのみです。
import { defineConfig } from "vite";
import react from "@vitejs/plugin-react";
import { resolve } from "path";

export default defineConfig({
  plugins: [
    react({
      include: ["./src/webview/**/{*.ts,*.tsx}"],
      ...
    }),
  ],
  build: {
    outDir: "build/webview",
    rollupOptions: {
      input: {
        main: resolve(__dirname, "./index.html"),
      },
      ...
    },
  },
});
次に tsconfig.json が2つあるのでそれらをまとめる tsconfig.json を作成します。
こうすることによりそれぞれの設定を共存することができます。
{
  "references": [
    { "path": "./src/commands/tsconfig.json" },
    { "path": "./src/webview/tsconfig.json" }
  ],
  ...
}
あとは index.html を配置して完成です。
この index.html は Vite を build 時に必要なのですが、今回は webview の html を使うため動作には不要です。(なくても Build できる方法は調査中です。)
<!DOCTYPE html>
<html lang="en">
  <head>
    <meta charset="UTF-8" />
    <meta name="viewport" content="width=device-width, initial-scale=1.0" />
    <title>Hello World</title>
  </head>
  <body>
    <div id="root"></div>
    <script type="module" src="src/webview/index.tsx"></script>
  </body>
</html>
これで Vite の Build ができるのでvite buildなどを実行するとbuild/webview配下に生成されると思います。
同時に build をできるようなコマンドを用意しておくと便利です。
{
  "scripts": {
    "build": "pnpm commands:build && pnpm vite:build",
    "commands:build": "tsc -p ./src/commands",
    "vite:build": "tsc && vite build"
  }
}
React を乗せるための HTML を生成
次は command 側をいじっていきます。
ここに書いてあるチュートリアルを参考にコマンドを実行したら webview を作れるところまで作成します。
このままだと React を載せることができないので HTML 部分をいじっていきます。
id が root の div 要素で React を載せる場合はこのように書きます。
function getWebviewContent() {
  return `
    <!DOCTYPE html>
    <html lang="en">
      <body>
        <div id="root"></div>
        <script type="module"></script>
      </body>
    </html>
  `;
}
script の url を設定していきます。
先ほどのサンプルに便利な Util があるので今回はそれを使いました。
function getWebviewContent() {
  const scriptUri = getUri(webview, extensionUri, [
    "build",
    "webview",
    "main.js",
  ]);
  const nonce = getNonce();

  return `
    <!DOCTYPE html>
    <html lang="en">
      <body>
        <div id="root"></div>
        <script type="module" nonce="${nonce}" src="${scriptUri}"></script>
      </body>
    </html>
  `;
}
はいこれで終わりです。
実際に Build してコマンドを呼んでいるとみると先ほどの root に React のコンポーネントがのっていると思います。
あとは React 側をどんどん開発していくだけになります。
おわりに
いかがだったでしょうか?
この方法は package.json が共通になるので依存関係が分かりにくくなるなど確かにデメリットはありそうです。
しかし、分けると 2 回yarn iやpnpm iを叩く手間もあったりしたりビルドするために該当ディレクトリまで移動するなどといった手間もあるのでメリットの方が多いのではないかなと思いました。
ここまで見ていただきありがとうございました!
最終成果物
ディレクトリ構成
.
├── build
│   ├── commands
│   └── webview
├── index.html
├── node_modules
├── package.json
├── pnpm-lock.yaml
├── src
│   ├── commands
│   │   ├── extension.ts
│   │   ├── tsconfig.json
│   │   └── utilities
│   │       ├── getNonce.ts
│   │       └── getUri.ts
│   └── webview
│       ├── App.tsx
│       ├── index.tsx
│       └── tsconfig.json
├── tsconfig.json
└── vite.config.ts
package.json
{
  "main": "./build/commands/extension.js",
  "contributes": {
    "commands": [
      {
        "command": "hello-world.showHelloWorld",
        "title": "Hello World (React + Vite): Show"
      }
    ]
  },
  "scripts": {
    "vscode:prepublish": "pnpm run compile",
    "watch": "tsc -watch -p ./",
    "pretest": "pnpm run compile && pnpm run lint",
    "lint": "eslint src --ext ts",
    "test": "vscode-test",
    "build": "pnpm commands:build && pnpm vite:build",
    "commands:build": "tsc -p ./src/commands",
    "vite:build": "tsc && vite build"
  },
  "devDependencies": {
    "@types/mocha": "^10.0.6",
    "@types/node": "~18.19.3",
    "@types/react": "^18.2.45",
    "@types/react-dom": "^18.2.18",
    "@types/vscode": "^1.85.0",
    "@types/vscode-webview": "^1.57.4",
    "@typescript-eslint/eslint-plugin": "^6.13.1",
    "@typescript-eslint/parser": "^6.13.1",
    "@vitejs/plugin-react": "^4.2.1",
    "@vscode/test-cli": "^0.0.4",
    "@vscode/test-electron": "^2.3.8",
    "eslint": "^8.54.0",
    "typescript": "^5.3.2",
    "vite": "^5.0.10"
  },
  "dependencies": {
    "react": "^18.2.0",
    "react-dom": "^18.2.0"
  }
  ...
}
Discussion