Web だって組版の夢を見る――新聞のように自在にテキストを流し込むには
この記事も例に漏れず、Web における組版は 1 段組みを基本としており、テキストが延々と下に伸びていく単調なレイアウトが主流です。
しかしながら新聞や雑誌等の組版を見つめ直すと、ブラウザでは実装されることのない縦横無尽に動き回るグリッドの配置、テキストの流し込みが当たり前のように実現されています。こうした自在な組版、Web でぜひ実現してみたいと感じませんか……?
できたもの

図 1: Web で新聞のような組版が実現されたスクリーンショット
図 1 の通り、新聞風のレイアウトを実現しています。
Web で自在なテキストレイアウトは不可能?
CSS3 にて導入された columns プロパティ は、ブラウザ上で段組みを用いたコンテンツの表示を実現します。論文のスタイルでよく見かけるアレですね。ところが、CSS3 の段組みの仕様には「段の高さが揃っていなければならない」[1]と規定があることから、例えば L 字型や飛び飛びの領域[2]にテキストを配置するといった技術者泣かせの凝ったレイアウトを実現することは、現行のCSSのみでは困難です。

図 2: 朝日新聞(2021年6月9日朝刊)より引用。
Web でこのように込み入ったテキストのフローの実現は困難である。
テキストの「流し込み」
Adobe InDesign や Illustrator を主戦場として日々繰り広げられる DTP(DeskTop Publishing)の組版において、テキストは流し込むものである、という感覚が強く存在します。
下端へのスクロールに制限のない Web であれば、特段の指定もなしにプレーンテキストを HTML 文書に打ち込むだけでも画面の右端で適宜改行がなされ、テキストを無限に書き連ねてゆくことが可能です。対称的に、DTP においてはまず指定すべきはフレームグリッドないしテキストフレームであり、換言するならば文章よりもテキストの枠(テキストボックス)を最初に規定する必要がある、ということです。
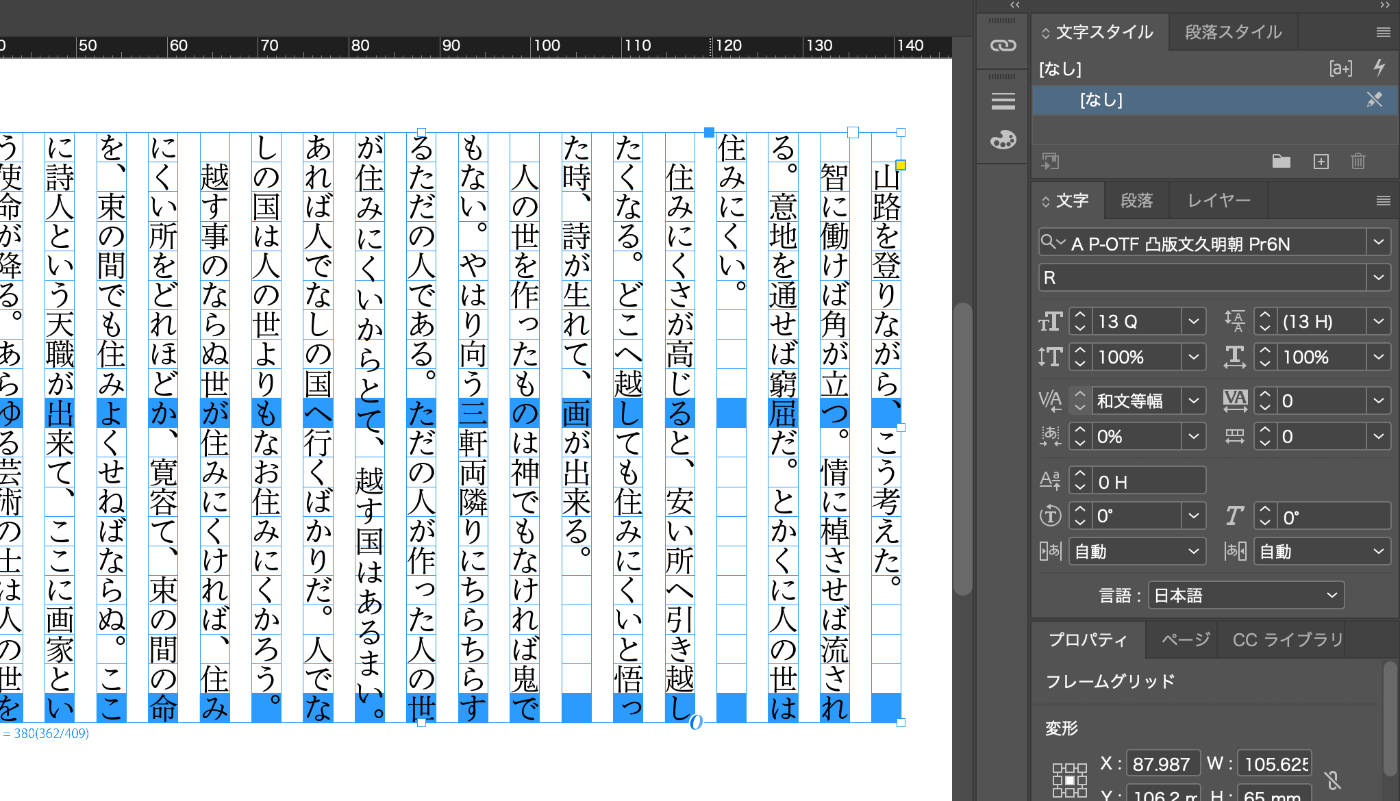
図 3: InDesign では枠から指定する
方針
DTP の特性は常に物理的な制約を伴う紙媒体の性質を反映したものですが、この考えを Web に持ち込めばブラウザ上でも自由な組版が実現できそうです。すなわち、「テキストの座標も改行位置もブラウザが処理する前に勝手に指定するぜ」というオレオレ仕様で強行突破を図ります。
具体的には、以下の方針で実装することが出来そうです[3]。
- 幅(縦組みの場合は高さ)を規定した計測用の要素を生成し、テキストを流し込んで要素の高さを計測する。
- 高さを越えない範囲で流し込める最大の文字数を計測し、当該ボックスにおけるテキストの分割位置を推定する。
- 後続するテキストボックスに対しても 1, 2. の処理を行い、テキストボックスの終端に達するまで処理を続ける。
- 表示用の要素に分割されたテキストを流し込む。
実装
TypeScript + React で実装してみます。コード自体は GitHub 上 で頒布しています。
文章は一般に段落毎に区切られるため、これをインタフェース Paragraph として扱うものとします。テキストサイズ・行送り・本文の3要素をフィールドとして持たせます[4]。インタフェース TextBox はテキストボックスの寸法を規定します[5]。
export interface Paragraph {
  fontSize: number;
  lineHeight: number;
  content: string;
}

export interface TextBox {
  width: number;
  height: number;
  isVertical: boolean; // true when the writing direction is vertical
}
テキストの高さを計測する
テキストの高さを計測するための関数 calculateParagraphHeight を用意します。paragraph, width, leftHeight, isVertical を引数に取り、ボックス内に収まった文字数の右端のインデックスと、そこまでの高さを戻り値として返すシグネチャです。
適当な div 要素を document.body の直下に生成し、にぶたんでテキストを流し込んでいくことで、width × leftHeight に収まる最大の文字数を計測します。縦書きの際に計測用要素の幅が画面いっぱいに広がることを防ぐため、display: inline-block を指定するのがミソです。
計測の度に DOM の挿入と削除を繰り返すと負荷がえげつないことになるため、calculateParagraphHeight 内ではなく流し込みの最初・最後に纏めて処理をすると良いでしょう。
export const calculateParagraphHeight = (
  paragraph: Paragraph,
  width: number,
  leftHeight: number,
  isVertical: boolean
) => {
  // initialize the element for the test
  measuringElement.style.display = 'inline-block';
  if (isVertical) {
    measuringElement.style.height = `${width}px`;
  } else {
    measuringElement.style.width = `${width}px`;
  }
  measuringElement.style.fontSize = `${paragraph.fontSize}px`;
  measuringElement.style.lineHeight = `${paragraph.lineHeight}px`;
  measuringElement.style.writingMode = `${isVertical ? 'vertical-rl' : 'lr-tb'}`;

  const calculate = (content: string) => {
    measuringElement.innerHTML = content;
    const rect = measuringElement.getBoundingClientRect();
    return isVertical ? rect.width : rect.height;
  };

  // biary search
  let [left, right] = [0, paragraph.content.length];
  let measuredHeight = 0;
  while (right - left > 0) {
    const mid = Math.ceil((left + right) / 2);
    measuredHeight = calculate(paragraph.content.substring(0, mid));
    if (measuredHeight > leftHeight) {
      right = mid - 1;
    } else {
      left = mid;
    }
  }
  return [right, measuredHeight];
};
テキストの流し込みを計算する
以上の関数を呼び出す形でテキストの流し込みを実装します。返り値は Paragraph の二次元配列となり、例えば [[(Paragraph)], [(Paragraph), (Paragraph)], []] の場合は以下の状態を表します。
- 1個目のテキストボックス:1 個の Paragraph を含む
- 2個目のテキストボックス:2 個の Paragraph を含む
- 3個目のテキストボックス:空
export const flowText = (paragraphs: Paragraph[], boxes: TextBox[]): Paragraph[][] => {
  const processedParagraphs: Paragraph[] = [...paragraphs.map((paragraph) => ({ ...paragraph }))];
  const resultParagraphs: Paragraph[][] = [];
  document.body.appendChild(measuringElement);

  boxes.forEach((box, index) => {
    resultParagraphs.push([]);
    let leftHeight = box.isVertical ? box.width : box.height;

    while (processedParagraphs.length > 0) {
      const paragraph = processedParagraphs[0];
      const [right, measuredHeight] = calculateParagraphHeight(
        paragraph,
        box.isVertical ? box.height : box.width,
        leftHeight,
        box.isVertical
      );
      // The text box is full with the paragraph
      if (right < paragraph.content.length) {
        resultParagraphs[index].push({
          ...paragraph,
          content: paragraph.content.slice(0, right),
        });
        processedParagraphs[0].content = processedParagraphs[0].content.slice(right);
        break;
      }
      // There is room for the text box to flow the subsequent paragraph
      else {
        resultParagraphs[index].push({ ...paragraph });
        processedParagraphs.shift();
        leftHeight -= measuredHeight;
      }
    }
  });

  document.body.removeChild(measuringElement);
  return resultParagraphs;
};
表示部
表示部のコンポーネント Text は、React と styled-components を利用して下記のように宣言されます。
Text を利用する適当な親コンポーネントでは、流し込む Paragraph[], TextBox[] を定義し、関数 flowText に渡して、その返り値を Text の props として渡すことで期待通りに動作します。自動で配置を行うスマートな仕組みは存在しないため、凝ったレイアウトにする場合は愚直に CSS を書き進める必要があります。この辺りは GitHub 上のコードを参照ください。
import React from 'react';
import styled from 'styled-components';
import { columnGap } from './App';
import { Paragraph, TextBox } from '../paragraph';

const Wrapper = styled.div<{ width: number; height: number; topBorder: boolean }>`
  width: ${(props) => props.width}px;
  height: ${(props) => props.height}px;
  text-align: justify;
  display: flex;
  flex-direction: row-reverse;
  ${(props) =>
    props.topBorder ? `border-top: solid 1px #ccc; padding-top: ${columnGap / 2}px;` : ''}
  font-family: toppan-bunkyu-mincho-pr6n, serif;
`;

const ParagraphElement = styled.div<{
  fontSize: number;
  lineHeight: number;
}>`
  font-size: ${(props) => props.fontSize}px;
  line-height: ${(props) => props.lineHeight}px;
  writing-mode: vertical-rl;
`;

interface TextProps {
  box: TextBox;
  paragraphs: Paragraph[];
  topBorder: boolean;
}

const Text = ({ box, paragraphs, topBorder }: TextProps) => (
  <Wrapper width={box.width} height={box.height} topBorder={topBorder}>
    {paragraphs.map((paragraph, index) => (
      <ParagraphElement fontSize={paragraph.fontSize} lineHeight={paragraph.lineHeight} key={index}>
        {paragraph.content}
      </ParagraphElement>
    ))}
  </Wrapper>
);

export default Text;
むすびにかえて
いかがでしたか? Web 標準で実現される組版機能はまだ発展途中な印象を受けますが、リフローやスクリプティングに対する強みを備えています。セマンティクスの観点からすれば良いものではありませんが、工夫次第では面白いレイアウトを実現する余地は十分にあると考えられます[6]。
メディアはメッセージであるので、紙媒体のレイアウトをそのまま Web に落とし込むような行為は些かナンセンスかもしれませんが、そうした挑戦的なサイトも偶には存在しても面白いだろうに、と思ったりもするものです。
-
Web でそうした凝ったレイアウトを実現するとアクセシビリティを低下させかねない、という意見は甘んじて受け入れるつもりです…… ↩︎
-
多少の差異こそあれど、一般的な組版処理系に於いても同様の手法が用いられていると考えられます。 ↩︎
-
実用を考えるならば、トラッキングやカーニング等の処理を勘案する必要がありそうです。 ↩︎
-
n 行で版面を設計する際、DTP であれば
lineHeight * (n - 1) + fontSizeで計算しますが、今回は CSS の line-height の都合上、lineHeight * nで計算するものとします。 ↩︎ -
手前味噌ですが、絶賛開発中の Twight では、言語仕様としてスレッドテキストの概念が取り入れられており[7]、そうした点で従来の CSS 組版よりも柔軟なレイアウトに適した言語であると考えています。 ↩︎
-
XML 要素としてテキストボックスを表現する際に
thread="n"とインデックスを振っていくと、スレッドテキストとして認識される仕組みです。 ↩︎
Discussion