iTranslated by AI
Introduction to AstroNvim: For Those Who Find VSCode Insufficient


Introduction
What editor are you using?
I recently switched from VSCode to Neovim.
Neovim is an editor that you customize to your liking.
In this article, I will introduce AstroNvim for those who have grown tired of VSCode or those who are interested in Neovim but think it looks difficult.
AstroNvim is an all-in-one Neovim environment.
Since it's easy to customize, it's highly recommended for Neovim beginners.
I also started my Neovim journey with AstroNvim and still use it today.

Installing AstroNvim
On Mac, you can easily install it using brew.
brew install neovim

git clone --depth 1 https://github.com/AstroNvim/AstroNvim ~/.config/nvim
nvim
On Ubuntu, it's better to build Neovim yourself.
Installing via apt might result in an older version or a build without LuaJIT.
Below are the steps to set up AstroNvim in an Ubuntu container environment.
# Neovim installation (Build from source)
## Install packages
sudo apt-get update
sudo apt-get install ninja-build gettext libtool libtool-bin autoconf automake cmake g++ pkg-config unzip

# Add useful packages
sudo apt-get install ripgrep

## Clone Neovim
git clone https://github.com/neovim/neovim
cd neovim/
make CMAKE_BUILD_TYPE=RelWithDebInfo
sudo make install

# Install AstroNvim
cd .config/
git clone --depth 1 https://github.com/AstroNvim/AstroNvim ~/.config/nvim

# Launch Neovim
exec $SHELL -l
nvim
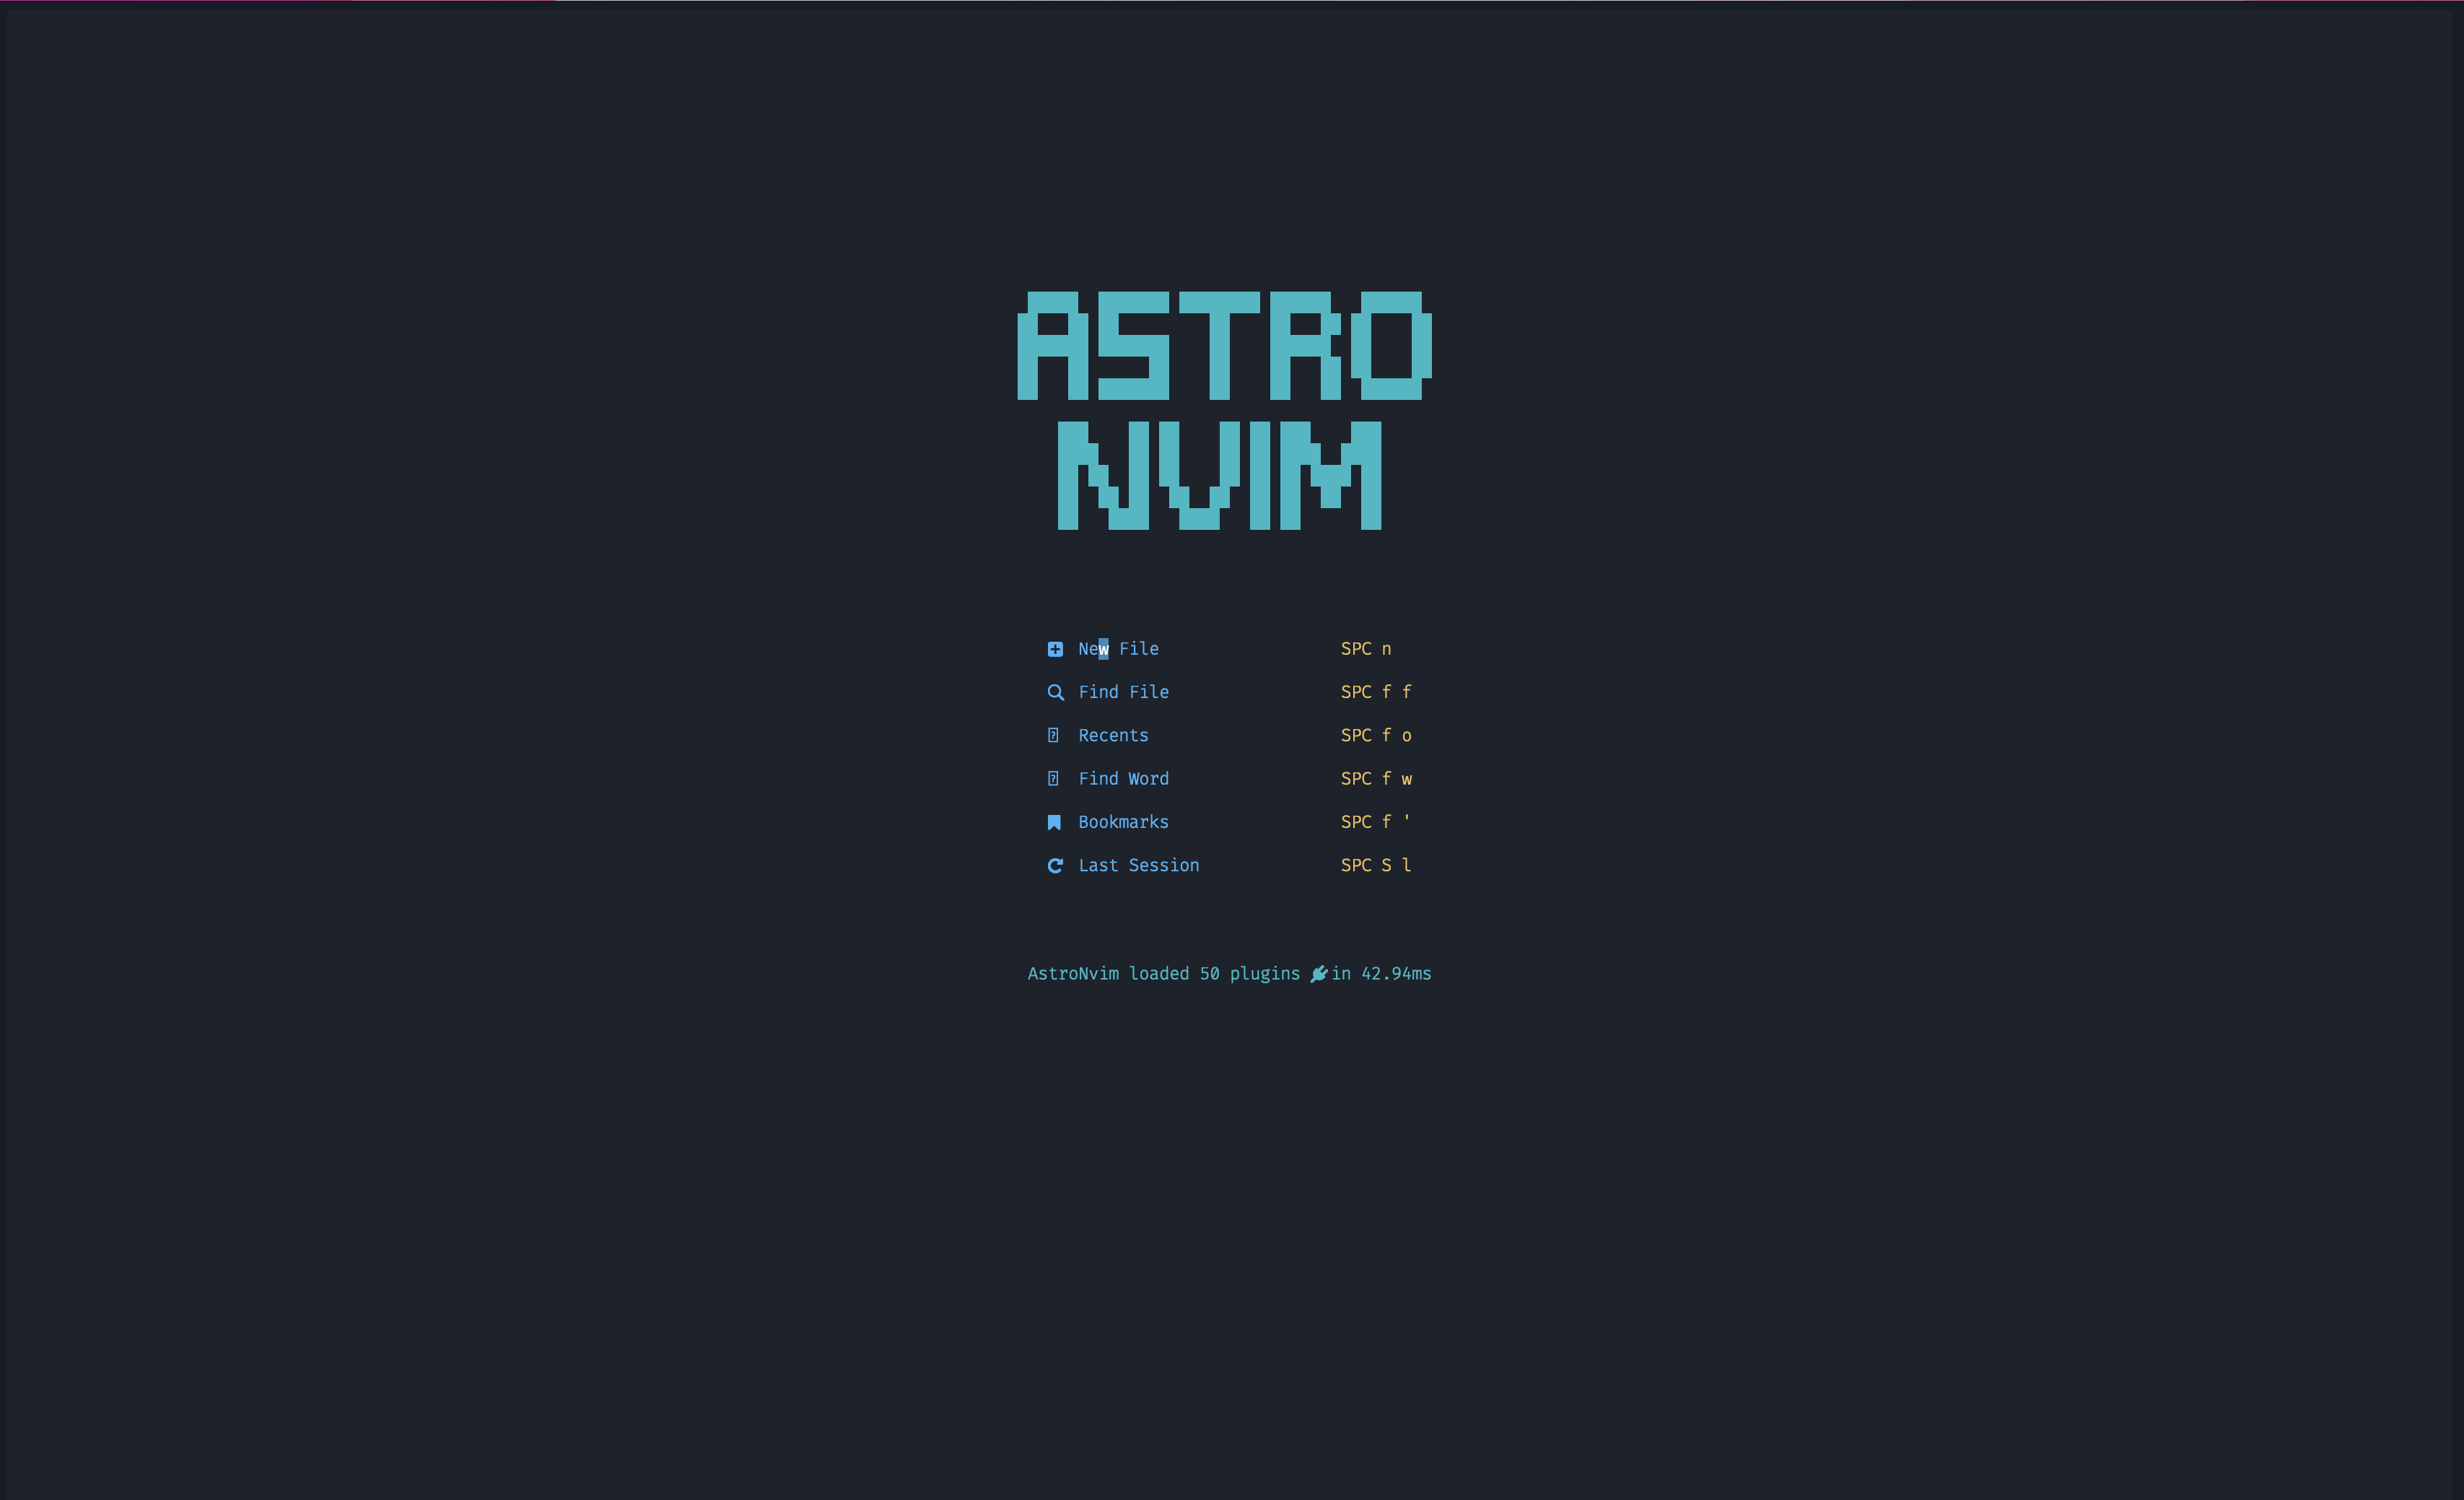
Once these steps are completed, AstroNvim will start.
Usage
Most operations in AstroNvim start with the <space> key.
When you press <space>, the operation suggestions are displayed like this.

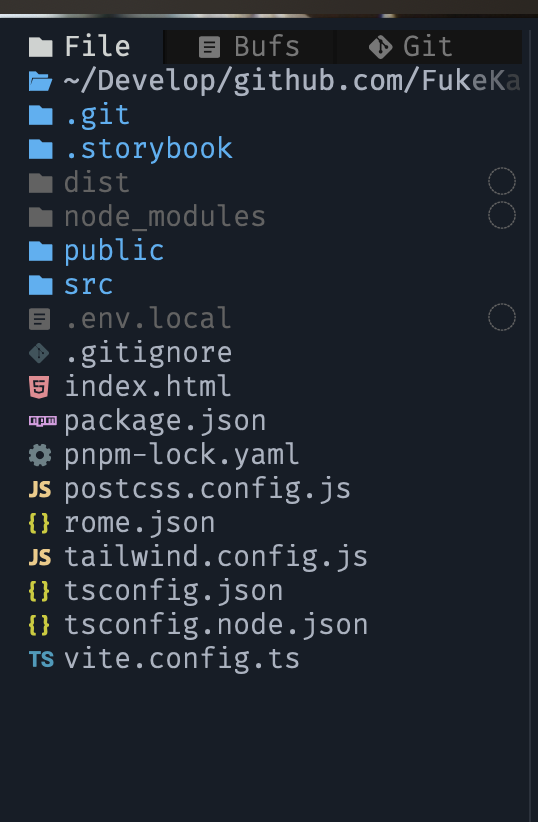
For example, e is for Toggle Explorer, which opens the side menu and allows you to interact with the file tree.
This is powered by a plugin called NeoTree.
Additionally, you can search for files with <space>ff (equivalent to Cmd + P in VSCode) or search for words with <space>fw.
This is powered by Telescope, a plugin that provides finder functionality.

If you're unsure of what to do, try pressing the <space> key and browsing through the list.
Customizing Your Own AstroNvim
Let me introduce how to customize AstroNvim.
Create your own configuration file by forking the repository from "Create a new Repository" at https://github.com/AstroNvim/user_example.
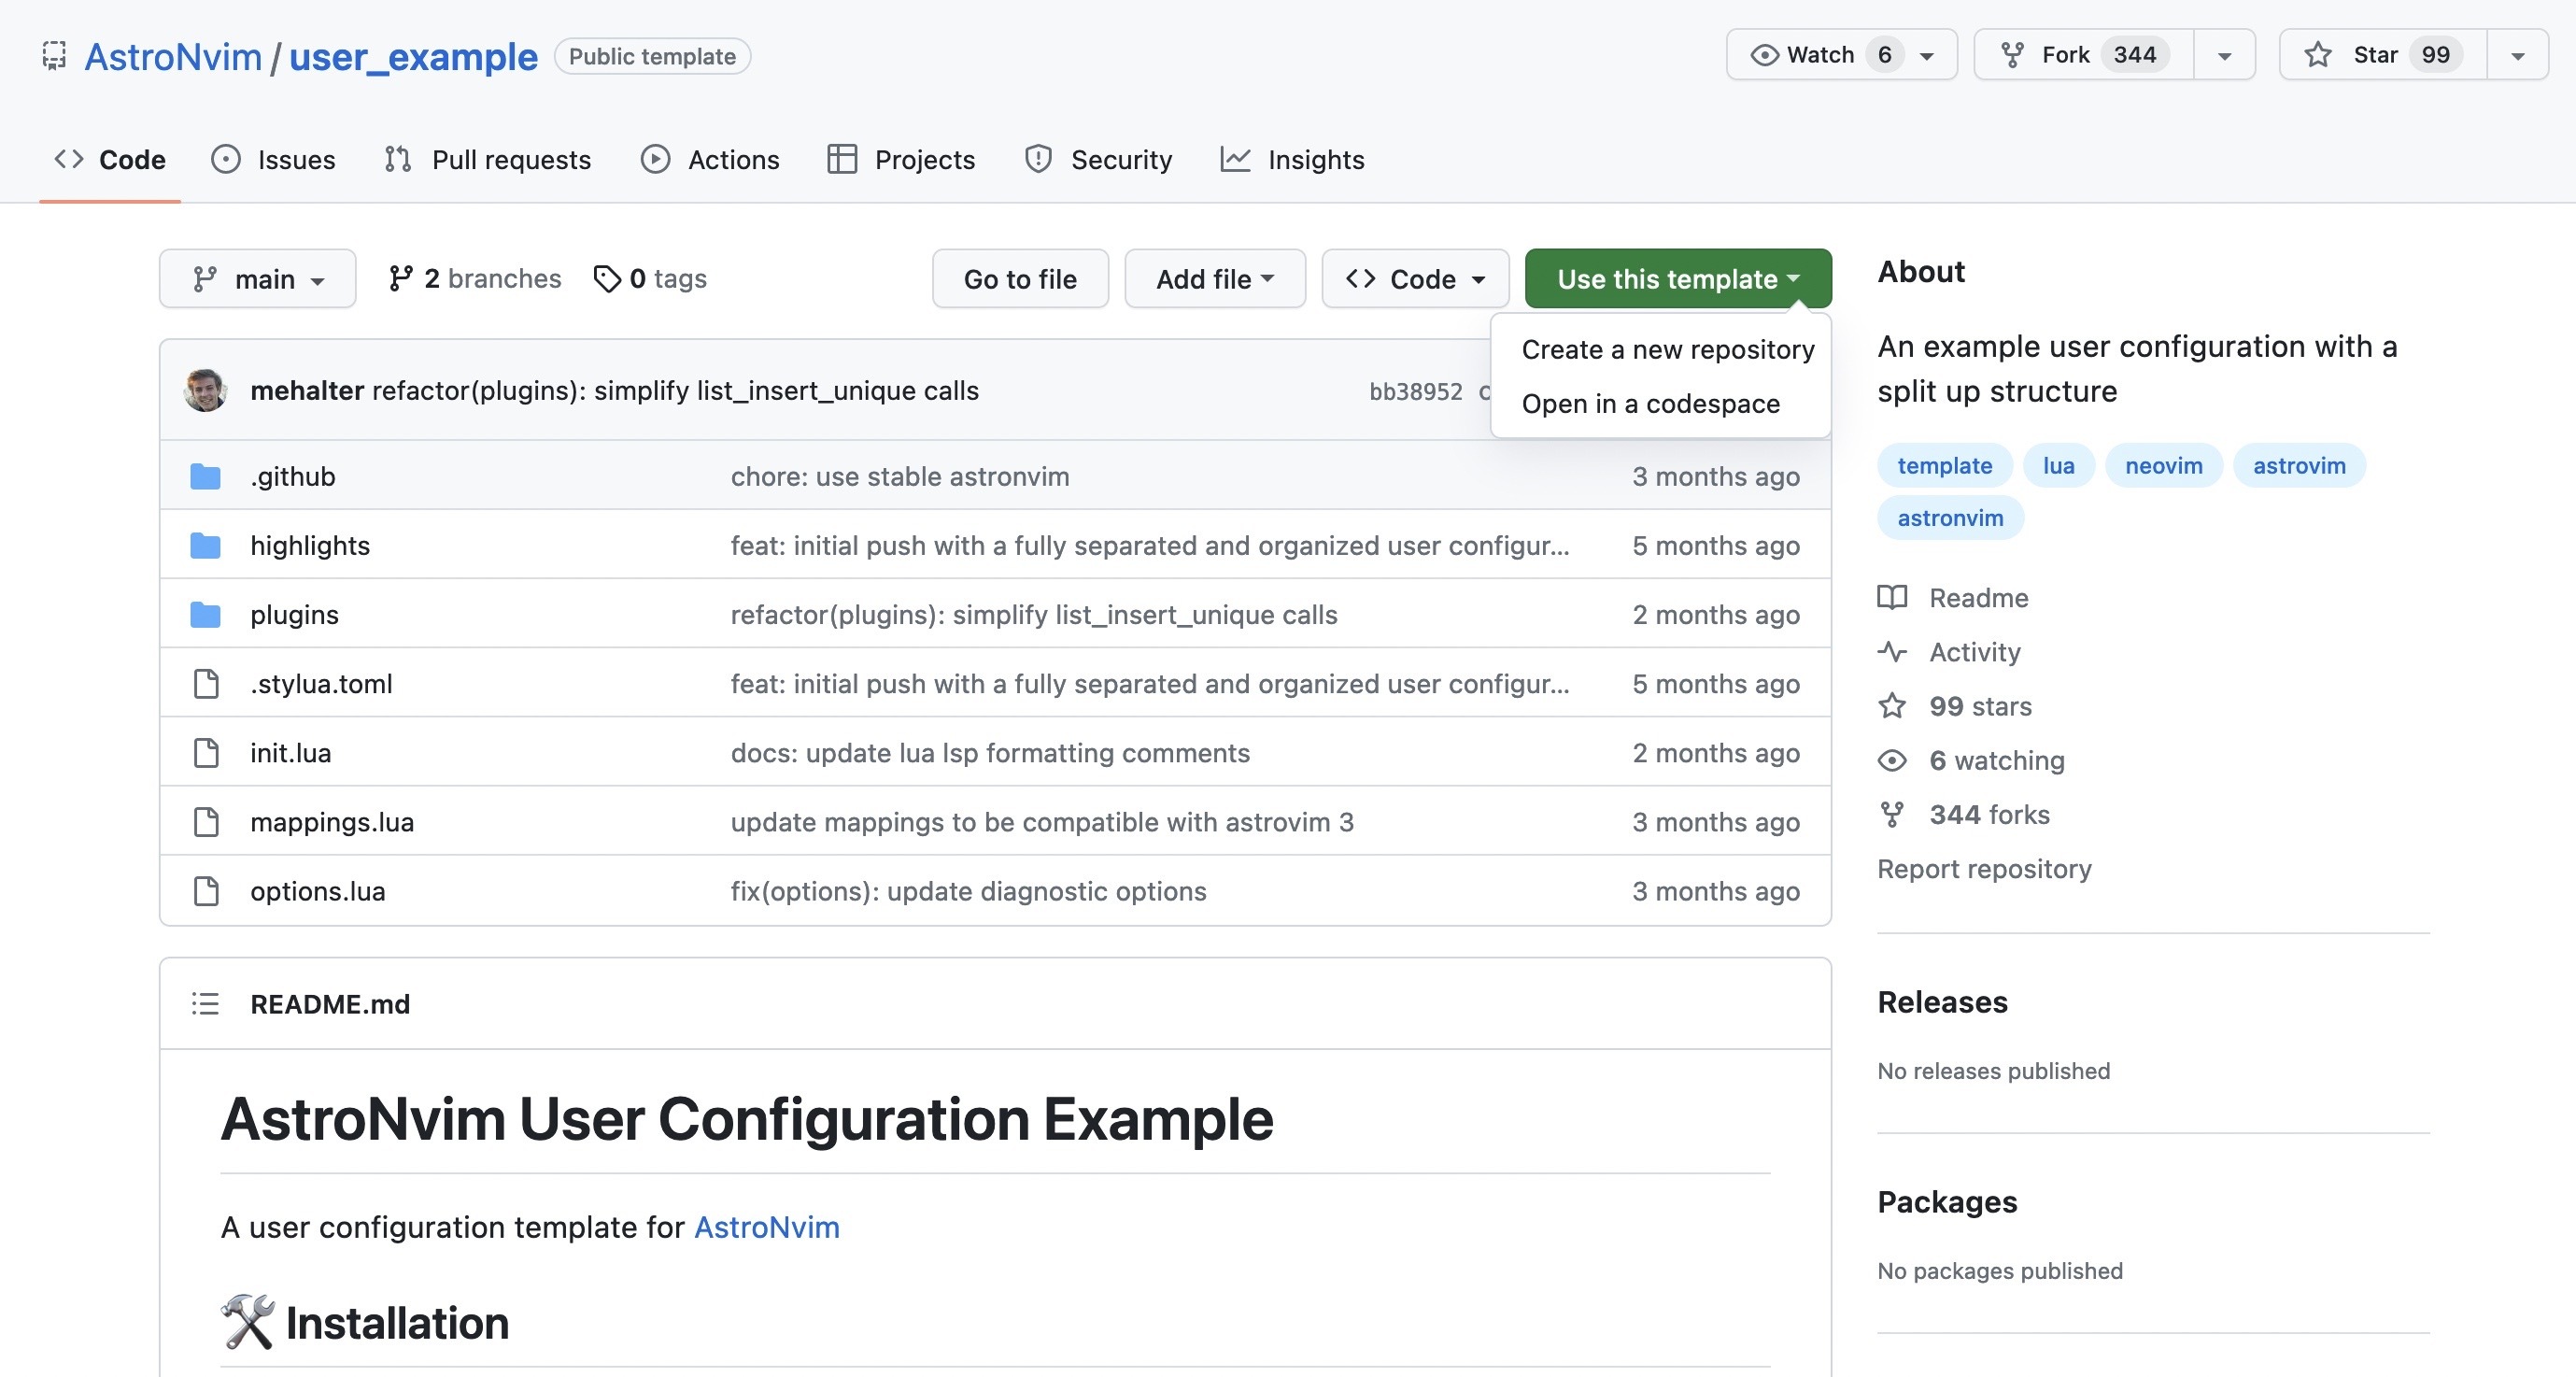
After forking, clone the repository to .config/nvim/lua/user.
git clone https://github.com/<your_user>/<your_repository> ~/.config/nvim/lua/user
Customizations are primarily made within the plugins folder.
Here are some recommended customization examples.
LSP
To display completion candidates for each language, you need to set up an LSP.
AstroNvim comes with a plugin called mason-lsp-config.
mason-lsp-config is a plugin for managing language servers, linters, and formatters in a unified way.
You can check the installed LSPs with :Mason.
For example, you can install the TypeScript LSP by running :MasonInstall typescript-language-server.
You can also enable automatic installation by specifying them in the plugins/mason.lua file in advance.
  {
    "williamboman/mason-lspconfig.nvim",
    opts = {
      ensure_installed = { "lua_ls", "tsserver", "jsonlsp", "yaml-language-server", "tailwindcss" },
    },
  },
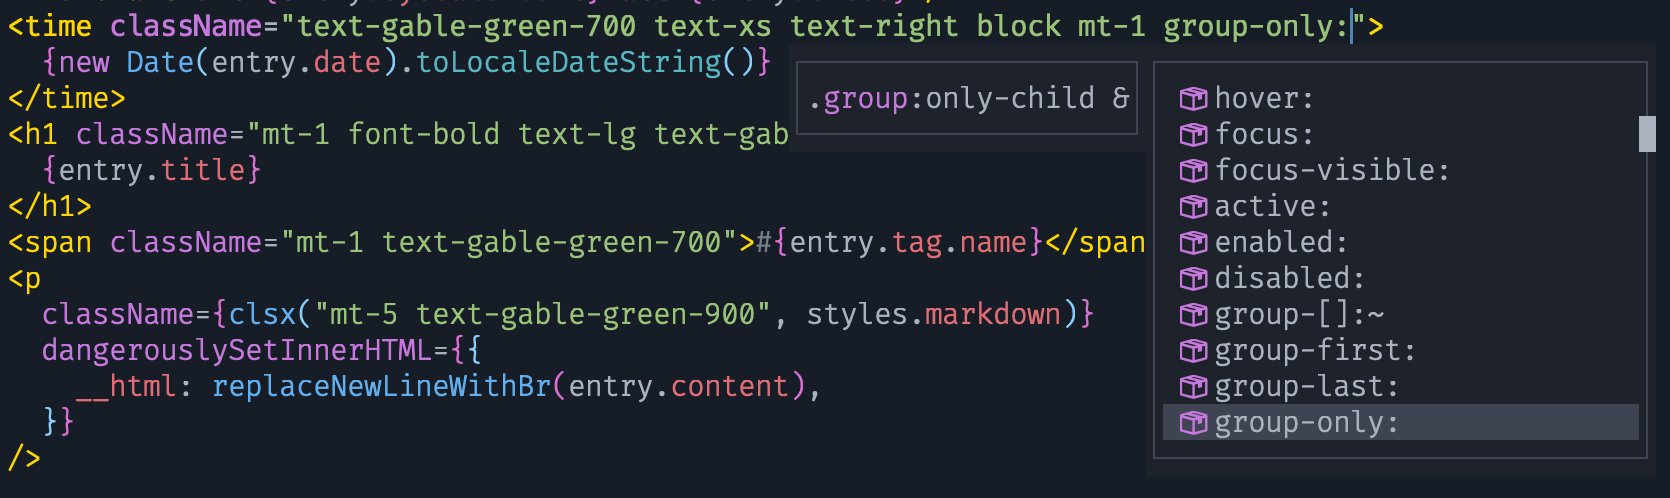
Example of tailwindcss LSP in action:
Git Operations
I use NeoGit for Git operations.
Since NeoGit is not included in AstroNvim by default, you need to add the plugin yourself.
You can install the plugin by adding the following to plugins/user.lua:
  {
    "TimUntersberger/neogit",
    version = "*", -- Use for stability; omit to use `main` branch for the latest features
    event = "VeryLazy",
    dependencies = {
      "sindrets/diffview.nvim",
    },
    config = function()
      require("neogit").setup {
        integrations = {
          diffview = true,
        },
      }
    end,
  },

Daily Workflow with AstroNvim
I'll show you how I usually work with a GIF.

Troubleshooting
When you are a Neovim beginner, you may encounter difficulties with writing configuration files or installing plugins.
Since there are few articles on AstroNvim, I often rely on the official documentation.
I also frequently refer to other people's configuration files using GitHub Copilot suggestions and the grep.app code search service.
I'll share my configuration file here for your reference.
Conclusion
I've explained how to get started with Neovim using AstroNvim.
Create your own personalized editor and enjoy the best Neovim life!
Discussion