Flutter/Dartメモ2
FlutterのBuildContextについて
親ウィジェットの情報が分かったほうが便利な場合がある
- 親の状態によって自分の表示を変更
- 親が持っている自分のサイズ情報を取得するなど
BuildContextは親ウィジェットに対応するelement
-> elementって?
ウィジェットツリーの特定の位置にあるインスタンス化したウィジェットのこと。
親の親というように祖先をたどっていくことができる。
※ただし、直系のみ
参考
FLutter Iconsでマイナス
Icons.removeで出せる
SliderTheme
SliderThemeを使ってカラーを設定できる
これでデザイン部分とロジックを分離できている
SliderTheme(
  data: SliderTheme.of(context).copyWith(
    inactiveTrackColor: Color(0xFF8D8E98),
    activeTrackColor: Colors.white,
    thumbColor: Color(0xFFEB1555),
    overlayColor: Color(0x29EB1555),
    thumbShape: const RoundSliderThumbShape(
        enabledThumbRadius: 15
    ),
    overlayShape: const RoundSliderOverlayShape(
      overlayRadius: 30
    )
  ),
  child: Slider(
    value: height.toDouble(),
    min: 120,
    max: 220,
    onChanged: (double newValue) {
      setState(() {
        height = newValue.round();
      });
    },
  ),
)
Flutterでスライダーを実装する
Sliderウィジェットを使う
Slider(
  value: height.toDouble(),
  min: 120,
  max: 220,
  activeColor: Colors.white,
  inactiveColor: Color(0xFF8D8E98),
  onChanged: (double newValue) {
    setState(() {
      height = newValue.round();
    });
  },
)
-
setStateで値を変えないとスライダーが動かない
-
クラス変数を用意したらrestartするか、ページ遷移して戻ってこないと反映されない?
FlutterでCrossAxisAlignment.baselineを使うときにエラー
======== Exception caught by widgets library =======================================================
The following assertion was thrown building InputPage(dirty, state: _InputPageState#6f899):
textBaseline is required if you specify the crossAxisAlignment with CrossAxisAlignment.baseline
'package:flutter/src/widgets/basic.dart':
Failed assertion: line 4369 pos 15: 'crossAxisAlignment != CrossAxisAlignment.baseline || textBaseline != null'
textBaselineを設定する必要あり。
Row(
  mainAxisAlignment: MainAxisAlignment.center,
  crossAxisAlignment: CrossAxisAlignment.baseline,
  textBaseline: TextBaseline.alphabetic,
疑問点:
- textBaselineとは?
- alphabeticとideographicの違いは?
ファーストクラスオブジェクトとしての関数
関数を引数に取れることで柔軟に処理を変えられる
void main() {
  int result = calculator(5, 8, multiply);
  print(result);

  int result2 = calculator(3, 2, add);
  print(result2);
}

int calculator(int n1, int n2, Function calculation)  {
  return calculation(n1, n2);
}

int add(int n1, int n2) {
  return n1 + n2;
}

int multiply(int n1, int n2){
  return n1 * n2;
}
ジェスチャーを検出する
child: GestureDetector(
  onTap: () {
    setState(() {
      updateColor(Gender.male);
      print(maleCardColor);
    });
  },
  child: ReusableCard(
    color: maleCardColor,
    cardChild: IconContent(
      icon: FontAwesomeIcons.mars,
      name: 'MALE',
    )
  ),
),
finalとconstの違い
final vs const
- constはコンパイル時に値が決まり、それ以降値を再代入することができない
- アプリ内で共通で使いまわしたい値で、値を変える必要がないもの
- テキストのスタイル、カラーとか?
- finalはruntime時に値が決まり、それ以降値を再代入することができない
- コンパイル後なので、アプリを動かしているときに値が決まり、その後その値が変更されたくないとき
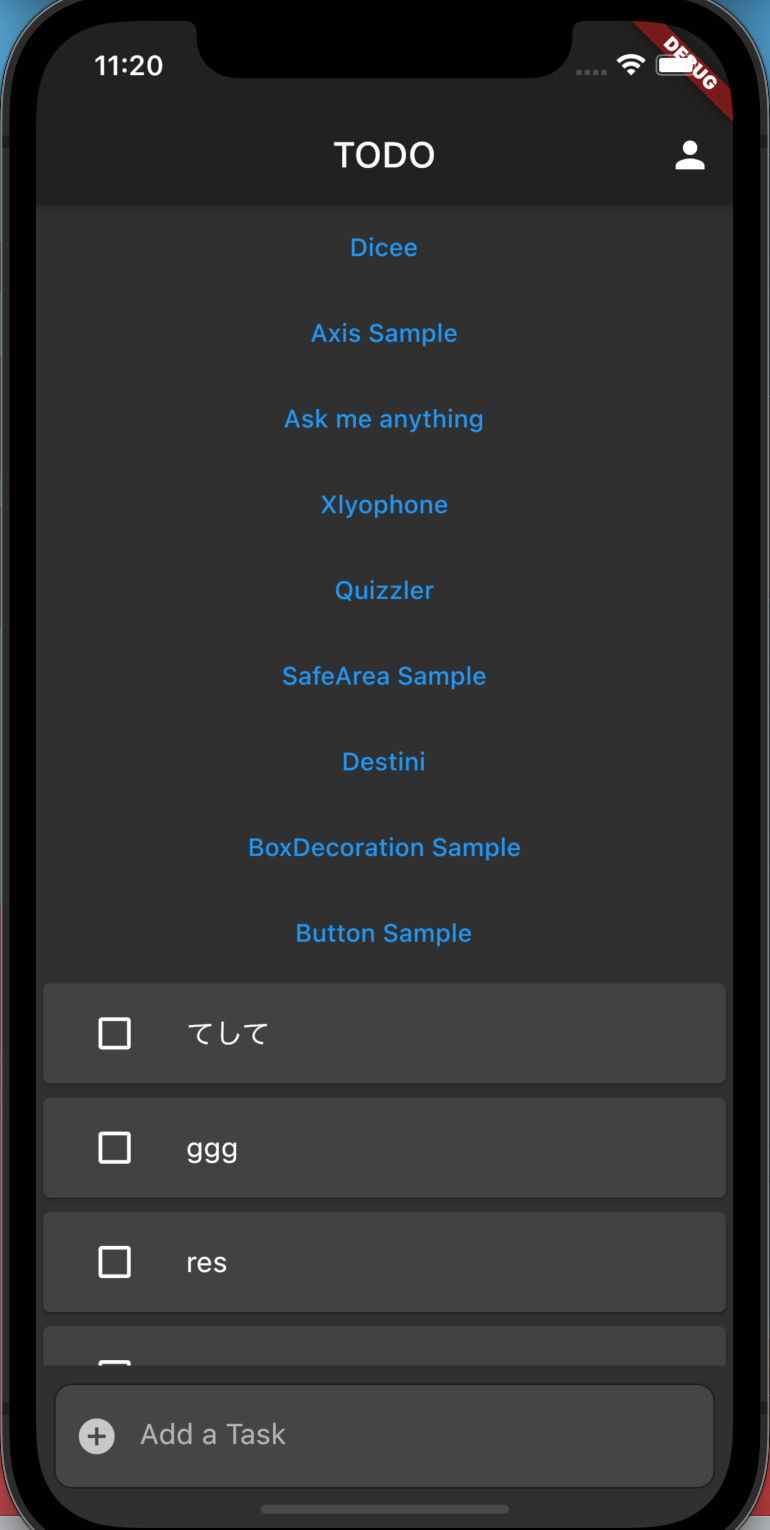
Themesの使い方
背景色や文字色などアプリ全体で使用するカラーについて設定できる。
ダークモード
class MyApp extends StatelessWidget {
Widget build(BuildContext context) {
return MaterialApp(
theme: ThemeData.dark(),
title: 'TODO',
home: MainPage(),
);
}
}
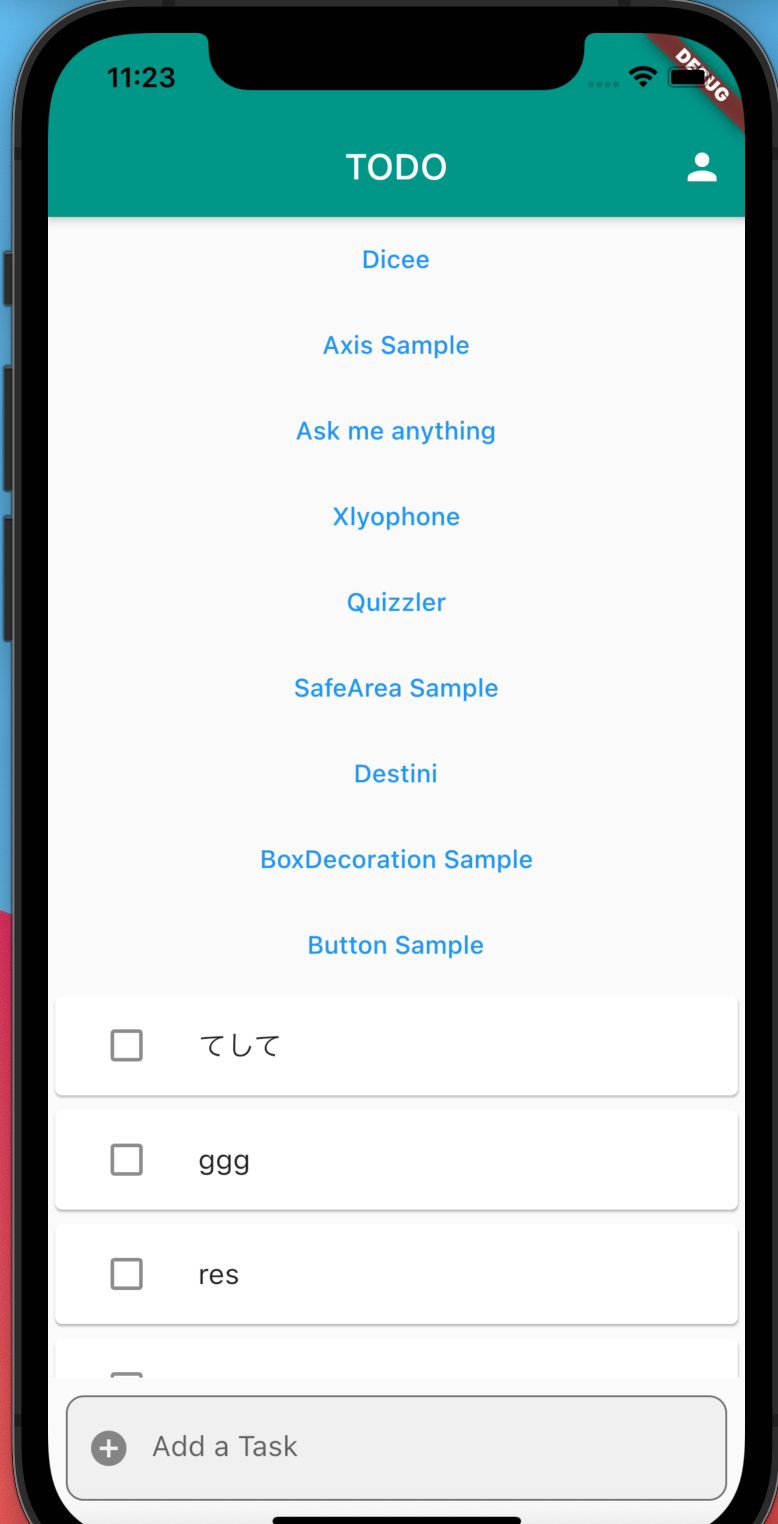
カラーを指定する
primaryやaccentを指定する
※なお、accentColorはdeprecatedの模様。
class MyApp extends StatelessWidget {
Widget build(BuildContext context) {
return MaterialApp(
theme: ThemeData(
primaryColor: Colors.teal,
accentColor: Colors.tealAccent,
),
title: 'TODO',
home: MainPage(),
);
}
}
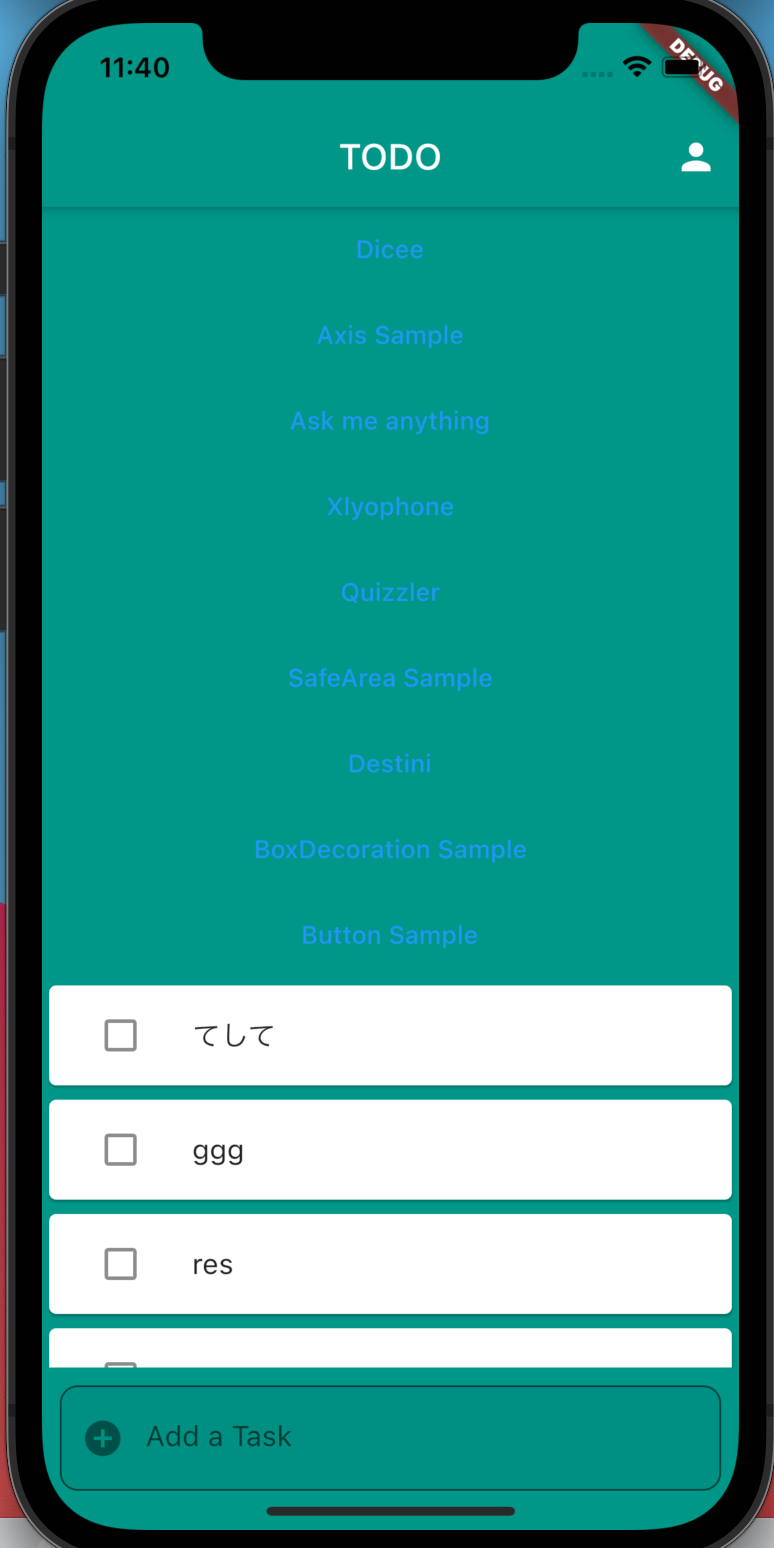
背景の色を変える場合はscaffoldBackgroundColorに設定する
-
backgroundColorはどこに影響するのか?
class MyApp extends StatelessWidget {
Widget build(BuildContext context) {
return MaterialApp(
theme: ThemeData(
primaryColor: Colors.teal,
scaffoldBackgroundColor: Colors.teal,
),
title: 'TODO',
home: MainPage(),
);
}
}
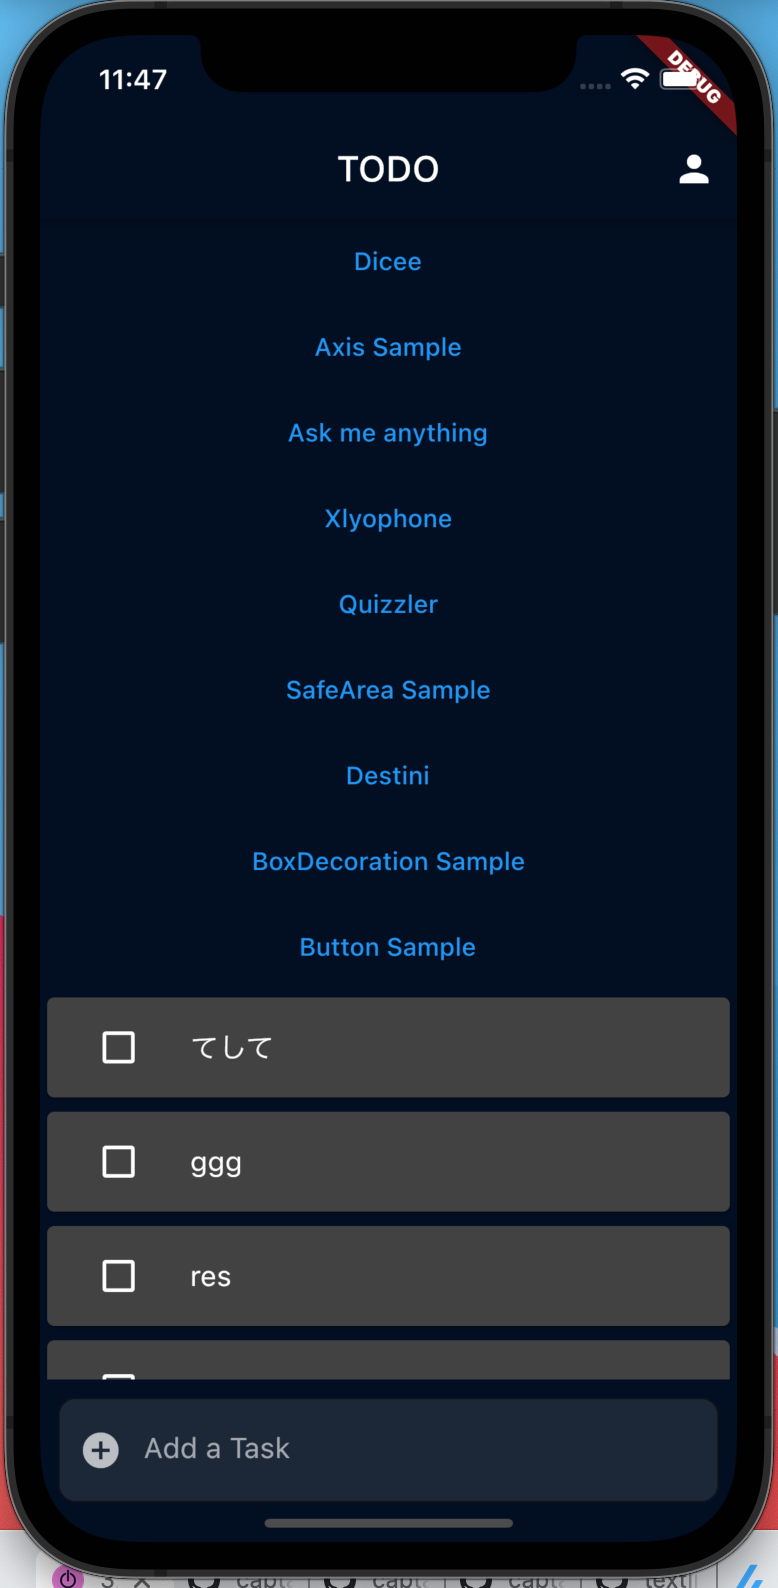
ダークモードをベースに一部を上書きする
class MyApp extends StatelessWidget {
Widget build(BuildContext context) {
return MaterialApp(
theme: ThemeData.dark().copyWith(
primaryColor: Color(0xFF020E21),
scaffoldBackgroundColor: Color(0xFF020E21),
),
title: 'TODO',
home: MainPage(),
);
}
}
ImageProviderとImageStreamについて
-
Image.assetやImage.network等のstaticファクトリーはImageStreamを返す -
NetworkiImageやAssetImageはImageProviderを返す
参考
Null Safetyについて
Non-nullable typesにはnullを代入できない
void main() {
  int a;
  a = null; // Null can't be assigined
  print('a is $a.');
}
Nullable types
-
?をつける
void main() {
  int? a;
  a = null;
  print('a is $a.'); // a is null
}
Nullable type parameters for generics
void main() {
  List<String> aListOfStrings = ['one', 'two', 'three'];
  List<String>? aNullableListOfStrings;
  List<String?> aListOfNullableStrings = ['one', null, 'three'];

  print('aListOfStrings is $aListOfStrings.');
  print('aNullableListOfStrings is $aNullableListOfStrings.');
  print('aListOfNullableStrings is $aListOfNullableStrings.');
}
The null assertion operator (!)
- nullable typeがnullでないことを表現したいときは
!を使う
int? couldReturnNullButDoesnt() => -3;

void main() {
  int? couldBeNullButIsnt = 1;
  List<int?> listThatCouldHoldNulls = [2, null, 4];

  int a = couldBeNullButIsnt;
  int b = listThatCouldHoldNulls.first!; // first item in the list
  int c = couldReturnNullButDoesnt()!.abs(); // absolute value

  print('a is $a.');
  print('b is $b.');
  print('c is $c.');
}
Type promotion
-
Nullになる可能性がある変数でも、nullにならないのであれば、non-nullableな変数として扱う
-
Definite assignment
Dartでは、変数がどこで割り当てられ読み込まれたかを追跡することができ、コードが読み込もうとする前にのnon-nullableな変数に値が代入されているかを検証することができる。これをdefinite assignmentと呼ぶ
void main() {
  String text;

// 以下のif文をコメントアウトすると、エラーになる
  if (DateTime.now().hour < 12) {
   text = "It's morning! Let's make aloo paratha!";
  } else {
   text = "It's afternoon! Let's make biryani!";
  }

  print(text);
  print(text.length);
}
lateキーワード
クラス変数やトップレベル変数?はnon-nullableであるべきだが、値をすぐには代入できない場合がある。
そういうときにはlateを使う。lateを使うことで、
- あとで代入することを宣言できる。non-nullableな型で代入してなくてもエラーにならない
- 代入されずに値が使用されると
LateInitializationErrorを投げる -
lateはfinalと一緒に使うこともできる
class Meal {
  late String _description;

  set description(String desc) {
   _description = 'Meal description: $desc';
  }

  String get description => _description;
}

void main() {
  final myMeal = Meal();
  myMeal.description = 'Feijoada!';
  print(myMeal.description);
}
finalと使う
class Team {
  late final Coach coach;
}

class Coach {
  late final Team team;
}

void main() {
  final myTeam = Team();
  final myCoach = Coach();
  myTeam.coach = myCoach;
  myCoach.team = myTeam;

  print('All done!');
}
lazy initialization
オブジェクトを生成するとき、lateをつけているとイニシャライザでインスタンスメソッドにアクセスできる
-> という理解であってる?
-> 要するに使用するときに初めて初期化される?
class CachedValueProvider {
  late final _cache = _computeValue();
  int get value => _cache;
  int _computeValue() {
  print('In _computeValue...');
  return 3;
}
}

void main() {
  print('Calling constructor...');
  var provider = CachedValueProvider();
  print('Getting value...');
  print('The value is ${provider.value}!');
}
参考
Stateful Widget Lifecycle
Stateful Widgetは画面遷移などで不要になると破棄される。
void initState(){}
Widget buid(BuildContext context){
    return null;
}

void deactivate() {}
Dartで例外ハンドリング
void main() {
  String str = 'abc';
  try{
    double test = double.parse(str);
    print(test + 5);
  } catch (e) {
    print(e);
  }
}
Null aware operator
myMarginAsDoubleがnullだったら30をデフォルト値として使う
myMarginAsDouble ?? 30.0
Widget build(BuildContext context) {
String myMargin = 'abc';
double? myMarginAsDouble;
try {
myMarginAsDouble = double.parse(myMargin);
} catch (e) {
print(e);
}
return Scaffold(
body: Container(
margin: EdgeInsets.all(myMarginAsDouble ?? 30.0),
color: Colors.red,
),
);
}
async/await
Dartでは非同期処理にasync/awaitを使う。
自分で非同期処理を行う関数を作成する場合、戻り値がvoidでもFuture<void>とする必要がある。
async/awaitは戻り値としてFutureを返すため
import 'package:geolocator/geolocator.dart';

class Location {
  late double latitude;
  late double longitude;

  Future<void> getCurrentlocation() async {
    try {
      final position = await Geolocator.getCurrentPosition(
          desiredAccuracy: LocationAccuracy.low);

      latitude = position.latitude;
      longitude = position.longitude;
    } catch (e) {
      print(e);
    }
  }
}
Web APIを使う
httpパッケージを使う
  void getData() async {
    var response = await get(Uri.parse(
        "https://api.openweathermap.org/data/2.5/weather?lat=$latitude&lon=$longitude&appid=$appKey"));

    if (response.statusCode == 200) {
      dynamic decodeData = jsonDecode(response.body);
      print(decodeData['main']['temp']);
      print(decodeData['weather'][0]['id']);
      print(decodeData['name']);
    } else {
      print(response.statusCode);
    }
  }
library prefixを使ってimportしたライブラリに名前をつける
import 'package:http/http.dart' as http;
ローディングのアニメーションライブラリ
疑問メモ
-
dynamicを使わずにWeb APIから取得したJSONを扱うにはどうすればいいのか?
文字列リテラルでオブジェクトのプロパティにアクセスする
${hoge.fuga}のようにアクセスできる
    NetworkHelper networkHelper = NetworkHelper(
        "https://api.openweathermap.org/data/2.5/weather?lat=${location.latitude}&lon=${location.longitude}&appid=$appKey&units=metric");
Navigator.popで値を返す
-
Navigator.pop(context, 返したい値)とする -
Navigator.pushの戻り値として受け取ることができる - 戻り値の型を
MaterialPageRoute<T>に設定する必要がある -
Navigator.push側はasync/awaitを使う
push側
                    onPressed: () async {
                      final typedNmae = await Navigator.push(
                        context,
                        MaterialPageRoute<String>(
                          builder: (context) {
                            return CityScreen();
                          },
                        ),
                      );
                      print(typedNmae);
                    },
pop側
                onPressed: () {
                  Navigator.pop(context, cityName);
                },
Flutterで環境変数を使う
-
.envファイルを用意する -
pubspec.yamlのassetsに設定を追加
flutter:
  uses-material-design: true
  assets:
    - images/
    - assets/
    - .env
- mainで読み込む
Future<void> main() async {
  WidgetsFlutterBinding.ensureInitialized();
  await Firebase.initializeApp();
  await dotenv.load(fileName: '.env');
  runApp(MyApp());
}
- 環境変数を使いたい場所で以下のように取得する
final String? appKey = dotenv.env['APPKEY'];
プラットフォームごとで処理を分ける
dart:ioのPlatformを使う
import 'dart:io' show Platform;

  Widget getPicker() {
    if (Platform.isIOS) {
      return iOSPicker();
    } else {
      return androidDropdown();
    }
  }
showはライブラリから必要なクラスだけを使いたい場合に指定する
staticの使い方
void main() {
  print(Icosagon.numberOfSides);
  print(Circle.pi);
  Circle.workAOurCircumstances(22);
}

class Icosagon {
  static int numberOfSides = 4;
}

class Circle {
  static const double pi = 3.1415926;

  static void workAOurCircumstances(double radius) {
    double circumference = 2 * pi * radius;
    print(circumference);
  }
}
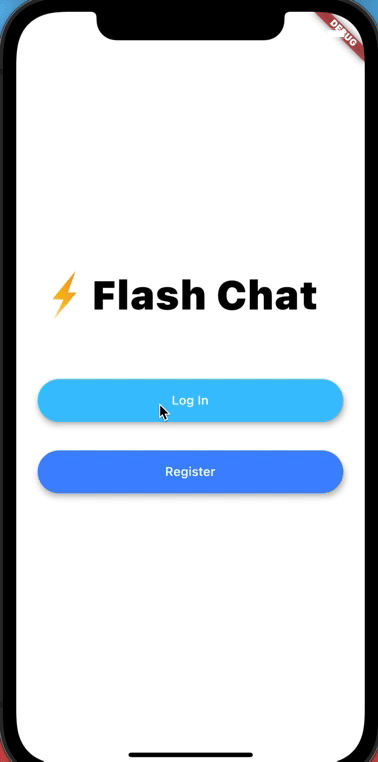
Flutter Animations
Hero Animations
- ページ間の遷移のアニメーションを指定する
遷移元
                Hero(
                  tag: 'logo',
                  child: Container(
                    child: Image.asset(
                      'images/logo.png',
                      height: 60,
                    ),
                  ),
                ),
遷移先
            Hero(
              tag: 'logo',
              child: Container(
                height: 200.0,
                child: Image.asset('images/logo.png'),
              ),
            ),
Animationの3要素
アニメーションをカスタムする場合は以下を使って設定する
- Ticker
- Animation Controller
- Animation Value
実装サンプル
AnimationControllerのもつvalue(0.0 to 1.0)を使って画面描画の%を表示
import 'package:flutter/material.dart';
import 'package:flutter_todo_app/flash_chat/login_screen.dart';
import 'package:flutter_todo_app/flash_chat/registration_screen.dart';
class WelcomeScreen extends StatefulWidget {
_WelcomeScreenState createState() => _WelcomeScreenState();
}
class _WelcomeScreenState extends State<WelcomeScreen>
with SingleTickerProviderStateMixin {
late AnimationController controller;
void initState() {
super.initState();
controller = AnimationController(
duration: Duration(seconds: 1), vsync: this, upperBound: 100.0);
controller.forward();
controller.addListener(() {
setState(() {});
print(controller.value);
});
}
Widget build(BuildContext context) {
return Scaffold(
backgroundColor: Colors.white,
body: Padding(
padding: EdgeInsets.symmetric(horizontal: 24.0),
child: Column(
mainAxisAlignment: MainAxisAlignment.center,
crossAxisAlignment: CrossAxisAlignment.stretch,
children: <Widget>[
Row(
children: <Widget>[
Hero(
tag: 'logo',
child: Container(
child: Image.asset(
'images/logo.png',
height: 60,
),
),
),
Text(
'${controller.value.toInt()}%',
style: TextStyle(
fontSize: 45.0,
fontWeight: FontWeight.w900,
color: Colors.black),
),
],
),
SizedBox(
height: 48.0,
),
Padding(
padding: EdgeInsets.symmetric(vertical: 16.0),
child: Material(
elevation: 5.0,
color: Colors.lightBlueAccent,
borderRadius: BorderRadius.circular(30.0),
child: MaterialButton(
onPressed: () {
Navigator.push<LoginScreen>(context, MaterialPageRoute(
builder: (context) {
return LoginScreen();
},
));
},
minWidth: 200.0,
height: 42.0,
child: Text(
'Log In',
),
),
),
),
Padding(
padding: EdgeInsets.symmetric(vertical: 16.0),
child: Material(
color: Colors.blueAccent,
borderRadius: BorderRadius.circular(30.0),
elevation: 5.0,
child: MaterialButton(
onPressed: () {
Navigator.push<RegistrationScreen>(
context,
MaterialPageRoute(
builder: (context) {
return RegistrationScreen();
},
),
);
},
minWidth: 200.0,
height: 42.0,
child: Text(
'Register',
),
),
),
),
],
),
),
);
}
}
Animationを逆で実行する
controller.reverse(from: 1.0)
Animationのステータスを確認する
AnimationのaddStatusListenerを使う
アニメーションが完了したら、逆再生して最初に戻ったらもう一度再生する。要するにループ。
    animation.addStatusListener((status) {
      if (status == AnimationStatus.completed) {
        controller.reverse(from: 1.0);
      } else if (status == AnimationStatus.dismissed) {
        controller.forward();
      }

      print(status);
    });
ColorTweenでバックグラウンドの色を変化させる
    animation =
        ColorTween(begin: Colors.red, end: Colors.blue).animate(controller);
backgroundColor: animation.value as Color,
Dart mixinについて
継承によってサブクラスで差分を書くのではなく以下のように振る舞いをクラスに追加できる
-
mixinでクラスのように定義 - クラスの宣言で
with句を使って上記で定義したmixiinを指定
void main() {
Animal fish = Fish();
fish.move();
Duck duck = Duck();
duck.swim();
duck.fly();
}
class Animal {
void move() {
print('changed position');
}
}
class Fish extends Animal {
void move() {
super.move();
print('by swiming');
}
}
mixin CanSwim {
void swim(){
print('changed posiotion by swimming');
}
}
mixin CanFly {
void fly(){
print('changed posiotion by flying');
}
}
class Duck extends Animal with CanSwim, CanFly{
}
アニメーションのパッケージ
-
テキストをタイピングしているように動かしたりできる
https://pub.dev/packages/animated_text_kit -
遷移時によくあるスピナーを実装できる
https://pub.dev/packages/modal_progress_hud_nsn
角丸にする
-
BoxDecorationとBorderRadius.only,Radius.circularを使う
            Expanded(
              child: Container(
                height: 300,
                decoration: BoxDecoration(
                  color: Colors.white,
                  borderRadius: BorderRadius.only(
                    topLeft: Radius.circular(20),
                    topRight: Radius.circular(20),
                  ),
                ),
              ),
            )
BottomSheet
-
showModalBottomSheet()を使う - 入力フィールドを持つ場合、キーボードの上に出す場合は以下のように
SingleChildScrollViewと組み合わせて使う
        onPressed: () {
          showModalBottomSheet<Widget?>(
            context: context,
            isScrollControlled: true,
            builder: (context) => SingleChildScrollView(
              child: Container(
                padding: EdgeInsets.only(
                    bottom: MediaQuery.of(context).viewInsets.bottom),
                child: AddTaskScreen(),
              ),
            ),
          );
        },
Stateについて
- Local State
- Global State
コールバックで子Widgetから親Widgetの状態を更新する
- 子でチェックボックスがクリックされたら、親から渡したコールバック関数を実行している
import 'package:flutter/material.dart';
class TaskTile extends StatefulWidget {
bool isChecked = false;
_TaskTileState createState() => _TaskTileState();
}
class _TaskTileState extends State<TaskTile> {
bool isChecked = false;
Widget build(BuildContext context) {
return ListTile(
title: Text(
'This is a task',
style: TextStyle(
color: Colors.black,
decoration: isChecked ? TextDecoration.lineThrough : null),
),
trailing: TaskCheckbox(isChecked, (bool? checkboxState) {
setState(() {
isChecked = checkboxState!;
});
}),
);
}
}
class TaskCheckbox extends StatelessWidget {
final bool checkBoxState;
final ValueChanged<bool?>? toggleCheckboxState;
TaskCheckbox(this.checkBoxState, this.toggleCheckboxState);
Widget build(BuildContext context) {
return Checkbox(
activeColor: Colors.lightBlueAccent,
value: checkBoxState,
onChanged: toggleCheckboxState,
);
}
}
Dartでコールバックが働く仕組み
Providerの使い方
- Providerの設定は
main.dartで行う。main.dartじゃないと同じルートを共有できないというエラーになる
import 'package:flutter/material.dart';
import 'package:provider/provider.dart';
class ProviderSample extends StatelessWidget {
Widget build(BuildContext context) {
return ChangeNotifierProvider<Data>(
create: (context) => Data(),
child: Scaffold(
appBar: AppBar(title: MyText()),
body: Level1(),
),
);
}
}
class Level1 extends StatelessWidget {
Widget build(BuildContext context) {
return Container(
child: Level2(),
);
}
}
class Level2 extends StatelessWidget {
Widget build(BuildContext context) {
return Column(
children: [
MyTextField(),
Container(
child: Level3(),
),
],
);
}
}
class Level3 extends StatelessWidget {
Widget build(BuildContext context) {
return Text(Provider.of<Data>(context).data);
}
}
class MyText extends StatelessWidget {
Widget build(BuildContext context) {
return Text(Provider.of<Data>(context).data);
}
}
class MyTextField extends StatelessWidget {
Widget build(BuildContext context) {
return TextField(
onChanged: (value) {
Provider.of<Data>(context, listen: false).changeString(value);
},
);
}
}
class Data extends ChangeNotifier {
String data = 'test';
void changeString(String newValue) {
data = newValue;
notifyListeners();
}
}
Providerで設定した値をConsumerで使う
import 'package:flutter/material.dart';
import 'package:flutter_todo_app/todoey/screens/tasks_screen.dart';
import 'package:flutter_todo_app/todoey/widgets/task_tile.dart';
import 'package:provider/provider.dart';
class TaskList extends StatefulWidget {
_TaskListState createState() => _TaskListState();
}
class _TaskListState extends State<TaskList> {
Widget build(BuildContext context) {
return Consumer<Tasks>(
builder: (context, tasks, child) {
return ListView.builder(
itemBuilder: (context, index) {
return TaskTile(
taskTitle: tasks.tasks[index].name,
isChecked: tasks.tasks[index].isDone,
checkboxCallback: (checkboxState) {
setState(() {
tasks.tasks[index].toggleDone();
});
});
},
itemCount: tasks.tasks.length,
);
},
);
}
}
要素も含めて変更できないListを作成する
-
UnmodifiableListViewを使う
  List<Task> _tasks = [
    Task(name: 'test1'),
    Task(name: 'test2'),
    Task(name: 'test3'),
  ];

  UnmodifiableListView<Task> get tasks {
    return UnmodifiableListView(_tasks);
  }
FloatingActionButtonを複数表示
三点リーダみたいなアイコンを使いたい
more_horizというらしい。