Closed16
Flutterはじめてみるメモ
Flutter開発のメリット
- ホットリロードで高速な開発
- ネイティブ(Swift, Kotlin)だとコードを反映するのに再ビルドする必要がある
- Widgetを使ったシンプルかつ表現力の高いUI構築
- Dartを使って開発。ネイティブコンパイラによってそれがiOS, Androidのコードに変換される
- クロスプラットフォーム
Widget
- FlutterではWidgetを使ってUIや状態管理を実装する
- Widgetはツリー状で構築する(Widget Tree)
WIdgetの種類
- プラットフォームごとでの区別
- Material
- Android向け
- Widgetの種類がCupertinoよりも豊富なのでこちらを使って開発することが多い
- Cupertino
- IOS向け
- Material
- 機能での区別
- 見た目のデザイン
- Scaffold
- Text
- etc...
- レイアウト(画面上には表示されない)・状態管理
- Center
- Column
- etc...
- 見た目のデザイン
Widgetの実装基本
- Widgetはそれぞれプロパティが用意されている
- 色を変える、大きさを調整する、Widgetを追加する等はプロパティに書く
- プロパティ・・・Widgetがどんなものかを表す情報
- どんなプロパティを持っていて、どんな振る舞いをするのかを理解することが重要
※
- Widget名 -> lower camel case
- プロパティ名 -> upper camel case
とりあえず公式のGet Startedを動かしてみたやつ
Scaffold
- アプリの基本的な画面レイアウトを構成してくれるやつ。
- プロパティ
- appBar
- body
- floatingActionButtonとか
Widget build(BuildContext context) {
    return Scaffold(
      appBar: AppBar(
        title: Text('Startup Name Generator'),
        actions: [
          IconButton(icon: Icon(Icons.list), onPressed: _pushSaved),
        ],
      ),
body: _buildSuggestions(),
);
}
AppBar
- アプリのタイトル部分
- プロパティ
- title
- actionsとか
return Scaffold(
appBar: AppBar(
title: Text('Startup Name Generator'),
actions: [
IconButton(icon: Icon(Icons.list), onPressed: _pushSaved),
],
),
Column
- 縦に複数のWidgetを並べたいときに使う
- プロパティ
- mainAxisAlignment
-
縦位置の調整-> 要素間の調整
-
- children
- mainAxisAlignment
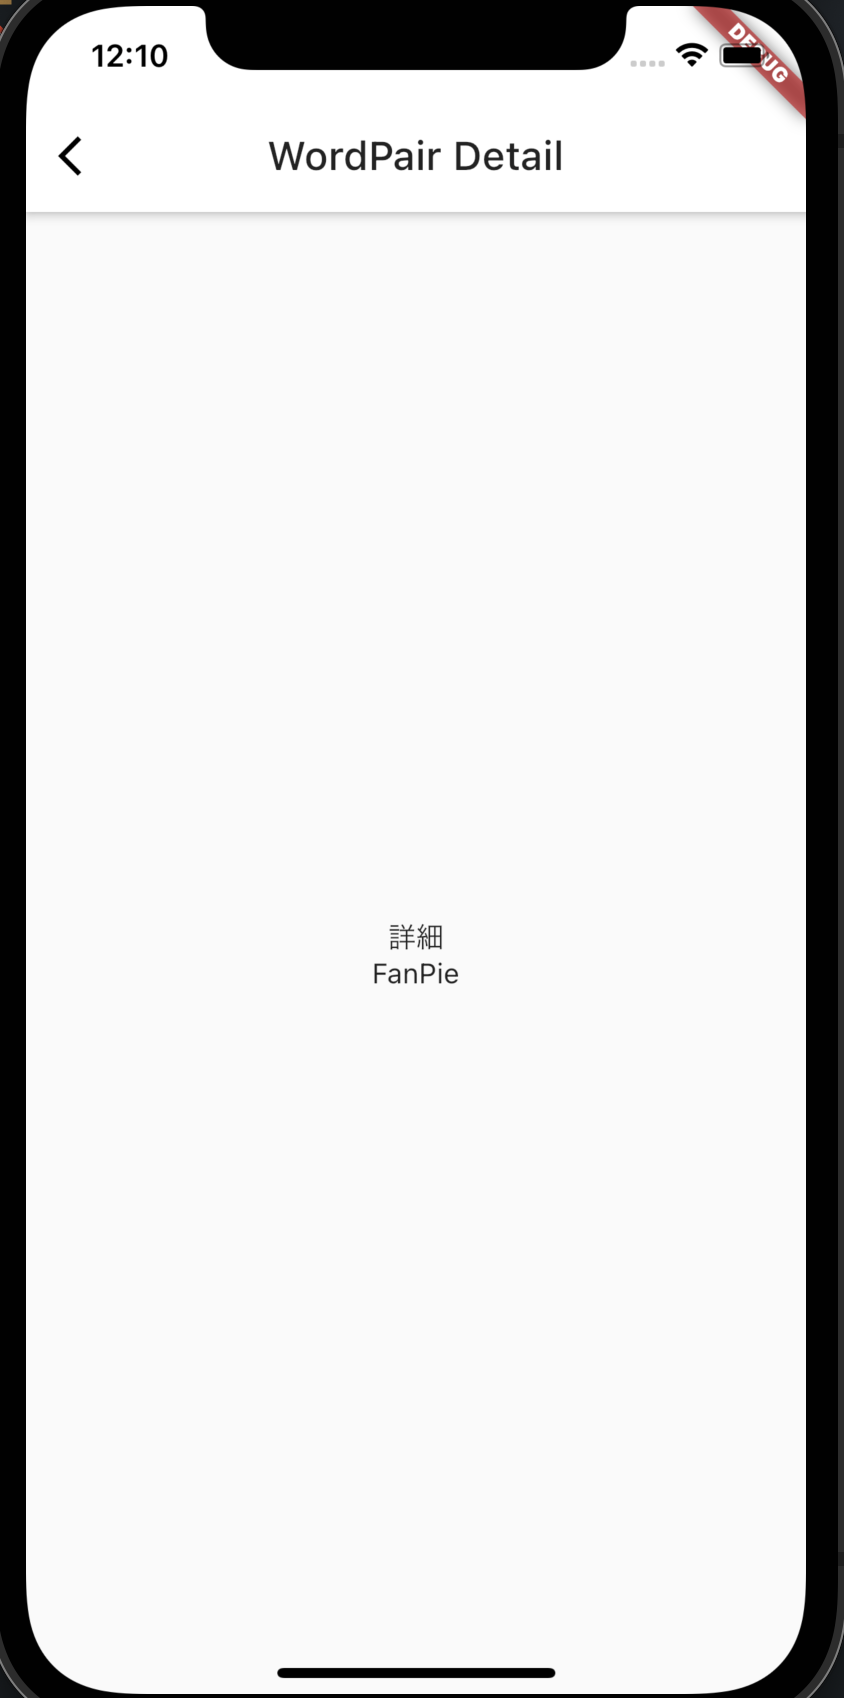
      body: Center(
        child: Container(
          child: Column(
            mainAxisAlignment: MainAxisAlignment.center,
            children: <Widget>[Text("詳細"), Text(wordPair)],
          ),
        ),
      ),
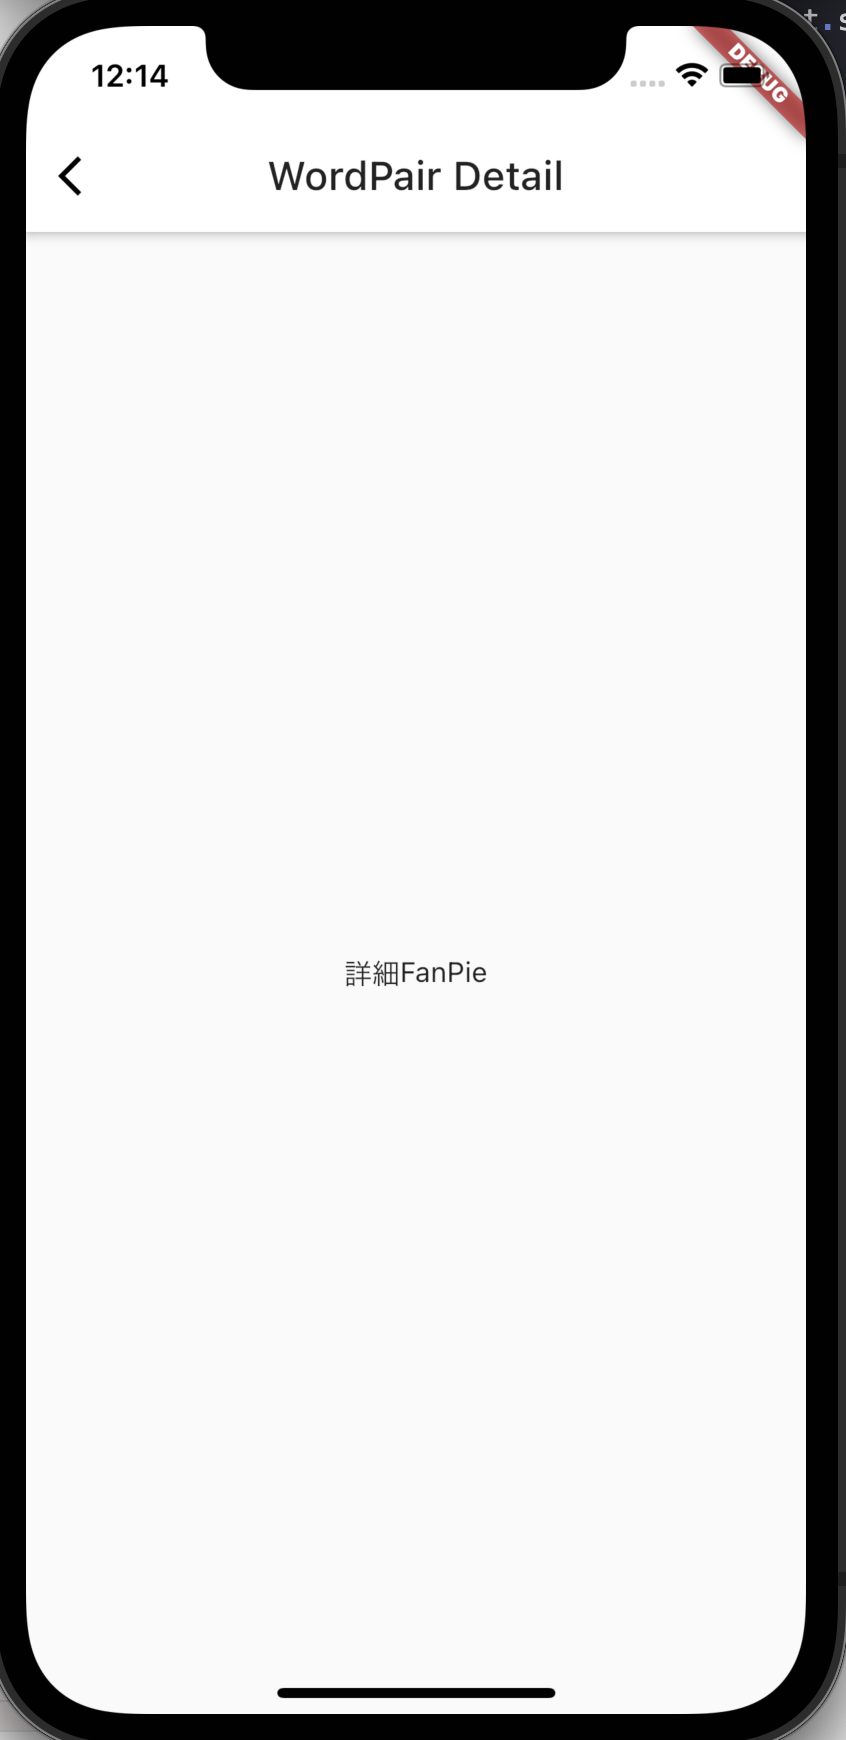
Row
- 横に複数のWidgetを並べたいときに使う
- プロパティ
- mainAxisAlignment
-
縦位置の調整-> 要素間の調整
-
- children
- mainAxisAlignment
      body: Center(
        child: Container(
          child: Row(
            mainAxisAlignment: MainAxisAlignment.center,
            children: <Widget>[Text("詳細"), Text(wordPair)],
          ),
        ),
      ),
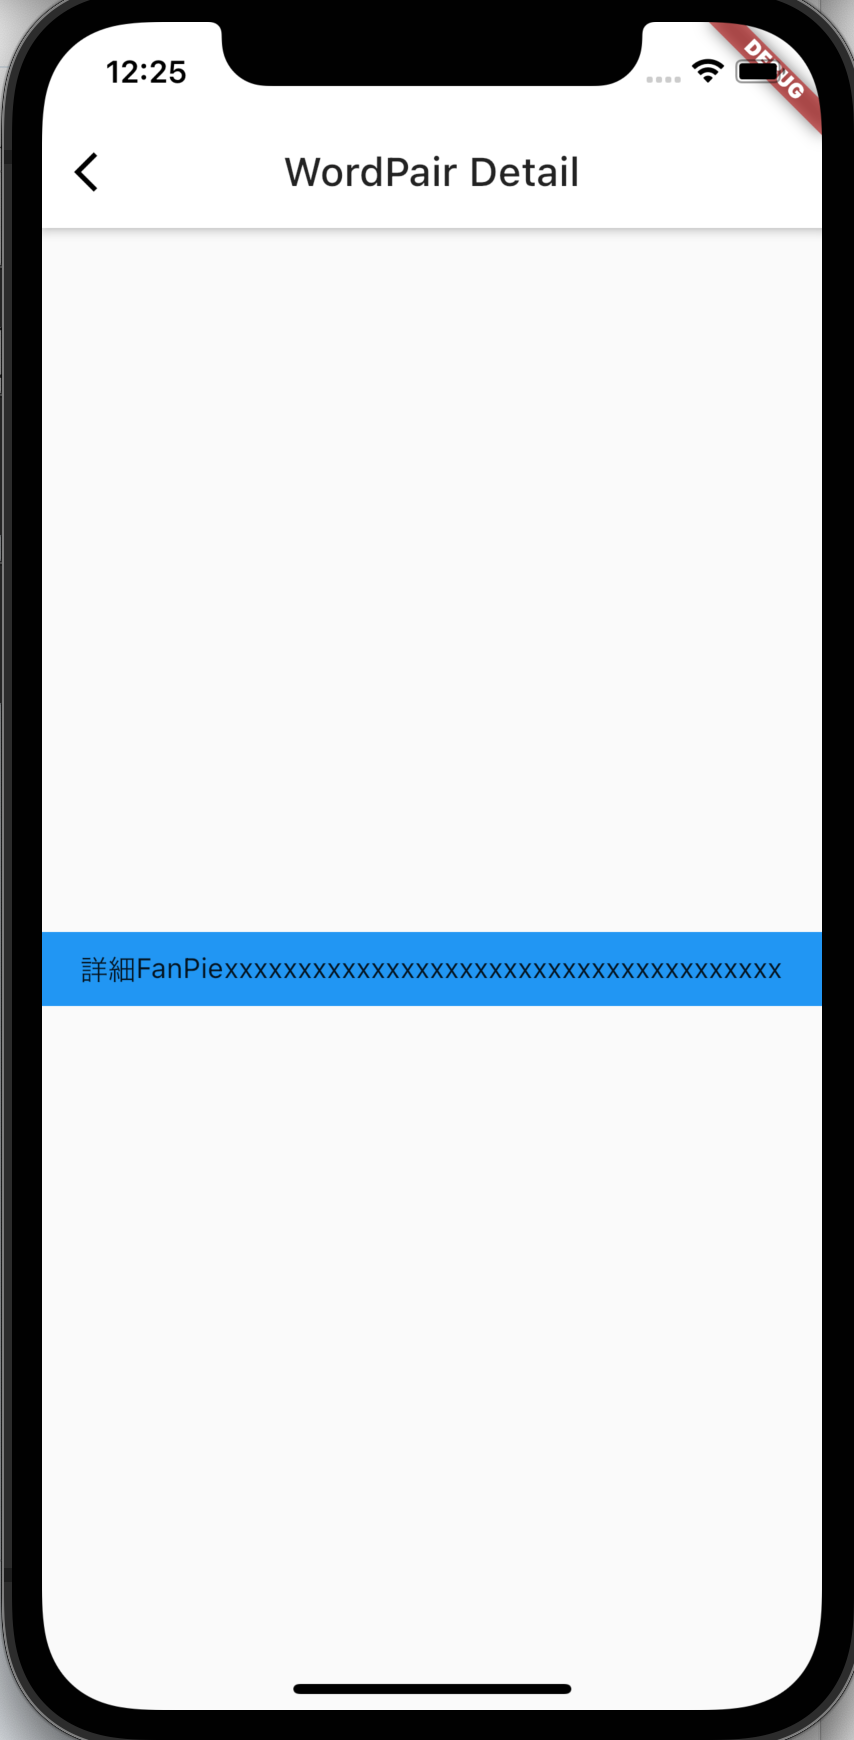
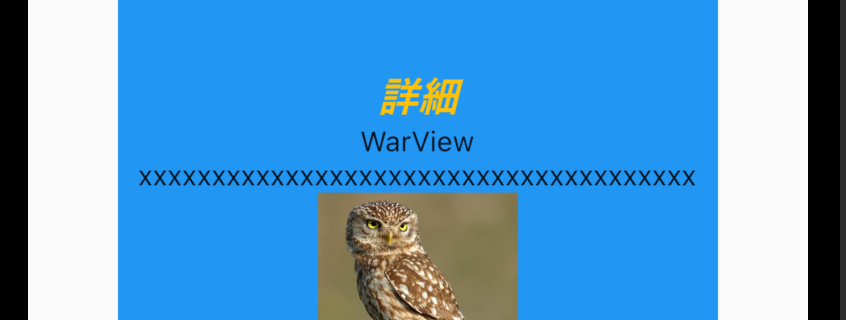
Padding
- Widgetのまわりに余白をつくる
- プロパティ
- padding
      body: Center(
        child: Container(
          color: Colors.blue,
          child: Padding(
            padding: const EdgeInsets.all(8.0),
            child: Row(
              mainAxisAlignment: MainAxisAlignment.center,
              children: <Widget>[
                Text("詳細"),
                Text(wordPair),
                Text("xxxxxxxxxxxxxxxxxxxxxxxxxxxxxxxxxxxxxx")
              ],
            ),
          ),
        ),
      ),
Container
- 子Wigdetをあれこれカスタマイズしやすくしてくれるやつ
- プロパティ
- color
- padding
- margin
- height
- widgthなど
画面遷移
- 画面遷移する
-
Navigator.push()を使う
-
onPressed: () {
  Navigator.push(
    context,
    MaterialPageRoute(builder: (context) => SecondRoute()),
  );
}
- 元の画面に戻る
-
Navigator.pop()を使う
-
onPressed: () {
  Navigator.pop(context);
}
AppBarにIconButtonがあると戻る(<)を自動でつけてくれるっぽい?
画面遷移で値を渡す
- PageRouteのところで遷移先のコンストラクタにわたす
            onTap: () {
              Navigator.push(
                  context,
                  MaterialPageRoute(
                      builder: (context) => WordDetailPage(pair.asPascalCase)));
            },
公式のcookbookだと違う方法が2つほど紹介されてる。どう使い分けるんだろなー
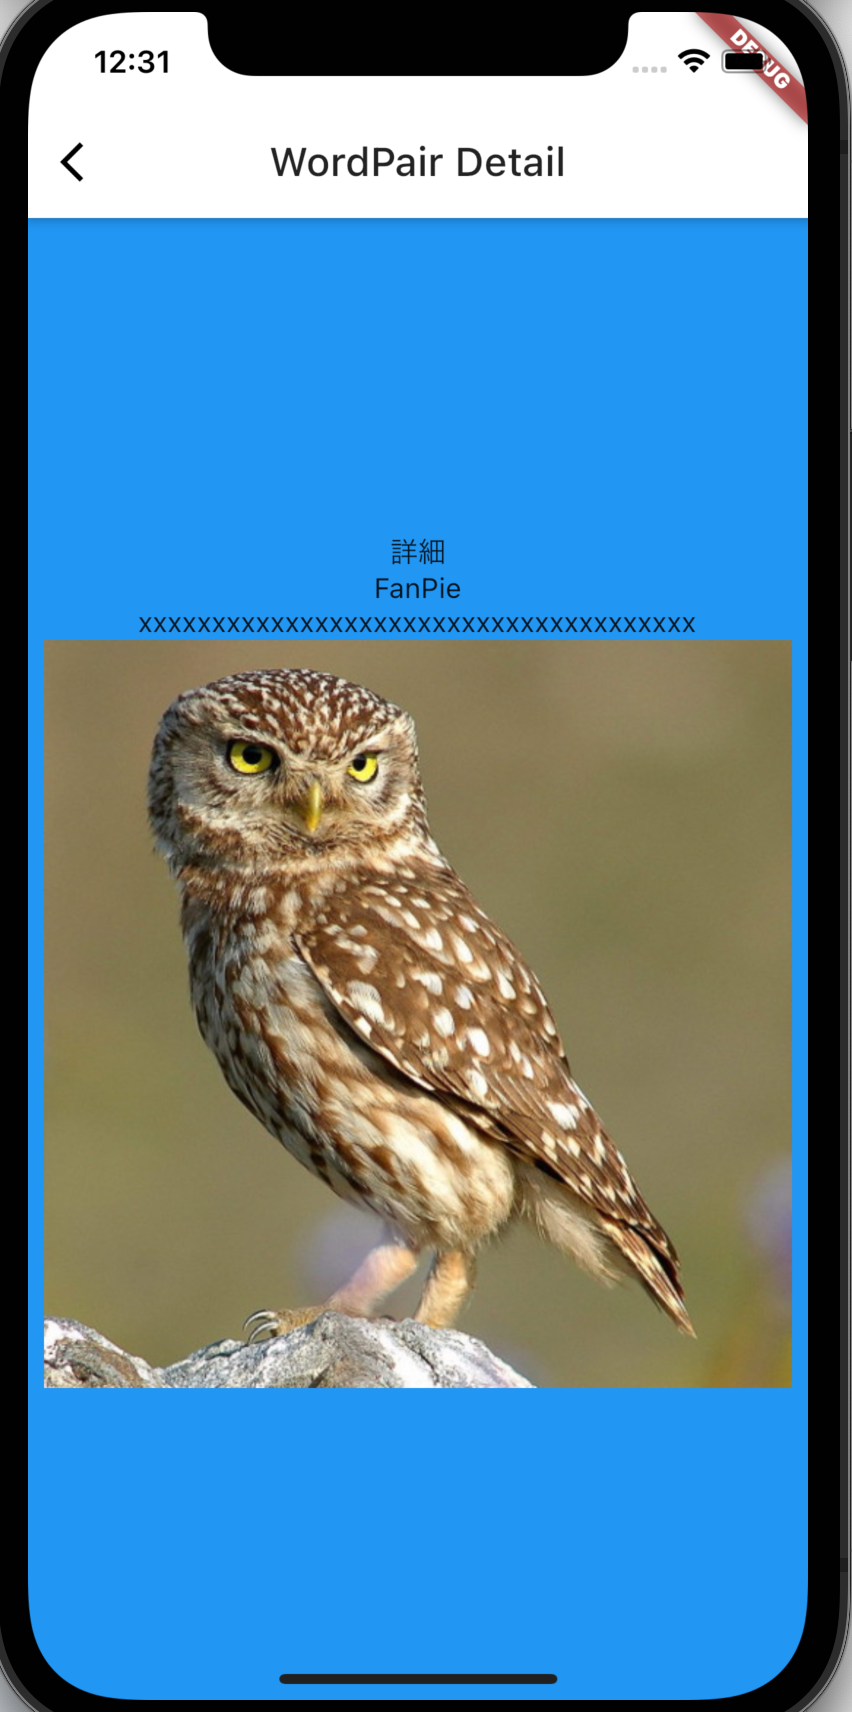
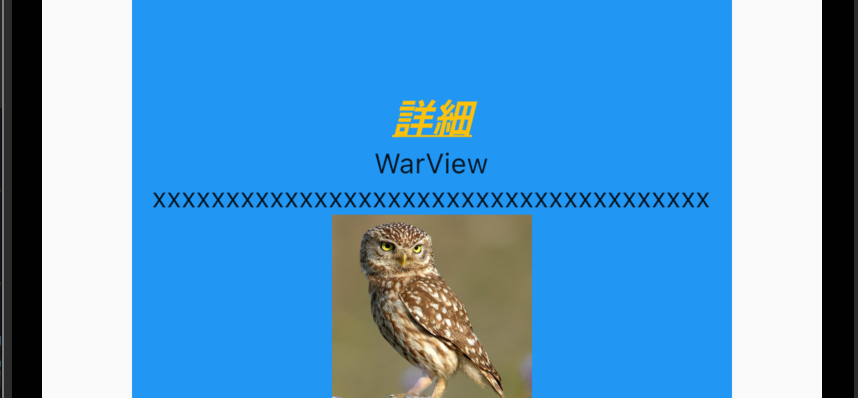
画像を表示する
- ネット上の画像を表示する ->
Image.network(src) - スマホに入っている画像を表示する ->
Image.file(src)?Image.asset()
              children: <Widget>[
                Text("詳細"),
                Text(wordPair),
                Text("xxxxxxxxxxxxxxxxxxxxxxxxxxxxxxxxxxxxxx"),
                Image.network(
                    "https://flutter.github.io/assets-for-api-docs/assets/widgets/owl.jpg"),
              ],
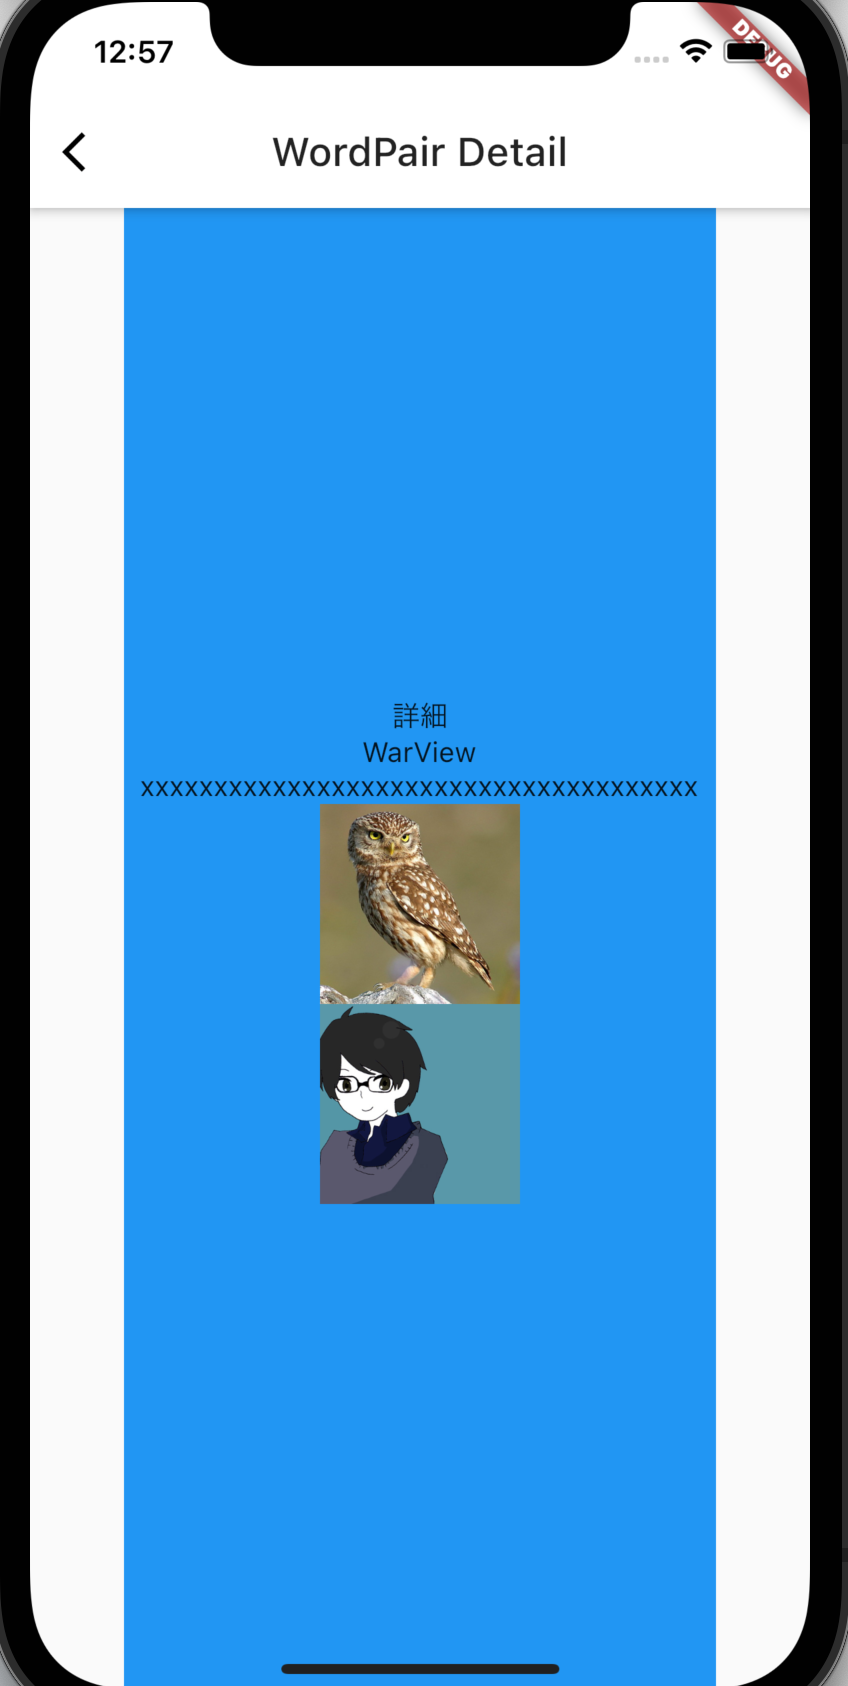
- ローカルに保存した画像を表示する
      body: Center(
        child: Container(
          color: Colors.blue,
          child: Padding(
            padding: const EdgeInsets.all(8.0),
            child: Column(
              mainAxisAlignment: MainAxisAlignment.center,
              children: <Widget>[
                Text("詳細"),
                Text(wordPair),
                Text("xxxxxxxxxxxxxxxxxxxxxxxxxxxxxxxxxxxxxx"),
                Container(
                    width: 100,
                    height: 100,
                    child: Image.network(
                        "https://flutter.github.io/assets-for-api-docs/assets/widgets/owl.jpg")),
                Container(
                    width: 100,
                    height: 100,
                    child: Image.asset("images/myicon2.jpg")),
              ],
            ),
          ),
        ),
      ),
- プロジェクト内の画像を参照する場合、pubspec.yamlに設定が必要
設定しないと、以下のようにassetが読み込めないと怒られる
[38;5;244mThe following assertion was thrown resolving an image codec:[39;49m
Unable to load asset: /images/myicon2.jpg

[38;5;244mWhen the exception was thrown, this was the stack[39;49m
[38;5;244m#0      PlatformAssetBundle.load[39;49m
[38;5;244m<asynchronous suspension>[39;49m
[38;5;244m#1      AssetBundleImageProvider._loadAsync[39;49m
[38;5;244m<asynchronous suspension>[39;49m
[38;5;244mImage provider: AssetImage(bundle: null, name: "/images/myicon2.jpg")[39;49m
[38;5;244mImage key: AssetBundleImageKey(bundle: PlatformAssetBundle#1b676(), name: "/images/myicon2.jpg", scale: 1.0)[39;49m
[38;5;248m════════════════════════════════════════════════════════════════════════════════[39;49m

[38;5;248m════════ Exception caught by image resource service ════════════════════════════[39;49m
Unable to load asset: images/myicon2.jpg
[38;5;248m════════════════════════════════════════════════════════════════════════════════[39;49m
以下を追記
pubspec.yaml
flutter:
  # The following line ensures that the Material Icons font is
  # included with your application, so that you can use the icons in
  # the material Icons class.
  uses-material-design: true

  # To add assets to your application, add an assets section, like this:
  assets:
    - images/
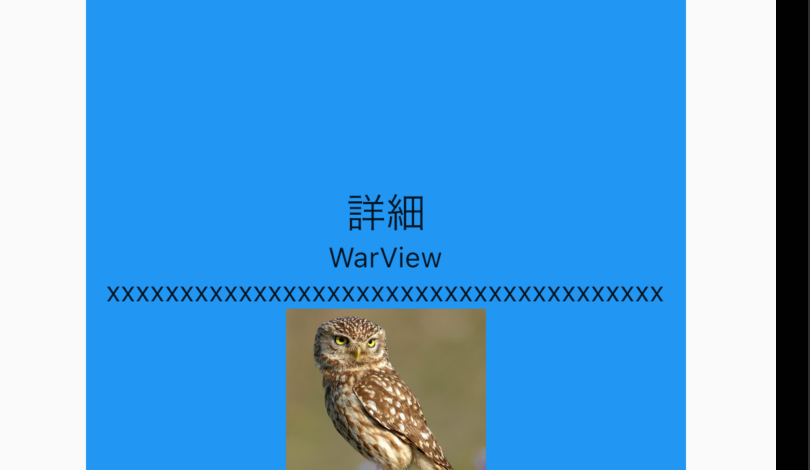
テキストの装飾
- Text WidgetのstyleプロパティでTextStyle Widgetを使う
文字の大きさ
- TextStyleのfontSizeプロパティを設定
                Text(
                  "詳細",
                  style: TextStyle(
                    fontSize: 20,
                  ),
                ),
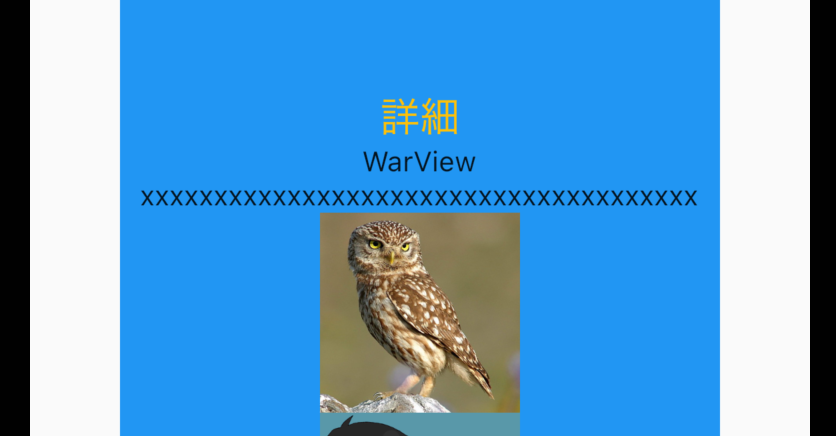
文字の色
- TextStyleのcolorプロパティ、Colorsウィジェット
                Text(
                  "詳細",
                  style: TextStyle(
                    fontSize: 20,
                    color: Colors.amber,
                  ),
                ),
文字の太さ
- TextStyleのfontWeightプロパティ、FontWeightウィジェット
                Text(
                  "詳細",
                  style: TextStyle(
                    fontSize: 20,
                    color: Colors.amber,
                    fontWeight: FontWeight.bold,
                  ),
                ),

イタリック
- TextStyleのfontStyleプロパティ、FontStyleウィジェット
                Text(
                  "詳細",
                  style: TextStyle(
                    fontSize: 20,
                    color: Colors.amber,
                    fontWeight: FontWeight.bold,
                    fontStyle: FontStyle.italic,
                  ),
                ),
アンダーライン
- TextStyleのdecorationプロパティ、TextDecoration.underline
                Text(
                  "詳細",
                  style: TextStyle(
                    fontSize: 20,
                    color: Colors.amber,
                    fontWeight: FontWeight.bold,
                    fontStyle: FontStyle.italic,
                    decoration: TextDecoration.underline,
                  ),
                ),
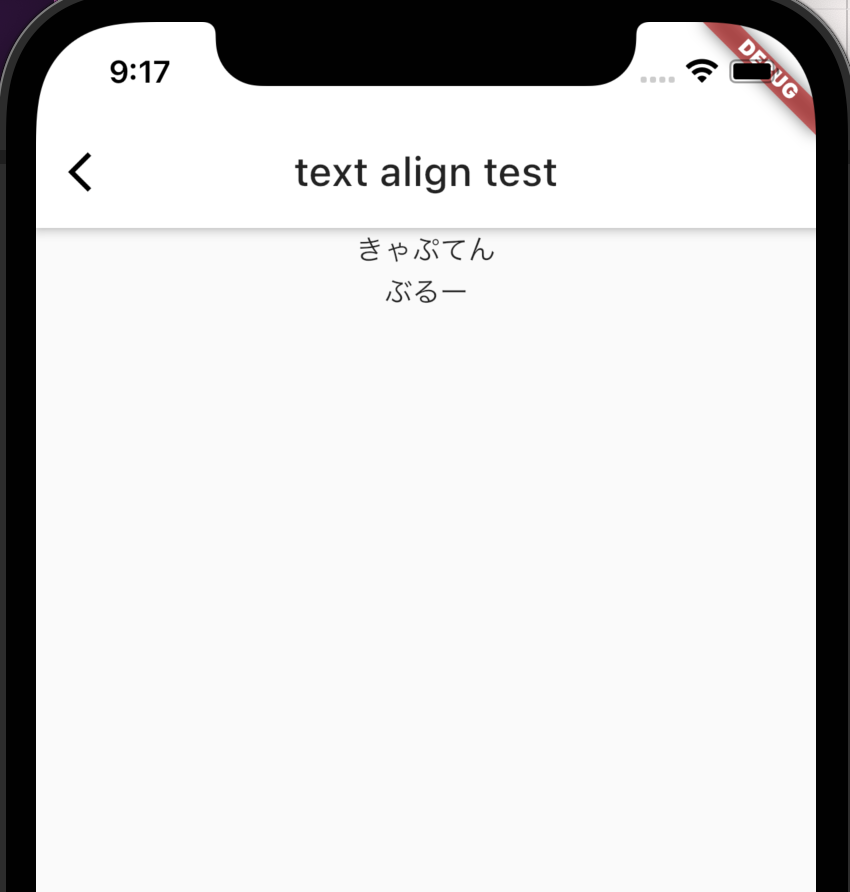
TextAlignの変更
- TextウィジェットのtextAlignプロパティ、TextAlignウィジェット
- デフォルトは左寄せ
      body: Center(
        child: Column(
          children: [
            Container(
              width: double.infinity,
              child: Text(
                "きゃぷてん",
                textAlign: TextAlign.center,
              ),
            ),
            Text("ぶるー")
          ],
        ),
      ),
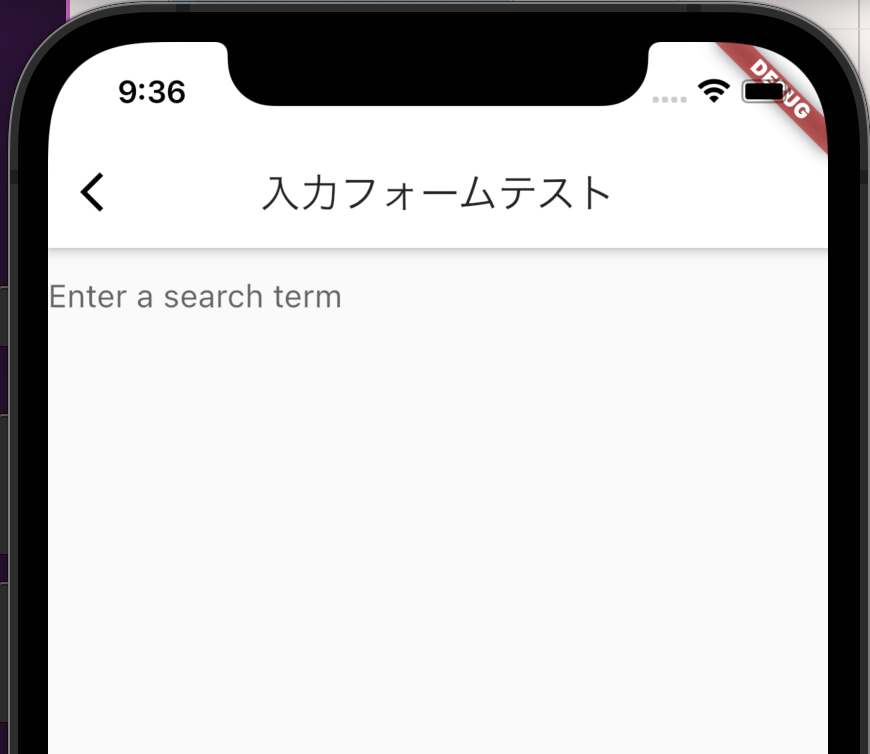
入力フォーム
- TextFieldウィジェット
      body: Container(
        width: double.infinity,
        child: TextField(
          decoration: InputDecoration(
              border: InputBorder.none, hintText: 'Enter a search term'),
        ),
      ),
class _InputState extends State<InputTest> {
String name;
final myController = TextEditingController();
Widget build(BuildContext context) {
return Scaffold(
appBar: AppBar(
title: Text("入力フォームテスト"),
),
body: Container(
width: double.infinity,
child: Column(
children: [
TextField(
decoration: InputDecoration(
hintText: '名前',
),
onChanged: (text) {
name = text;
},
),
TextField(
controller: myController,
decoration: InputDecoration(hintText: "趣味"),
),
ElevatedButton(
onPressed: () {
final hobbyText = myController.text;
},
child: Text("新規登録"),
),
],
),
),
);
}
}
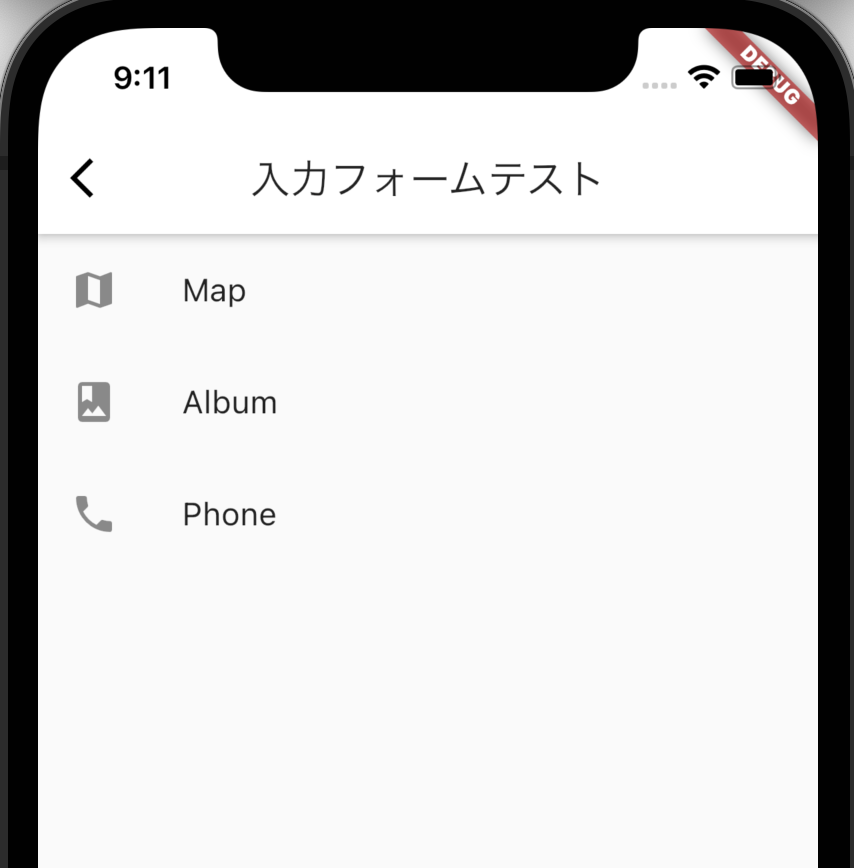
リスト
- ListViewウィジェットを使う
- 子要素にはListTileウィジェットを使うと便利
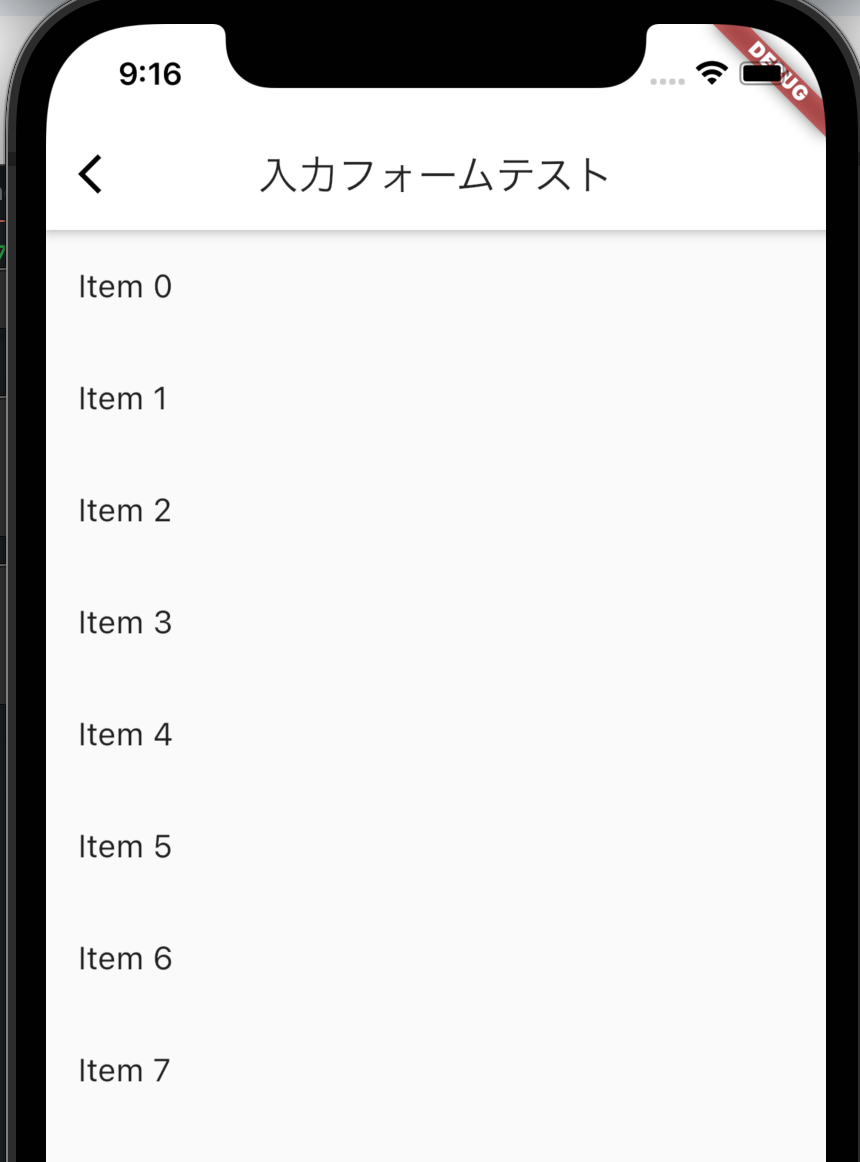
- もっと多い要素を持つListを生成するにはListView.builderを使用する
class _InputState extends State<InputTest> {
Widget build(BuildContext context) {
return Scaffold(
appBar: AppBar(
title: Text("入力フォームテスト"),
),
body: Container(
width: double.infinity,
child: ListView(
children: <Widget>[
ListTile(
leading: Icon(Icons.map),
title: Text('Map'),
),
ListTile(
leading: Icon(Icons.photo_album),
title: Text('Album'),
),
ListTile(
leading: Icon(Icons.phone),
title: Text('Phone'),
),
],
)),
);
}
}
builder使うパターン
class _InputState extends State<InputTest> {
final items = List<String>.generate(10000, (i) => "Item $i");
Widget build(BuildContext context) {
return Scaffold(
appBar: AppBar(
title: Text("入力フォームテスト"),
),
body: Container(
width: double.infinity,
child: ListView.builder(
itemCount: items.length,
itemBuilder: (context, index) {
return ListTile(
title: Text('${items[index]}'),
);
},
),
),
);
}
}
- GridView
class _InputState extends State<InputTest> {
final items = List<Widget>.generate(10000, (i) {
return Center(
child: Text("Item $i"),
);
});
Widget build(BuildContext context) {
return Scaffold(
appBar: AppBar(
title: Text("入力フォームテスト"),
),
body: Container(
width: double.infinity,
child: GridView.count(
crossAxisCount: 2,
children: items,
),
),
);
}
}

このスクラップは2021/11/22にクローズされました