iTranslated by AI
Proxmox VE: A Step-by-Step Installation Guide



Introduction
This is atsushifx.
In this article, I will explain the Proxmox VE installation procedure in detail with screenshots.
In the previous articles, we covered BIOS settings and creating the installation media. This time, we will actually install Proxmox VE.
By following this article, you can easily install Proxmox VE while referring to the screenshots.
Technical Terms
The technical terms used in this article are explained here.
-
Proxmox VE:
An open-source virtualization platform that managesKVM(Kernel-based Virtual Machine) virtual machines andLXC(Linux Containers) containers. -
KVM(Kernel-based Virtual Machine):
A virtualization module for the Linux kernel that provides high-performance virtual machines. -
LXC(Linux Containers):
A lightweight container technology that performs virtualization at the OS level. -
BIOS/UEFI:
Firmware that manages the basic settings of a computer (e.g., boot device priority settings). -
DNS(Domain Name System):
A system that translates hostnames intoIP addresses(e.g.,pve.local→192.168.14.223). -
EULA(End User License Agreement):
A license agreement displayed during software installation. -
Hyper-V:
A virtualization platform provided by Microsoft Corporation.
1. Preparation
1.1 Hostname Setting
To access the installed Proxmox VE by name, set a static address and hostname on your router.
As an example, on the TUF GAMING AX6000, you can set the IP address from LAN-DHCP Server.
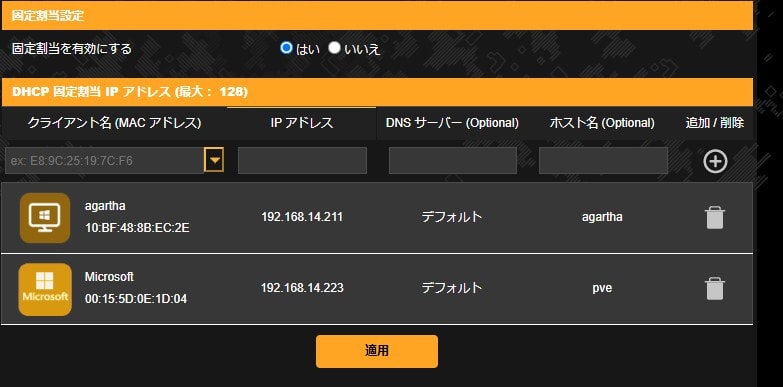
Static IP Address Setting
Set it as follows.
| Client Name | MAC Address |
IP Address |
DNS Server |
Hostname |
|---|---|---|---|---|
Microsoft |
00:15:5D:0E:1D:04 |
192.168.14.223 |
Not set | pve |
1.2 BIOS Settings
Change the BIOS or UEFI settings of your PC to change the priority to boot from a USB flash drive.
For detailed instructions, please refer to BIOS settings for booting the installer.
1.3 Creating Installation Media
Create the Proxmox VE installer.
For instructions on how to create it, please refer to Creating Installation Media.
2. Installation
2.1 Proxmox VE Installation Steps
Install Proxmox VE following these steps:
-
Booting the installer:
Boot the PC using the USB flash drive and open theProxmox VEinstaller screen.
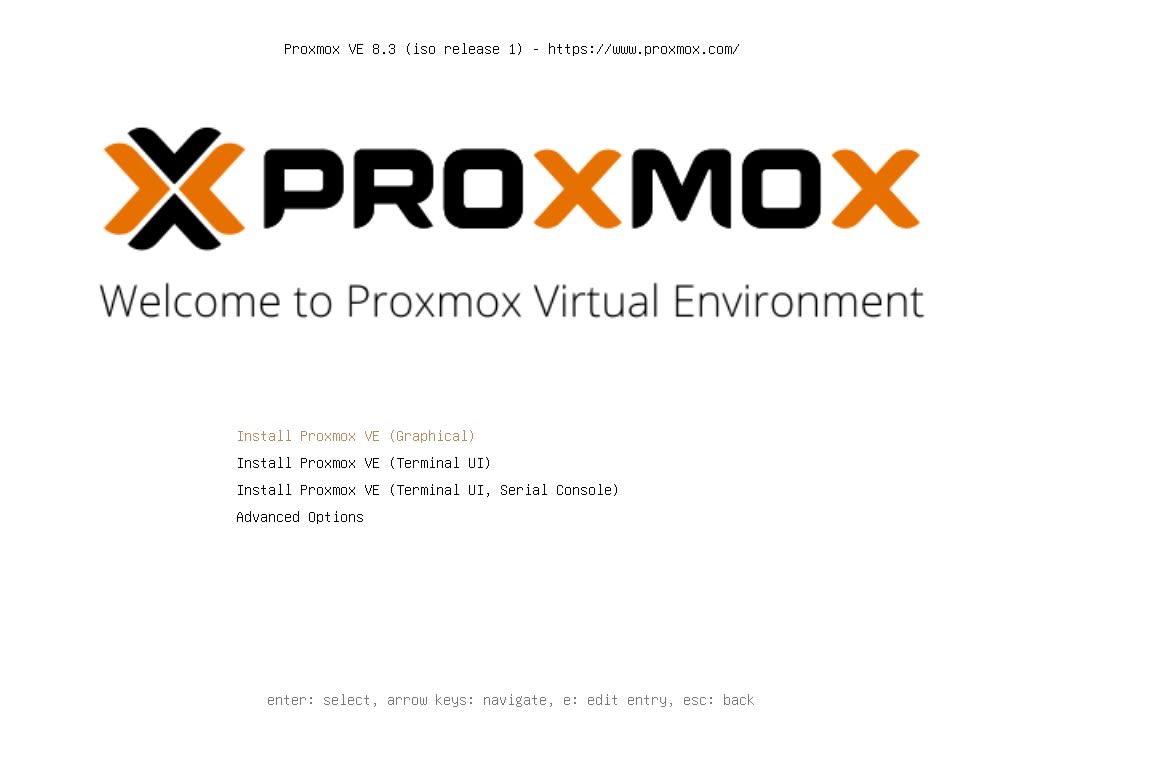
Proxmox VEinstaller title screen -
Selecting the installer
Select theTerminal UIoption on the title screen and press the [Enter] key.
The installer will start.
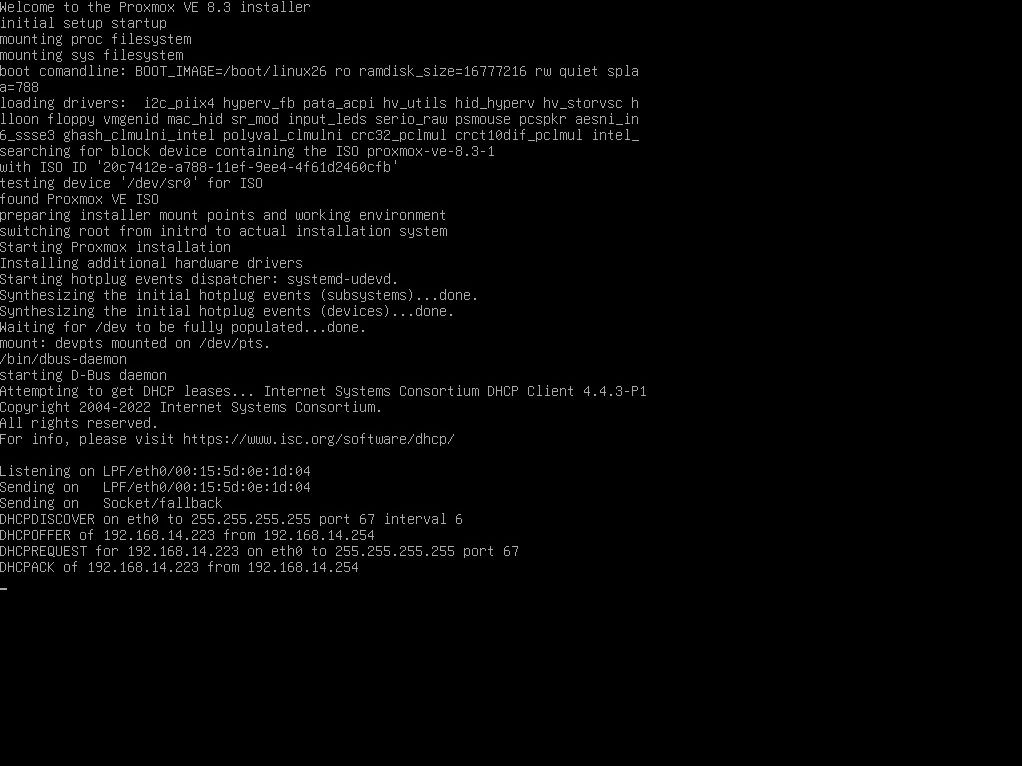
Booting -
License confirmation
TheEULAwill be displayed. After reviewing the contents of the license, selectI agreeto accept the license.
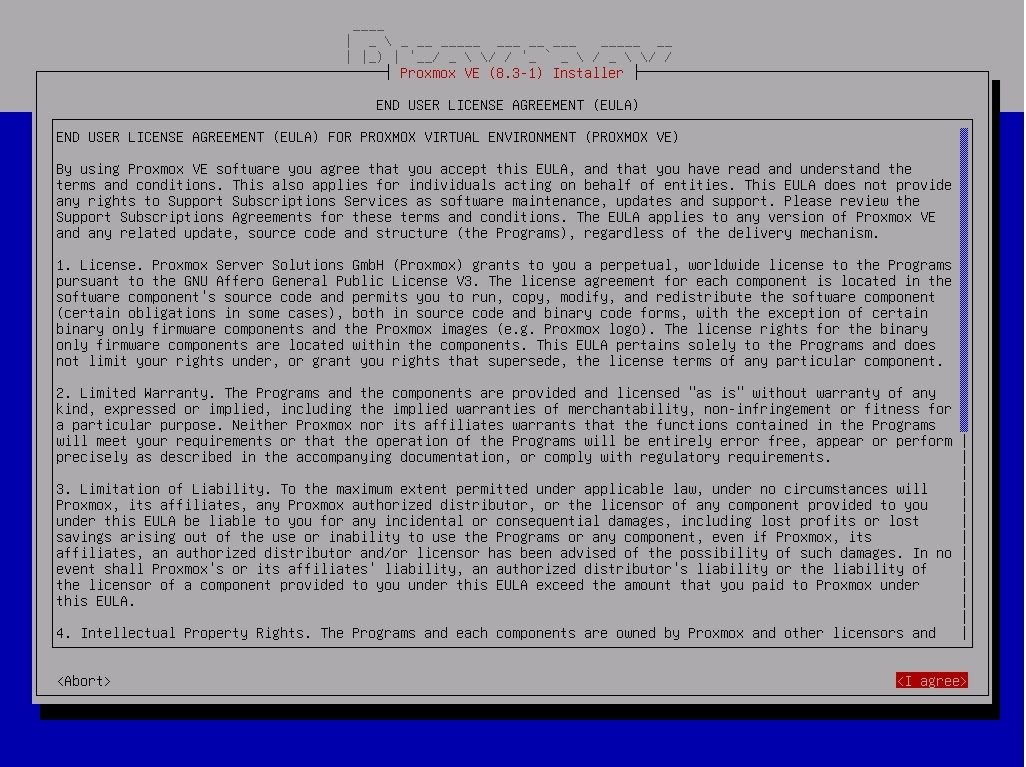
License confirmation -
Configuring the installation disk:
Select the disk where you want to installProxmox VE.
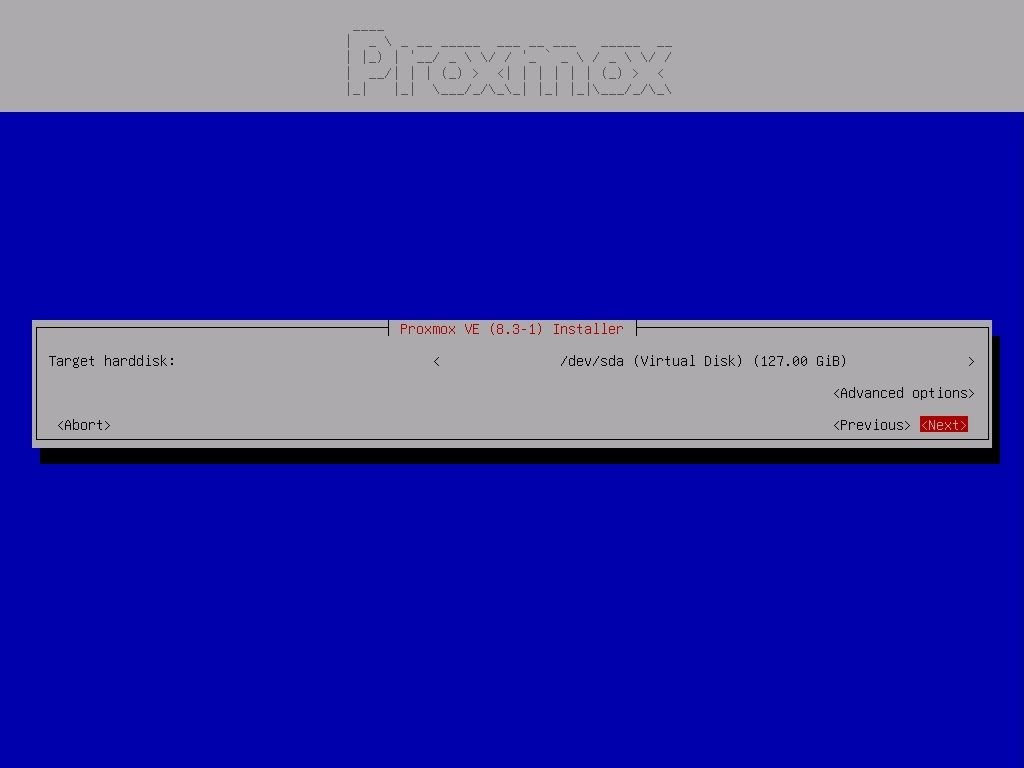
Installation destination settings -
Region settings:
Set the country, time zone, and keyboard layout.
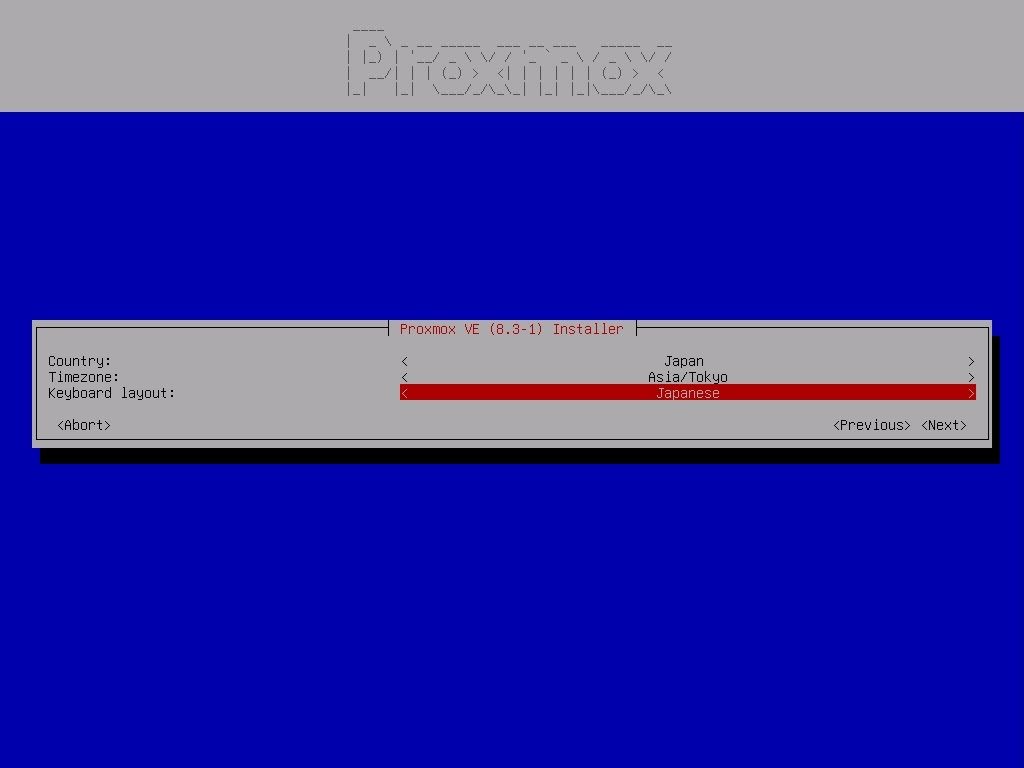
Region settingsIn this example, the settings are as follows:
Item Setting Country JapanTimezone Asia/TokyoKeyboard layout JapaneseSelecting the Japan region allows you to synchronize the PC's time with Japan Standard Time.
-
Administrator settings:
Set the administrator (root) password andemailaddress.
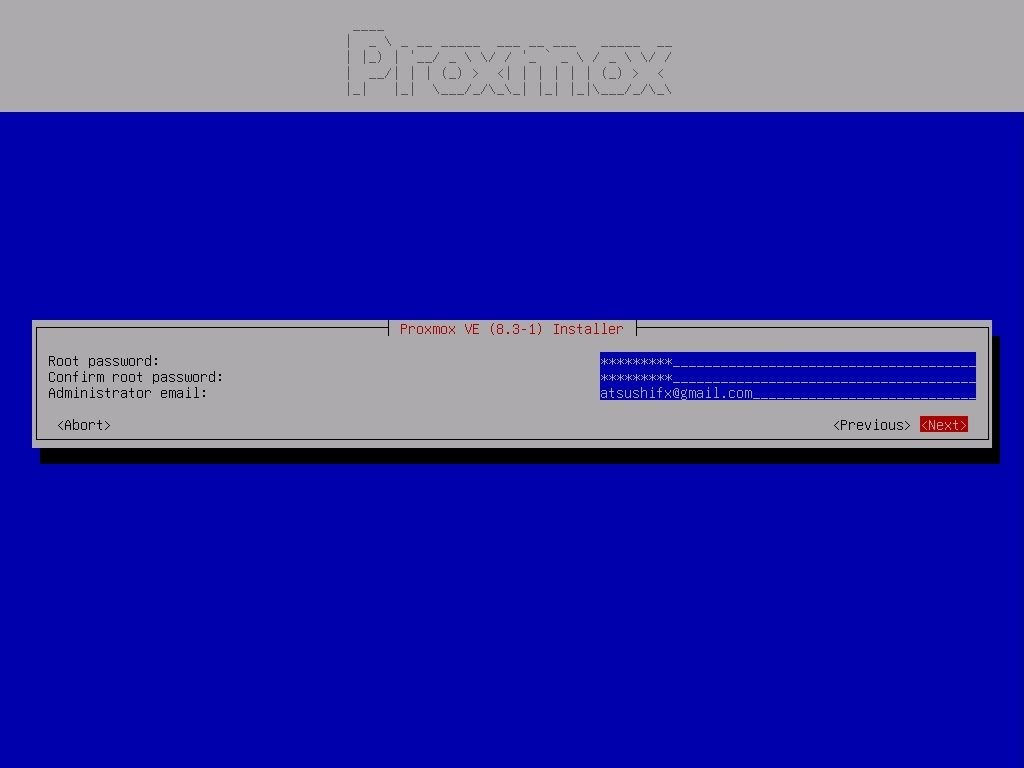
Administrator settings -
Network settings:
Set the hostname,IP address, etc., forProxmox VE.
If these were configured during preparation, items such as the hostname will be automatically populated.
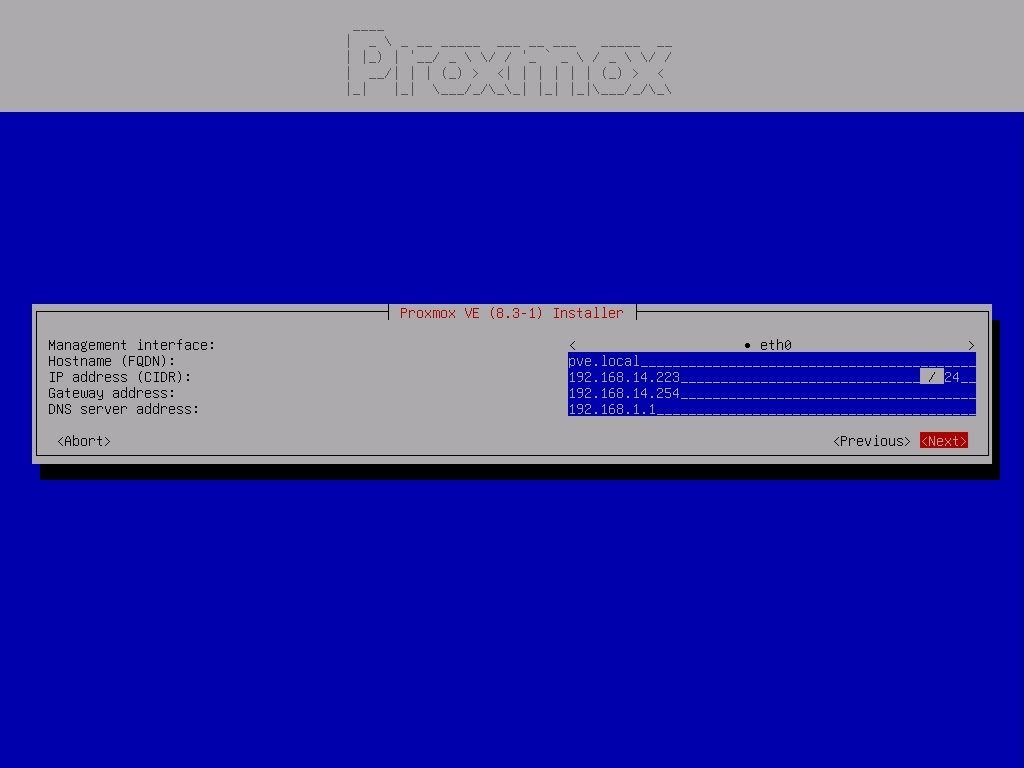
Network settingsIn this case, it will look like this:
Item Setting Remarks Hostnamepve.localIP Address192.168.14.223 / 24Gateway192.168.14.254Router's IP addressDNS192.168.1.1IP addressof the DNS configured in the router -
Final confirmation of settings:
The settings you have made so far will be displayed. If there are no issues, selectInstall.
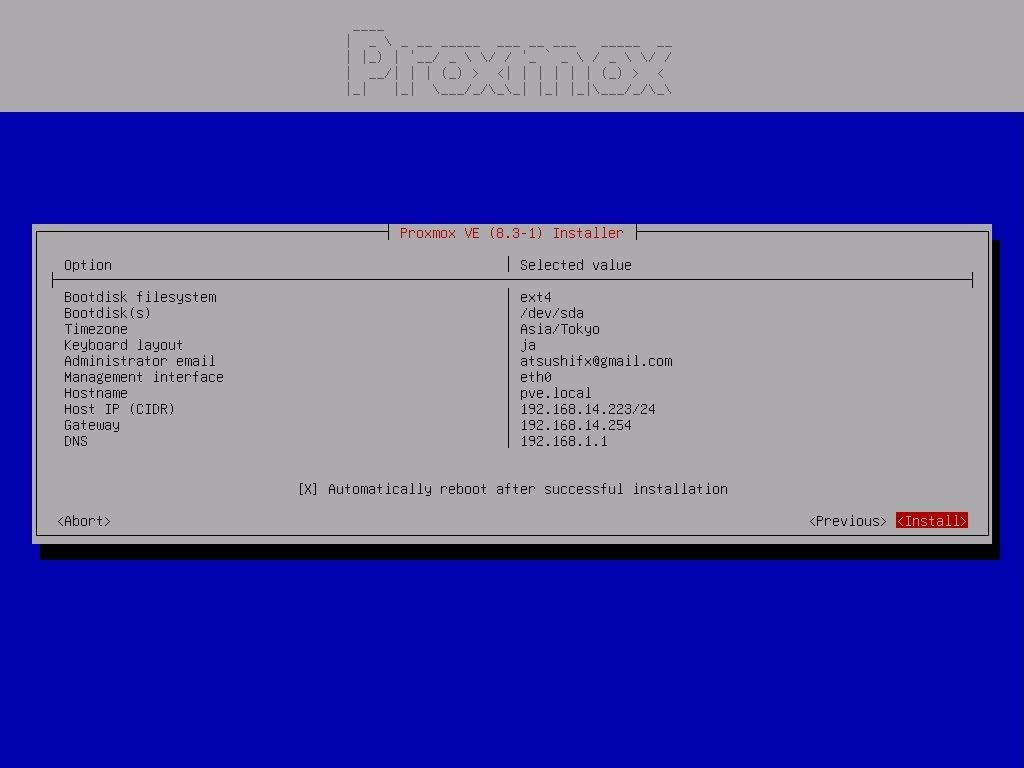
Final confirmation of settings -
Performing the installation:
Execute the installation.
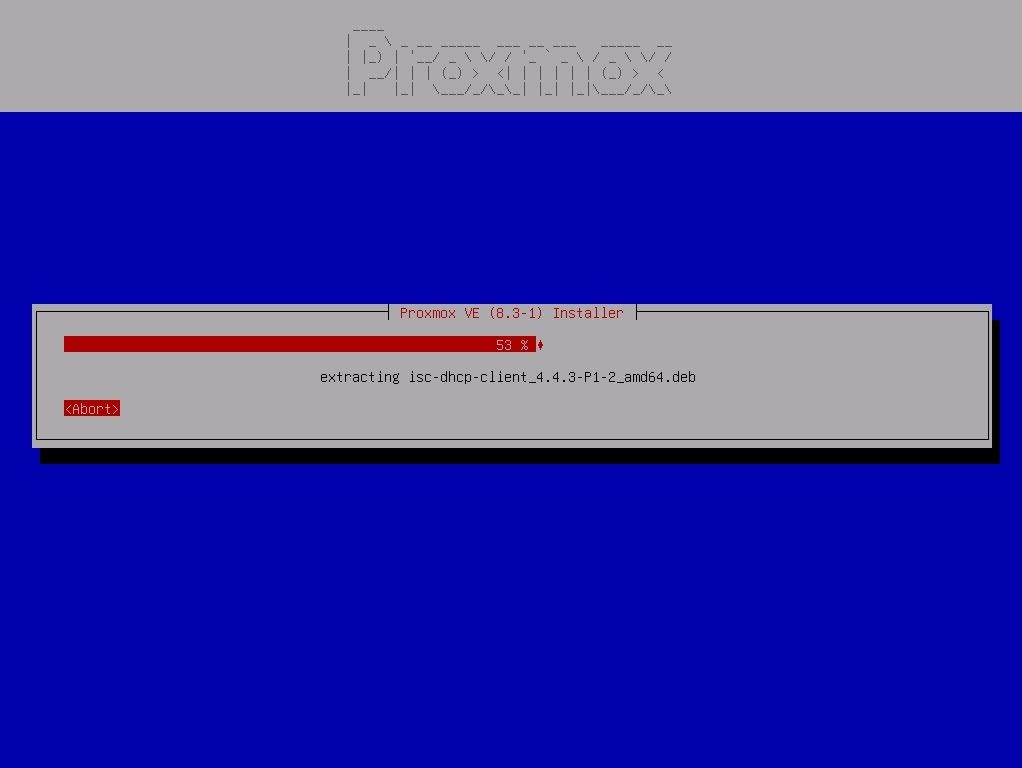
Installing -
Restarting
Proxmox VE:
If the installation completes successfully, the PC will restart.After the PC restarts,
Proxmox VEwill boot up and the login screen will be displayed.
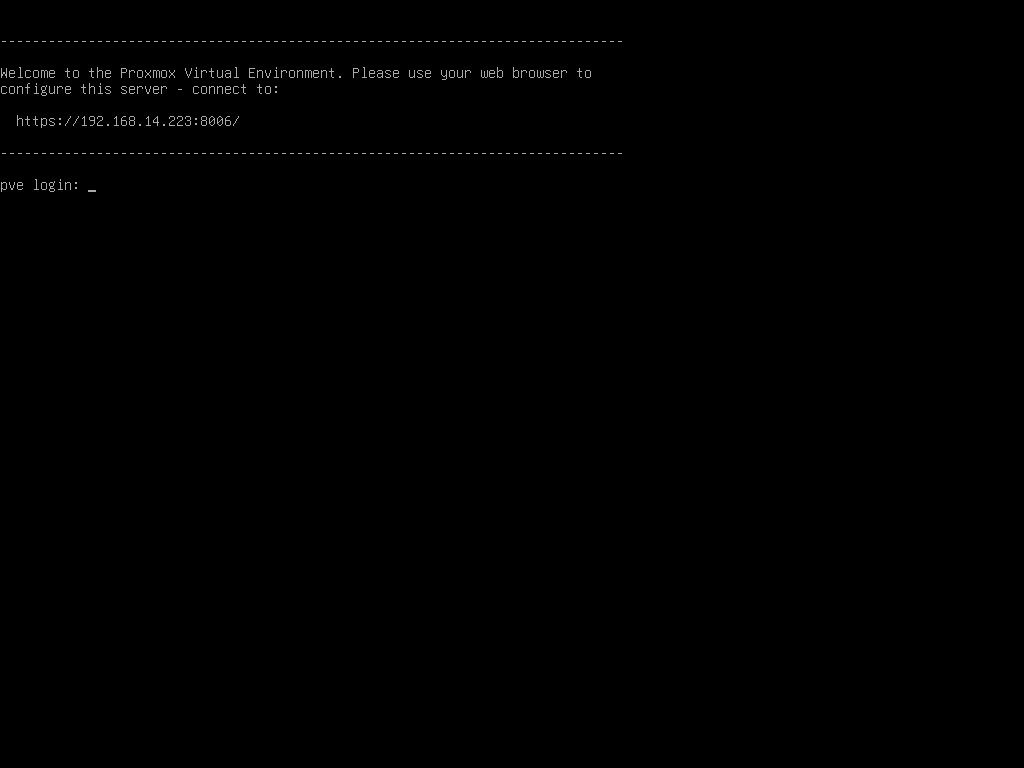
Login screen -
Checking the
Web Interface:
IfProxmox VEhas started correctly, you can access theProxmox VEcontrol screen from awebbrowser.
Access https://pve:8006 and confirm that the Web Interface screen is displayed.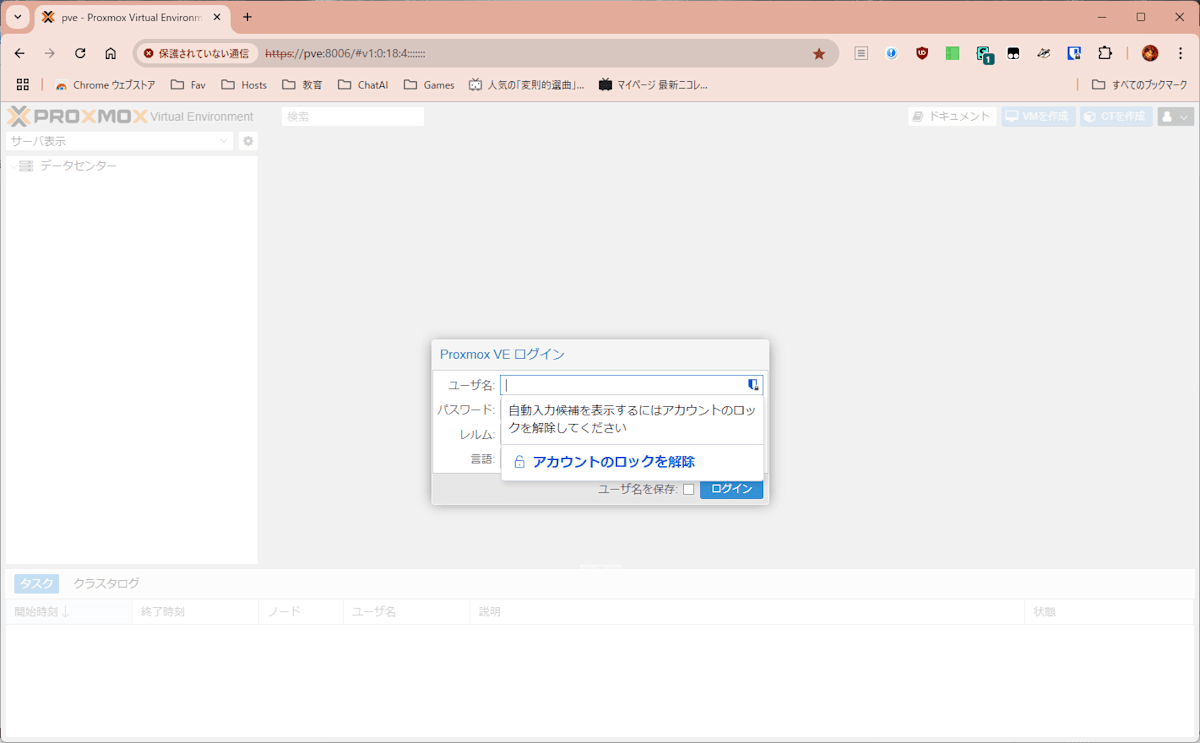
Web Interface
This completes the installation of Proxmox VE.
3. Troubleshooting
3.1 Troubleshooting during installation
[1-001] Installer does not start (BIOS settings):
-
Verification points: Check if the
BIOSsettings are configured to prioritize booting from theUSB device. - Cause: Incorrect boot device priority.
- Countermeasure: Change the settings referring to BIOS settings.
[1-002] Installer does not start (checking the USB port):
- Verification points: Check if the USB port where the installation media is inserted is functioning correctly.
- Cause: Possible unsupported or damaged port.
- Countermeasure: Try using a different USB port.
[1-003] Installer does not start (checking the installation media):
- Verification points: Check if the USB media being used is working correctly.
- Cause: Possible corrupted media or errors during creation.
- Countermeasure: Re-create it referring to Creating Installation Media.
[1-004] IP address is blank:
- Verification points: Check if the necessary items are entered in the network settings.
-
Cause: Possible connection error with the router or the
DHCP serveris not running. -
Countermeasure: Check the network connection and re-confirm the
DHCPsettings on the router side.
3.2 Troubleshooting during startup
[2-001] Server does not start:
- Verification points: Check the error message displayed during startup.
-
Countermeasure: Try re-installing
Proxmox VE.
[2-002] Unable to connect to the network:
-
Verification points: Check if communication with the server is possible using
ping <IP address>. - Countermeasure: Check if the network cable is correctly connected and replace it if necessary.
[2-003] Problem with DNS settings:
-
Verification points: Check the
DNSsettings usingnslookup <hostname>ordig <hostname>. -
Countermeasure: Review the router's
DNSsettings and re-configure if necessary.
[2-004] Unable to access the Web Interface:
-
Verification points: Check if the entered
URLis correct. - Countermeasure: Compare it with the URL on the server login screen and use the correct URL.
[2-005] Firewall is blocking access:
- Verification points: Check if access to the server is restricted by a firewall.
- Countermeasure: Check the firewall settings and modify the rules if necessary.
Conclusion
That's all for the installation of Proxmox VE.
In this article, I explained the installation procedure with screenshots.
By referring to this article, you should be able to install Proxmox VE smoothly while referring to the screenshots.
Next time, I will explain how to create a new account other than the administrator account (root) to improve security and operational safety.
Happy Hacking!
Discussion